Loading ...
Loading ...
Loading ...
ENGLISH INSTRUCTIONS
10
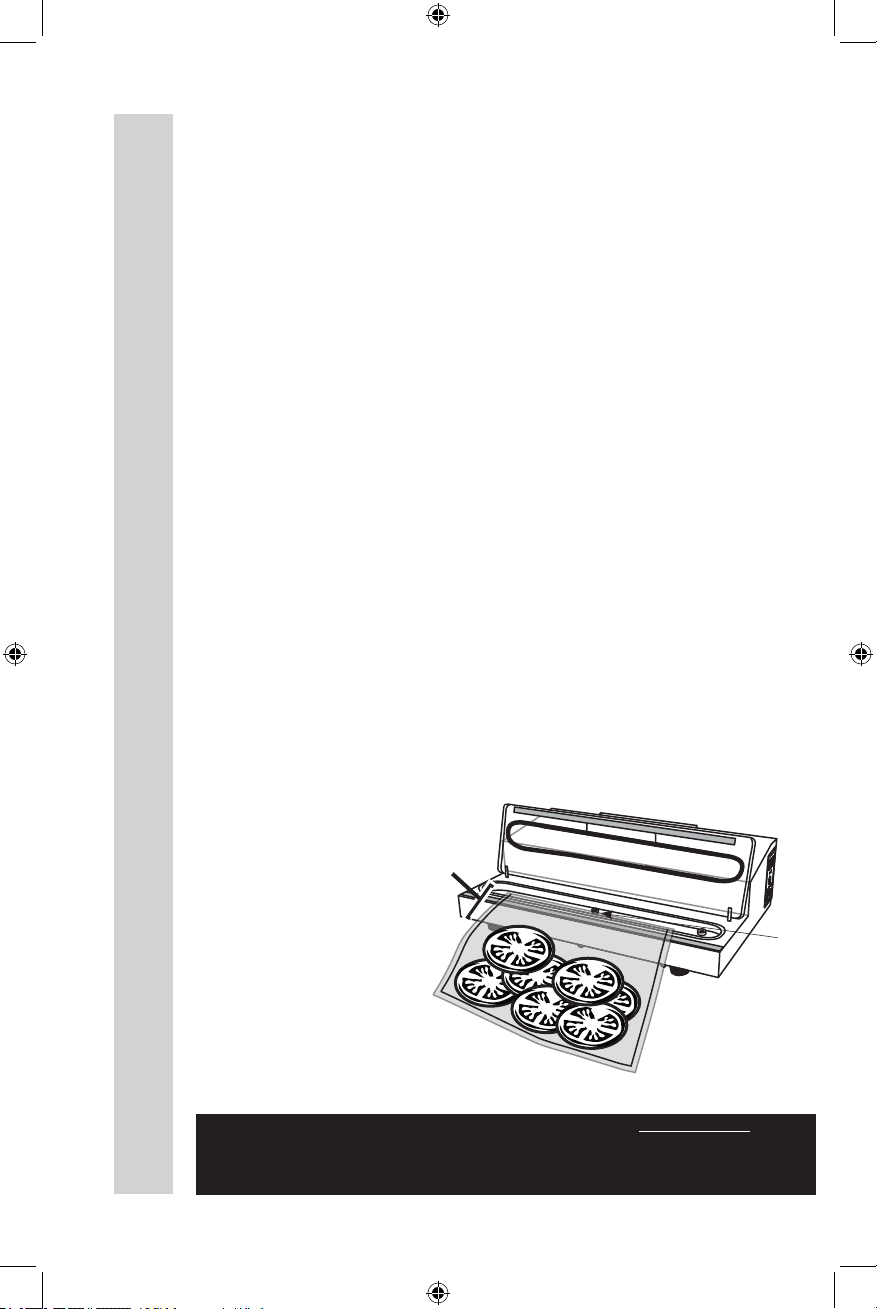
5. Fill a vacuum bag with the product you want to seal. Leave at least 2” (5 cm)
of space between the open end of the bag and product Figure 4.
6. Load the open end of the bag into the Lower Vacuum Chamber. Center the
bag in the Lower Vacuum Chamber. Place the bag close to, but do not cover, the
Vacuum Port. Be careful not to touch either strip of Seal Bar Tape which may be
HOT from a previous heating cycle.
7. Close the Vacuum Lid. Make sure there are no folds or creases in the bag in
the sealing area.
8. Press down on the Vacuum Lid Handle to form a tight seal.
9. Press the “START” Button to initiate the vacuuming process (the “VACUUM”
Light will illuminate). Release the Vacuum Lid Handle at the rst sign of bag
collapse. The Vacuum Sealer will automatically seal the bag when a preset
vacuum pressure is reached in the Vacuum Chamber. Sealing lasts for 3
seconds (the “SEAL” Light will illuminate).
10. To manually seal a bag press the Manual Seal Button at any time during the
vacuuming process.
11. You can stop the vacuuming process at any time by pressing the “STOP”
Button.
12. Sealing is complete when the Vacuum Chamber releases after a 3 second
cooling period (the “COOL” Light will illuminate). The release is audible.
13. Open the Vacuum Lid and remove the bag. DO NOT try to open the Vacuum
Lid before the vacuum has released or unit damage may occur. Wait at least 20
seconds before sealing another bag to avoid overheating the unit.
14. Turn the Vacuum Sealer “OFF” and unplug the Power Cord when you are
done.
Leave 2”
(5 cm)
Space
Vacuum
Port
Bag in Center of
Vacuum Chamber
FIGURE 4
NOTE: The Vacuum Sealer is ONLY intended to be used with VACUUM BAGS. For
best results, only use the recommended vacuum bags with an embossed or mesh lining.
DO NOT USE HOUSEHOLD BAGS! Any other uses of the Vacuum Sealer, other
than the uses described in this booklet, could potentially damage the appliance and void
the warranty!
Loading ...
Loading ...
Loading ...