Owner Manual Ovens
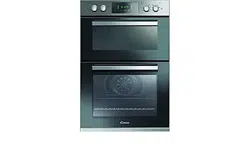
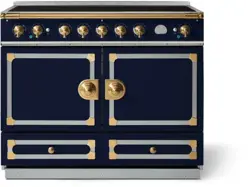
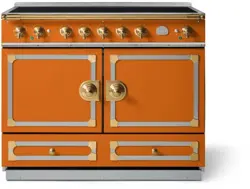
Product Description
Overview
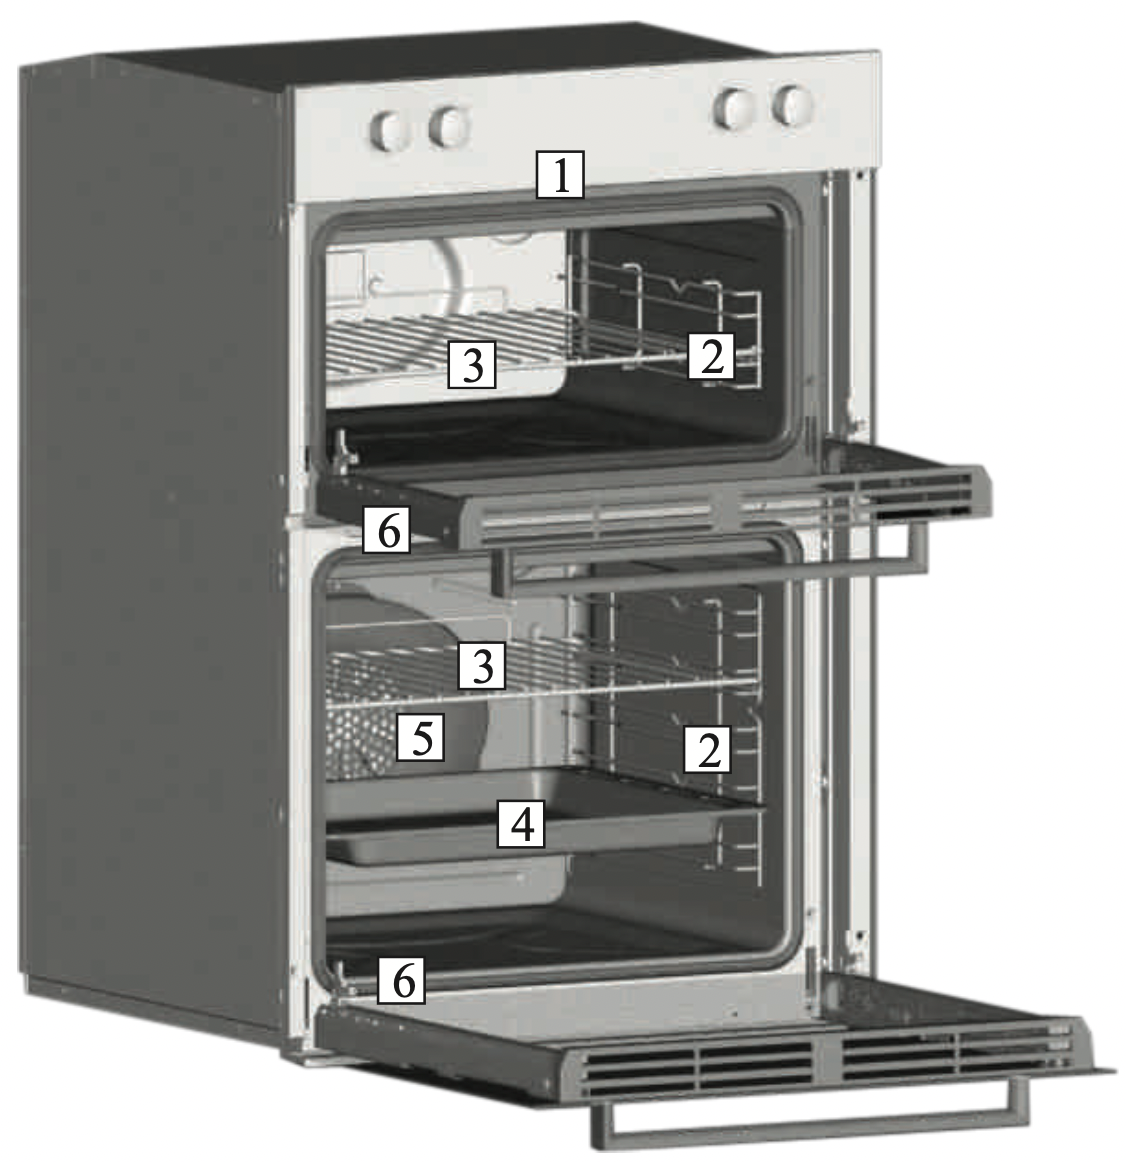
- Control panel
- Shelf positions
(lateral wire grid if included)
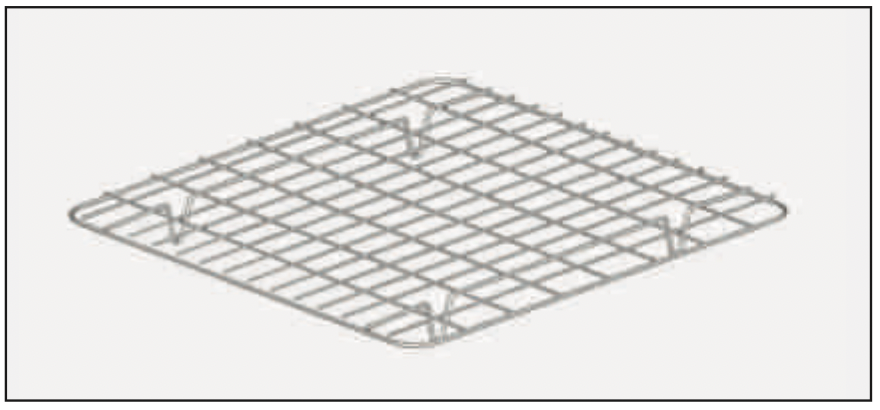
- Metal grill
- Drip pan
- Fan (behind the steel plate)
- Oven door
Accessories
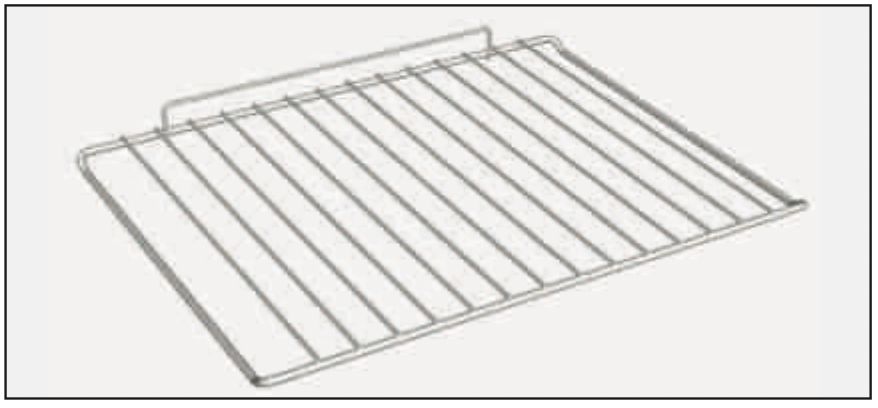
- Metal grill
Holds baking trays and plates.
- Drip tray
Collects the residues that drip during the cooking of foods on the grills.
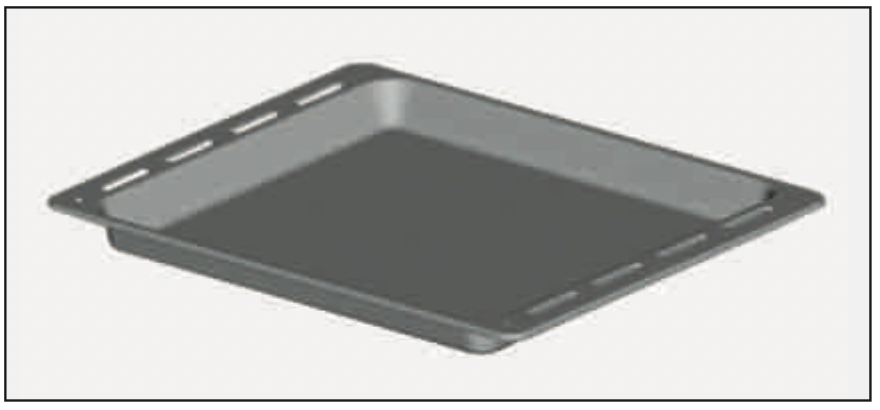
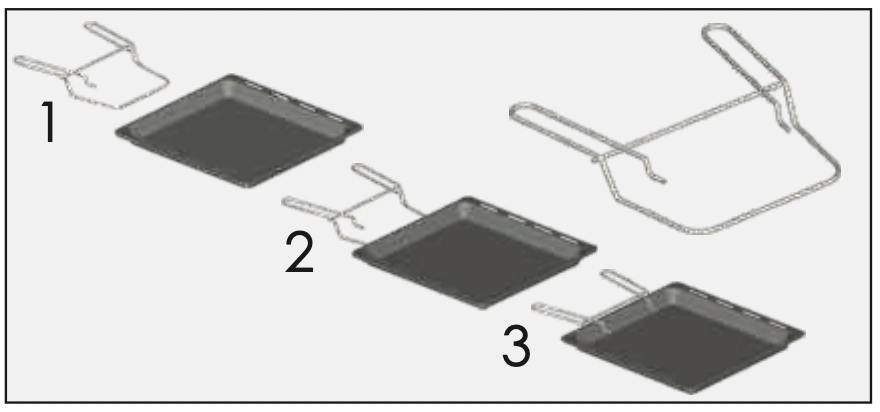
- Drip pan
- Handle for tray
Use of the Oven
Display description
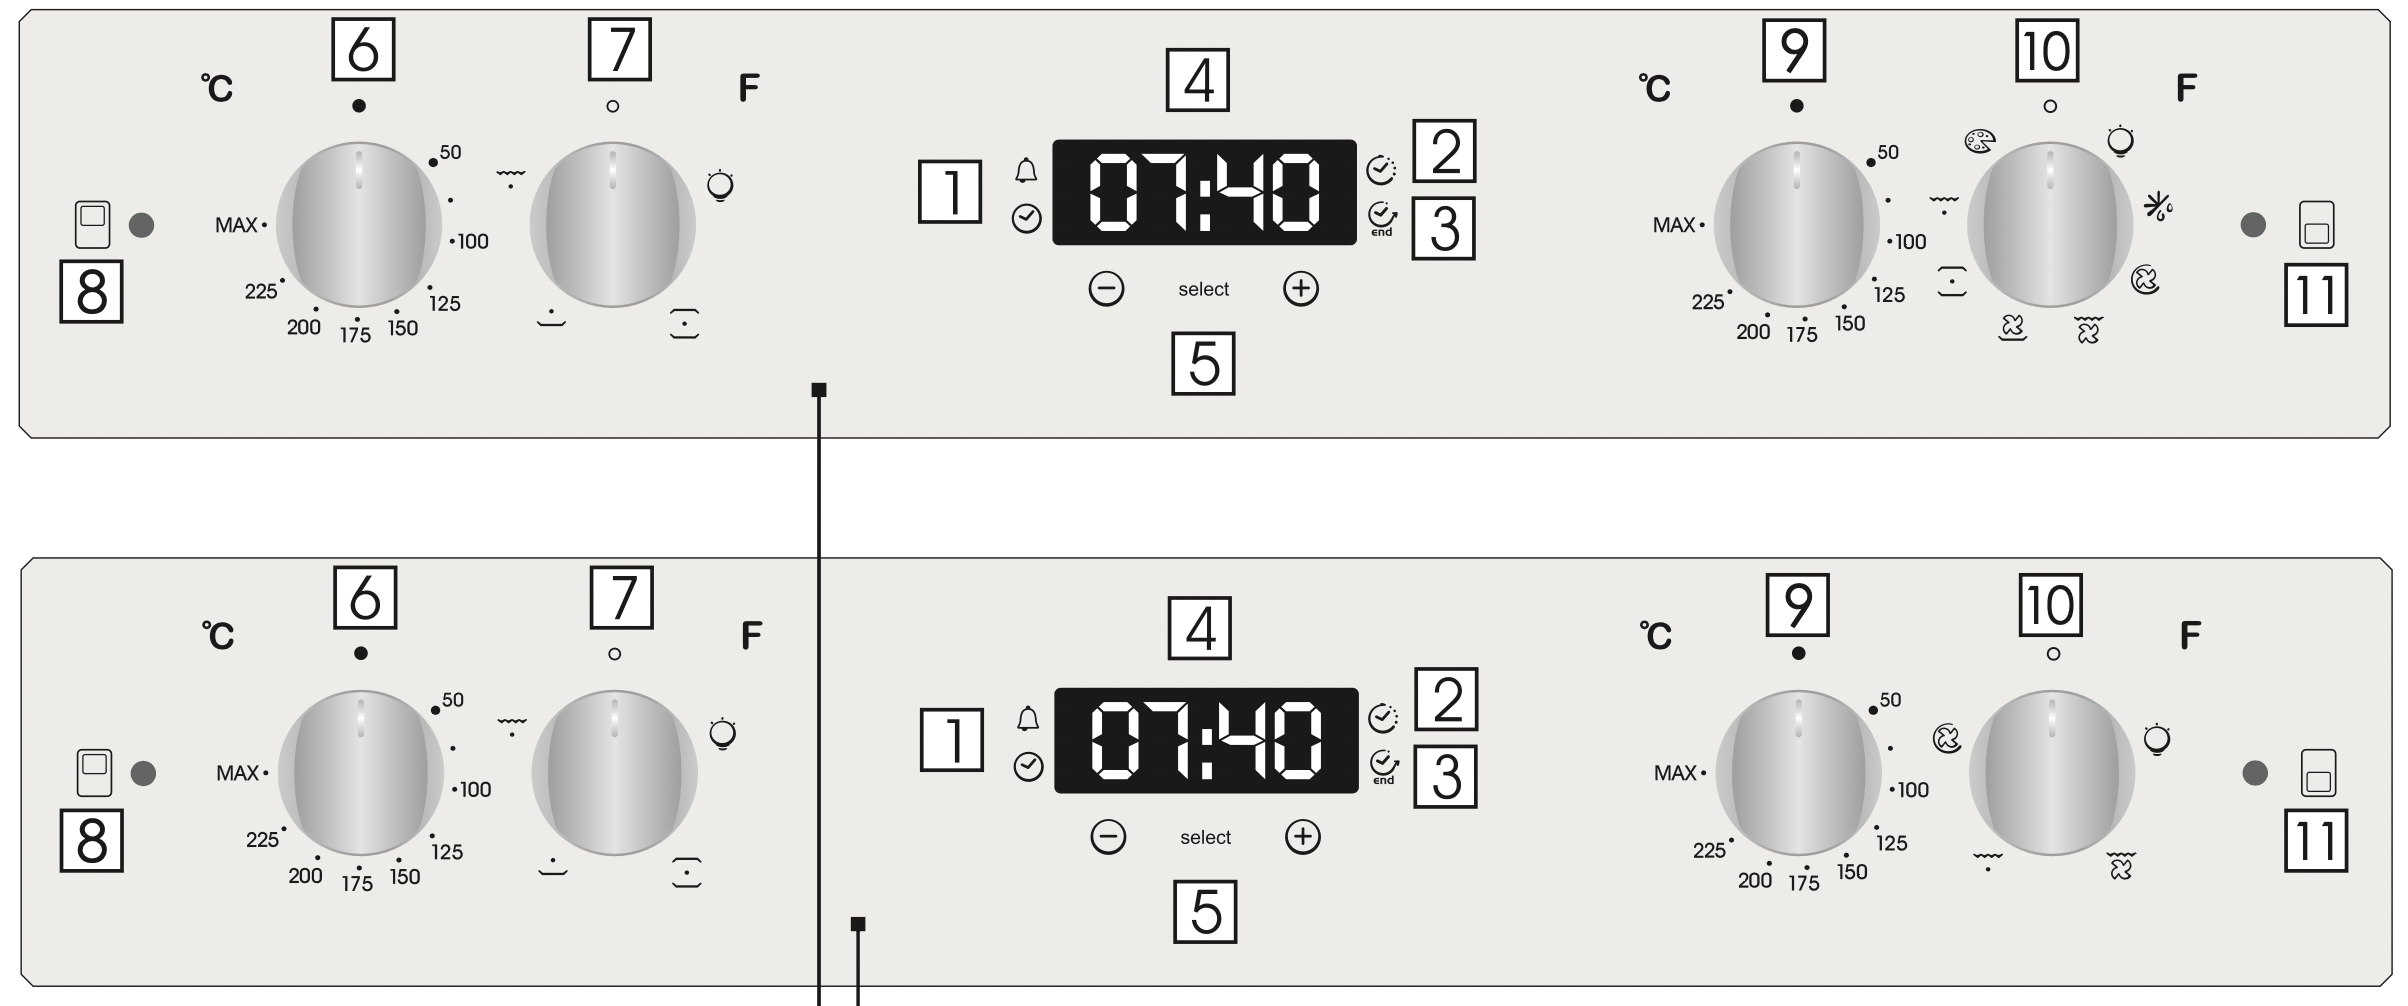
- Timer
- Cooking time
- End of cooking
- Timer display
- LCD display adjustment controls
- Thermostat knob (upper cavity)
- Function selector knob (upper cavity)
- Upper cavity signal lamp
- Thermostat knob (lower cavity)
- Function selector knob (lower cavity)
- Lower cavity signal lamp
WARNING! The first operation to carry out after the oven has been installed or following the interruption of power supply (this is recognizable the display pulsating and showing 12:00 ) is setting the correct time. This is achieved as follows.
- Push the central button 4 times
- Set time with "-" "+" buttons.
- Release all buttons.
ATTENTION: The oven will only operate providing the clock is set.
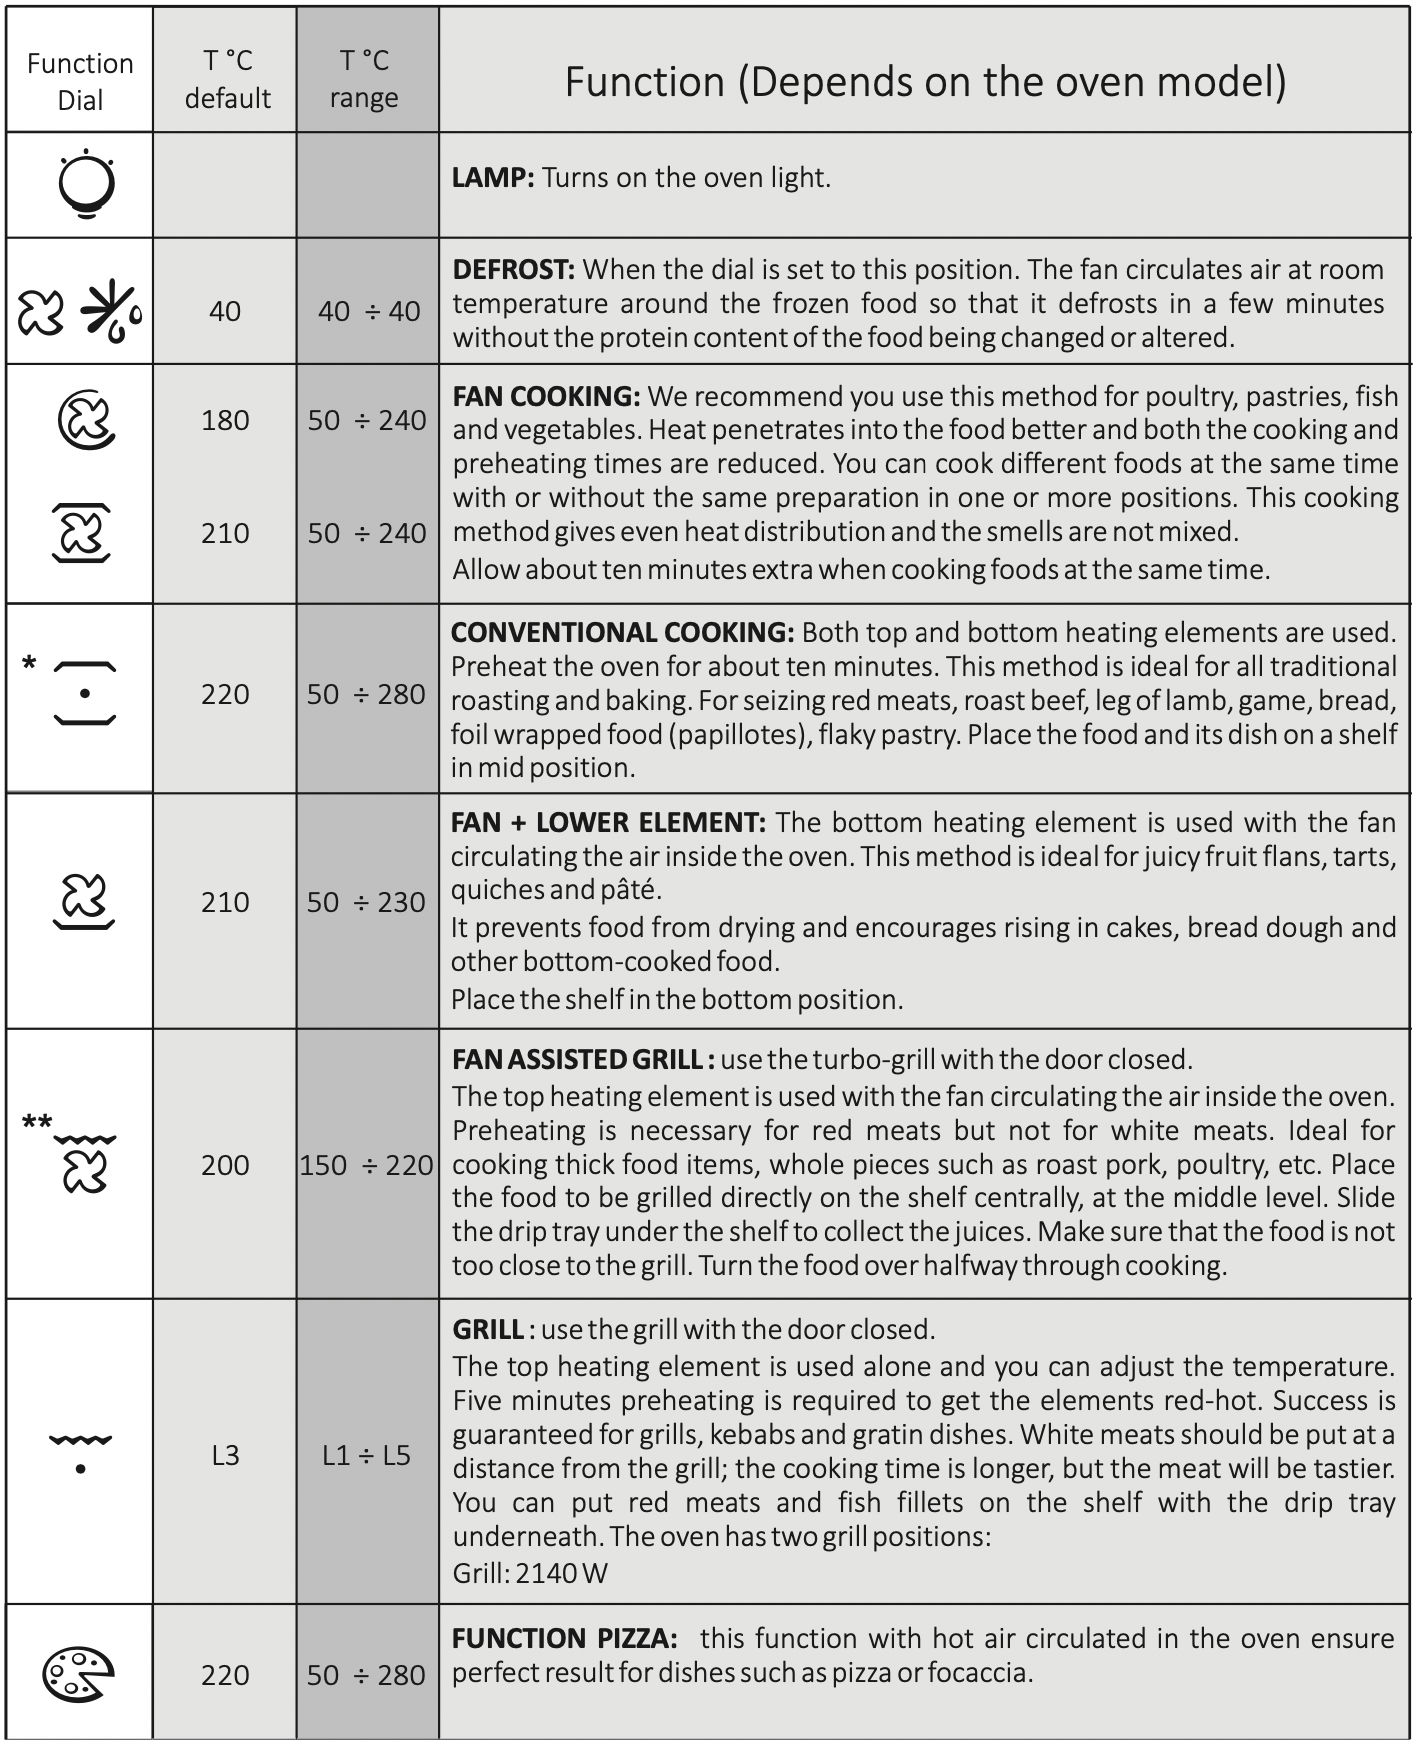
Cooking Modes
Oven cleaning and maintenance
General notes on cleaning
The lifecycle of the appliance can be extended through regular cleaning. Wait for the oven to cool before carrying out manual cleaning operations. Never use abrasive detergents, steel wool or sharp objects for cleaning, so as to not irreparably damage the enamelled parts. Use only water, soap or bleach-based detergents (ammonia).
GLASS PARTS
It is advisable to clean the glass window with absorbent kitchen towel after every use of the oven. To remove more obstinate stains, you can use a detergent-soaked sponge, well wrung out, and then rinse with water.
OVEN WINDOW SEAL
If dirty, the seal can be cleaned with a slightly damp sponge.
ACCESSORIES
Clean accessories with a wet, soapy sponge before rinsing and drying them: avoid using abrasive detergents.
DRIP PAN
After using the grill, remove the pan from the oven. Pour the hot fat into a container and wash the pan in hot water, using a sponge and washing-up liquid.
If greasy residues remain, immerse the pan in water and detergent. Alternatively, you can wash the pan in the dishwasher or use a commercial oven detergent. Never put a dirty pan back into the oven.
Maintenance
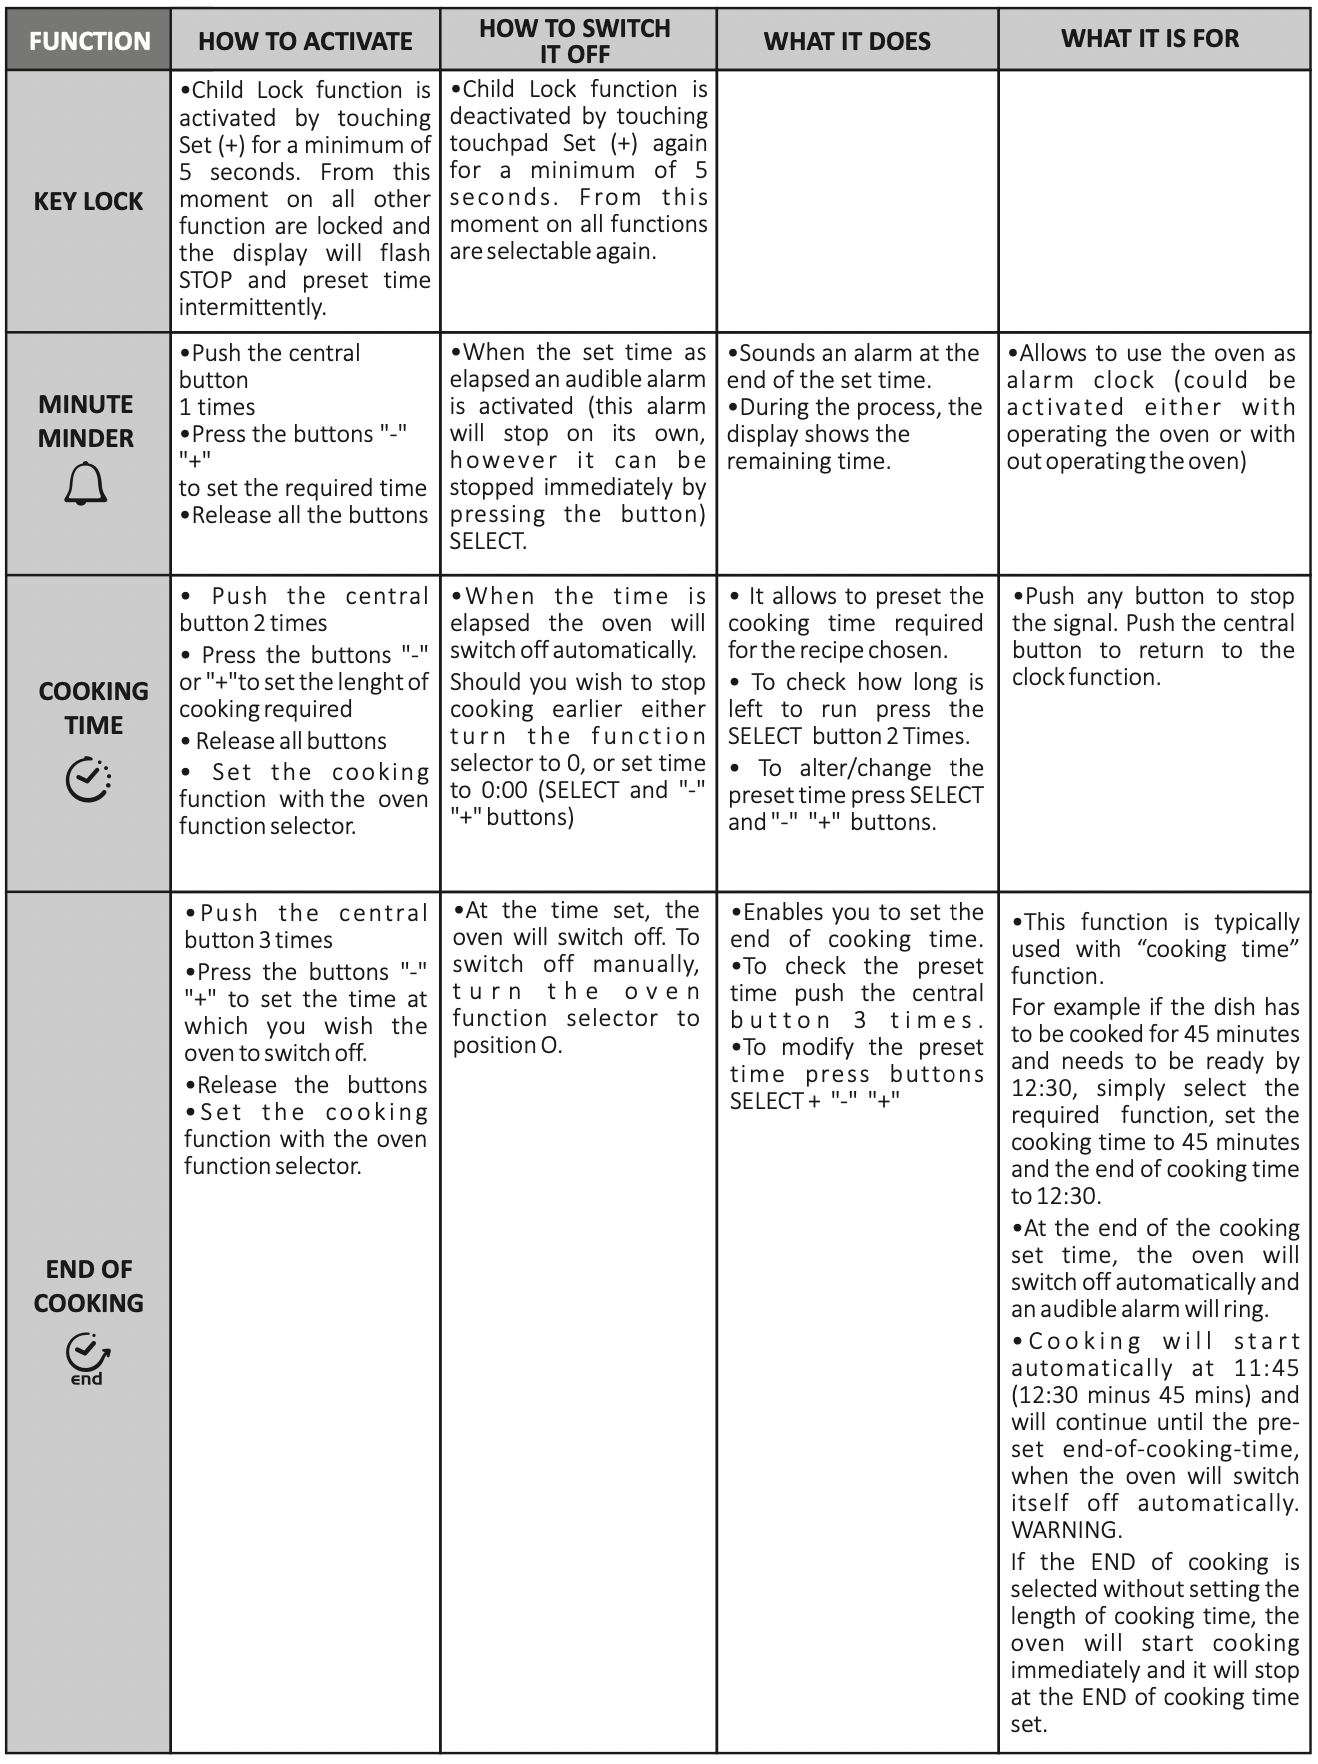
REMOVAL AND CLEANING OF THE SIDE RACKS
- Remove the wire racks by pulling them in the direction of the arrows (see below)
- To clean the wire racks either put them in the dishwasher or use a wet sponge, ensuring that they are dried afterwards.
- After the cleaning process install the wire racks in reverse order.
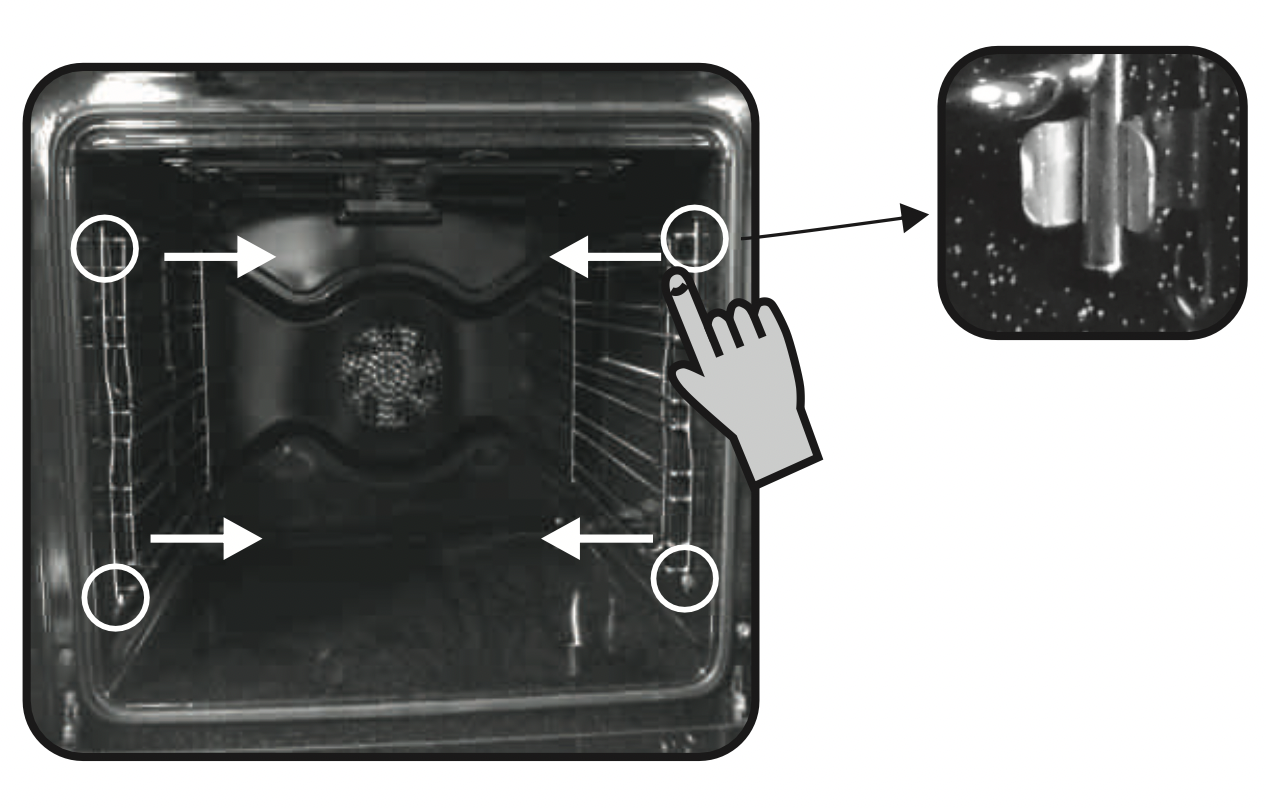
REMOVAL OF THE OVEN WINDOW
- Open the front window.
- Open the clamps of the hinge housing on the right and left side of the front window by pushing them downwards.
- Replace the window by carrying out the procedure in reverse.
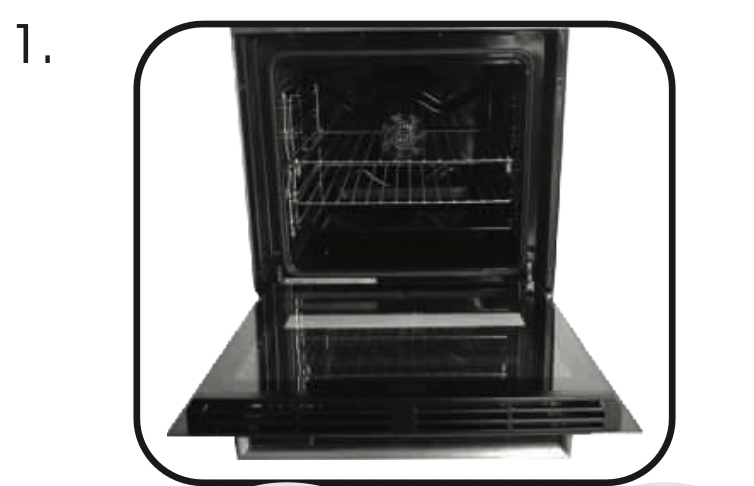
REMOVAL AND CLEANING OF THE GLASS DOOR
1. Open the oven door.
2.3.4. Lock the hinges, remove the screws and remove the upper metal cover by pulling it upwards.
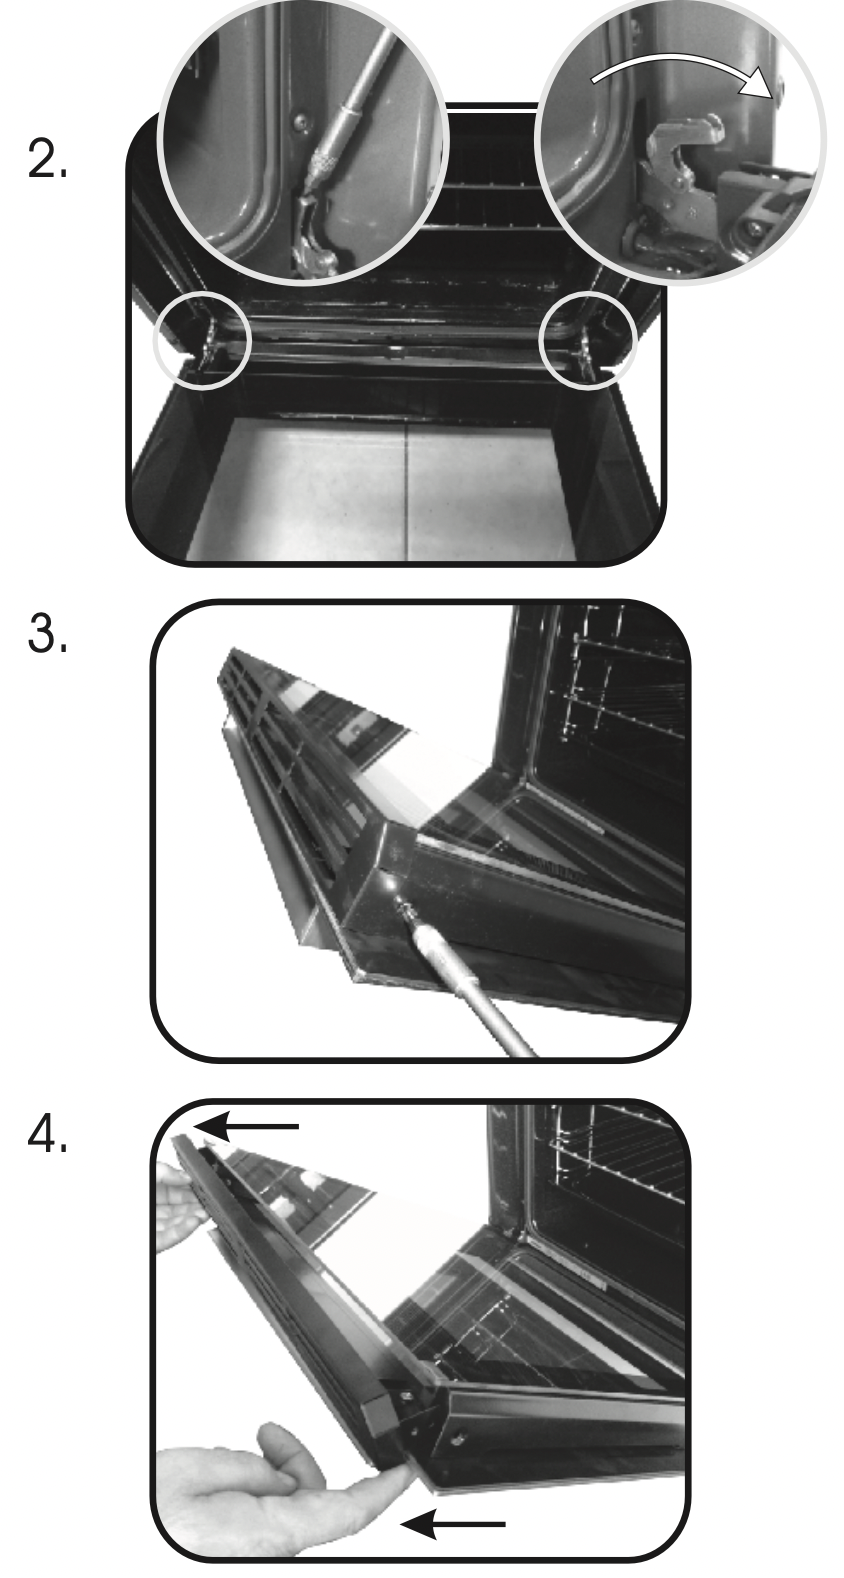
5.6. Remove the glass, carefully extracting it from the oven door (NB: in pyrolytic ovens, also remove the second and third glass (if present)).

7. At the end of cleaning or substitution, reassemble the parts in reverse order.
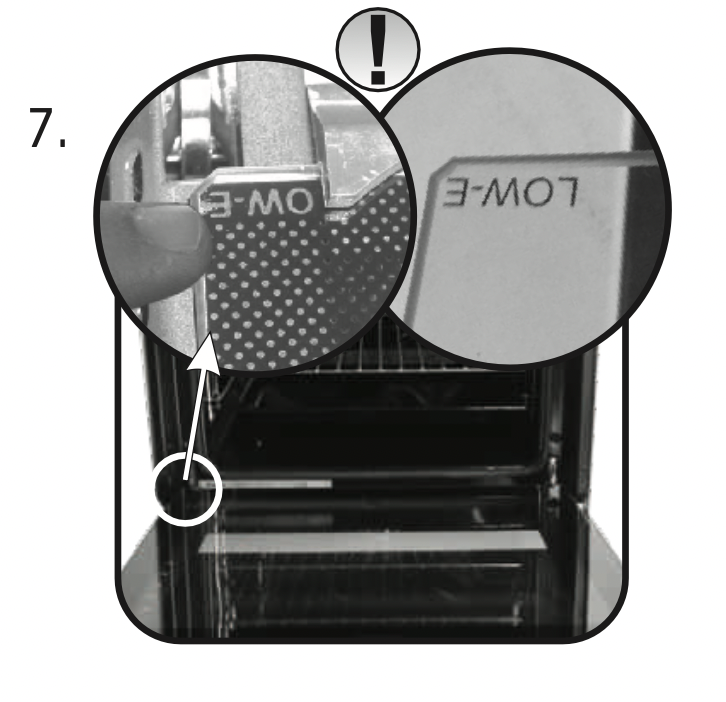
On all glass, the indication "Pyro" must be legible and positioned on the left side of the door, close to the left-hand lateral hinge. In this way, the printed label of the first glass will be inside the door.
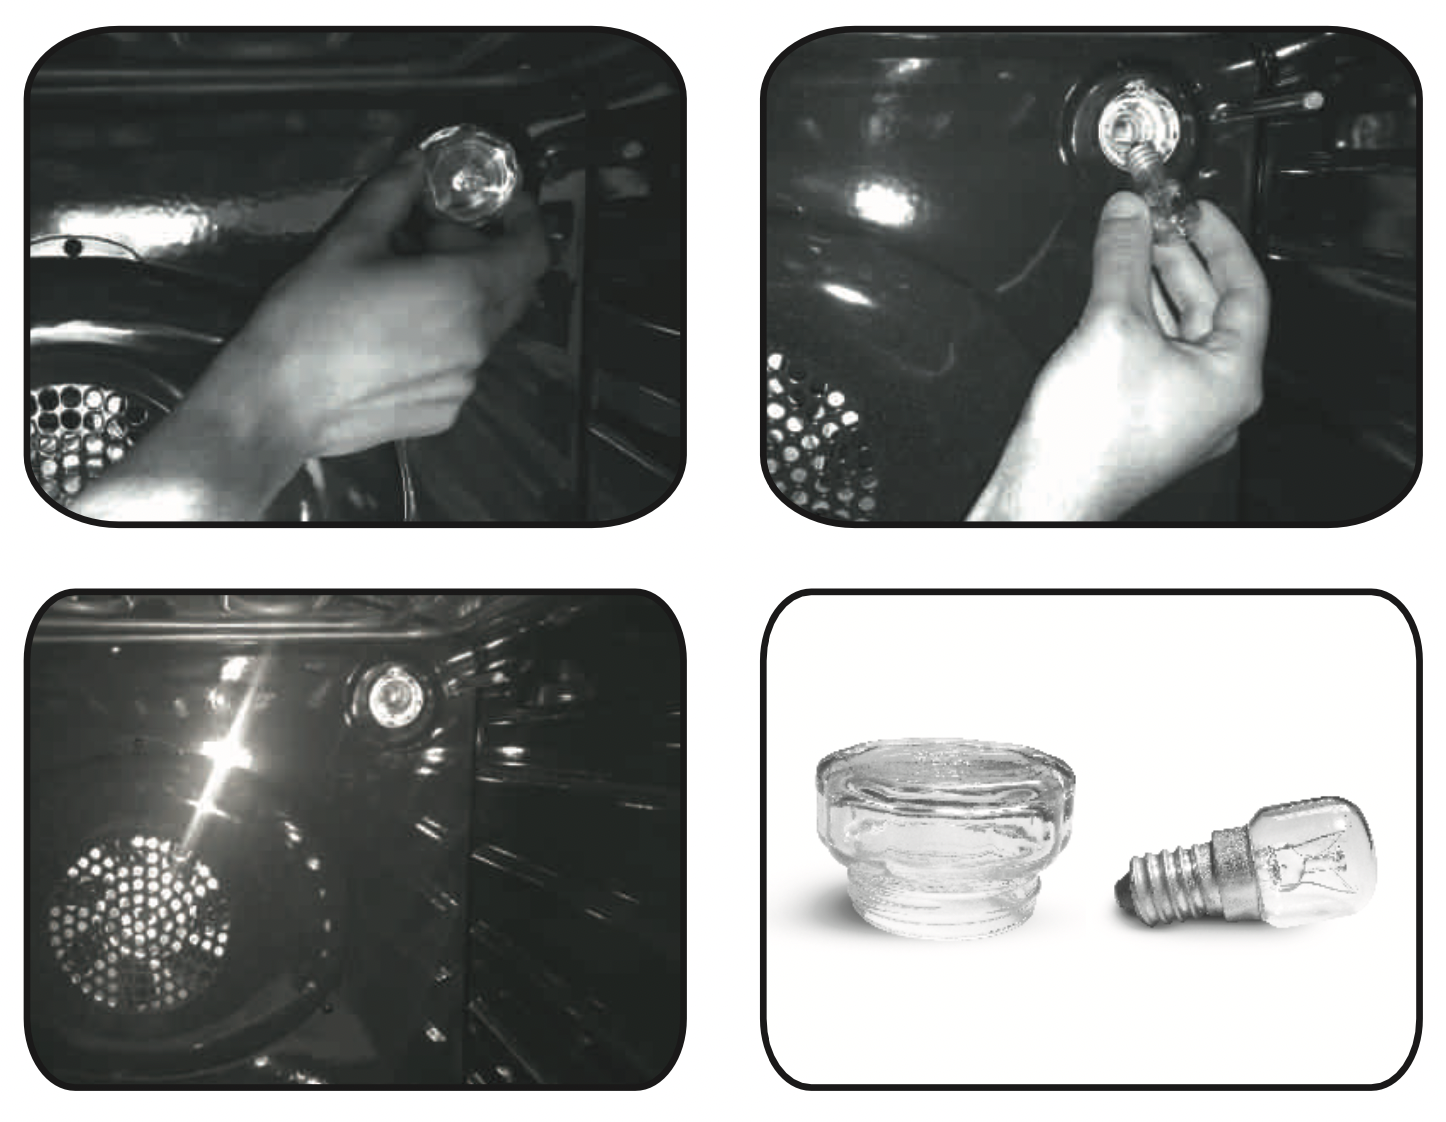
CHANGING THE BULB
- Disconnect the oven from the mains supply.
- Undo the glass cover, unscrew the bulb and replace it with a new bulb of the same type.
- Once the defective bulb is replaced, replace the glass cover.
Troubleshooting
| PROBLEM |
POSSIBLE CAUSE |
SOLUTION
|
| The oven does not heat up |
The clock is not set |
Set the clock
|
| The oven does not heat up |
The child lock is on |
Deactivate the child lock
|
| The oven does not heat up |
A cooking function and temperature has not been set |
Ensure that the necessary settings are correct
|