Loading ...
Loading ...
Loading ...
8 EN
3 Get started
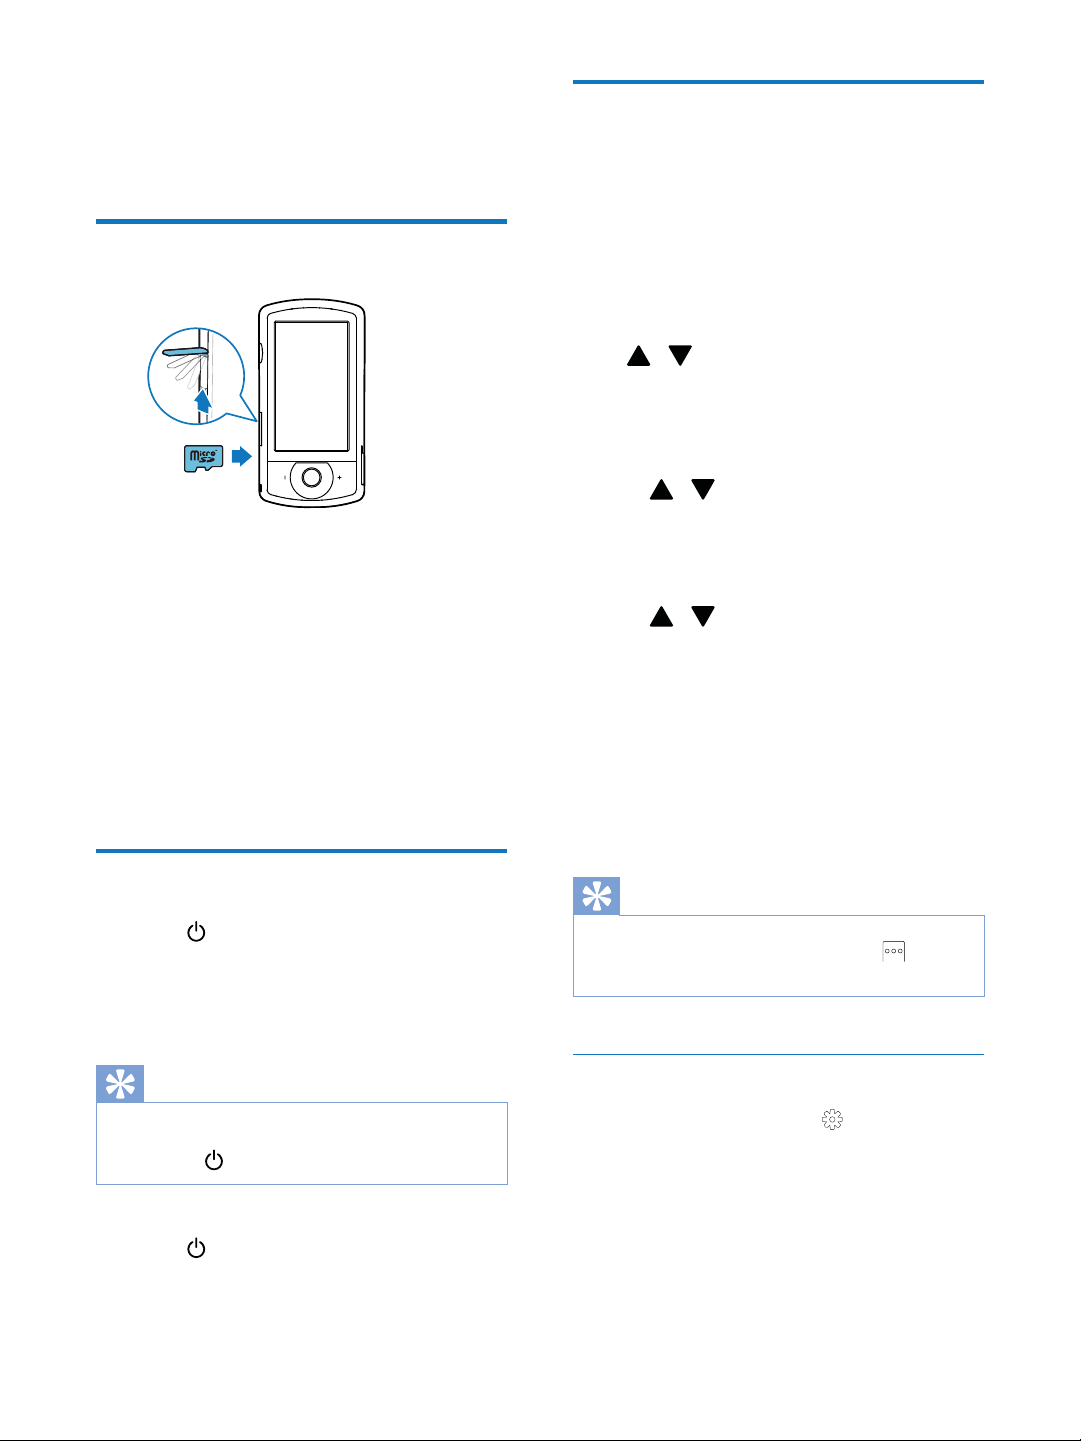
Load the Micro SD card
1 Flip open the protective cover on the
Micro SD card socket.
2 Insert a Micro SD card (not supplied) into
the socket.
Make sure that the Micro SD card is
not write-protected.
Make sure that the metal contact of
the card faces down.
3 Close the protective cover securely.
Turn on
Press .
»
language selection is displayed (see
'First-time setup' on page 8).
Tip
To save energy, the camcorder turns off automatically
after being idle for 3 minutes. To turn on the camcorder
again, press
.
To turn off the camcorder:
Press
again.
» The backlight on the touch screen
turns off.
First-time setup
More setting options are described in the
'Adjust settings' section (see 'Adjust settings' on
page 14).
time, a menu for OSD language selection is
displayed.
1 On the touch screen, tap the scroll bar
(
/ ) to move upward/downward.
2 Tap a language to highlight it.
3 Tap [Done]
» A date setting menu is displayed.
4 Tap / to set the day, month, and year
successively.
5 Tap [OK]
» A time setting menu is displayed.
6 Tap / to set the hour and minute
successively.
7 Tap [OK]
»
» The camcorder enters video
» A settings bar is displayed at the
bottom of the touch screen.
Tip
To hide the settings bar, tap any blank area on the touch
screen. To show the settings bar again, tap
at the
bottom right corner of the touch screen.
Select a resolution
1 to access the
settings menu.
2 Tap [Resolution].
3 Tap [Video] or [Photo].
4 Tap a video or photo resolution you like to
highlight it.
5 Tap [Done]
Loading ...
Loading ...
Loading ...