Loading ...
Loading ...
Loading ...
Not all features are on all models.
To Set the Timer
The timer does not control oven operations.
The maximum setting on the timer is 9 hours
and 59 minutes.
Touch the KITCHEN TIMER ON/OFF or
TIMER ON/OFF pad.
Touch the + or – pads until the amount
of time you want shows in the display.
The maximum time that can be entered
in minutes is 59. Times more than 59
minutes should be changed to hours
and minutes.
If you make a mistake, touch the KITCHEN
TIMER ON/OFF or TIMER ON/OFF pad and
begin again.
Touch the START/ON pad. The time will
start counting down, although the
display does not change until one
minute has passed.
When the timer reaches :00, the control
will beep 3 times followed by one beep
every 6 seconds until the KITCHEN
TIMER ON/OFF or TIMER ON/OFF pad
is touched.
The timer is a minute timer only.
The CLEAR/OFF pad does not affect the
timer.
Using the clock and timer. (on some models) GEAppliances.com
To Set the Clock
The clock must be set to the correct time of
day for the automatic oven timing functions
to work properly. The time of day cannot
be changed during a timed baking
or self-cleaning cycle.
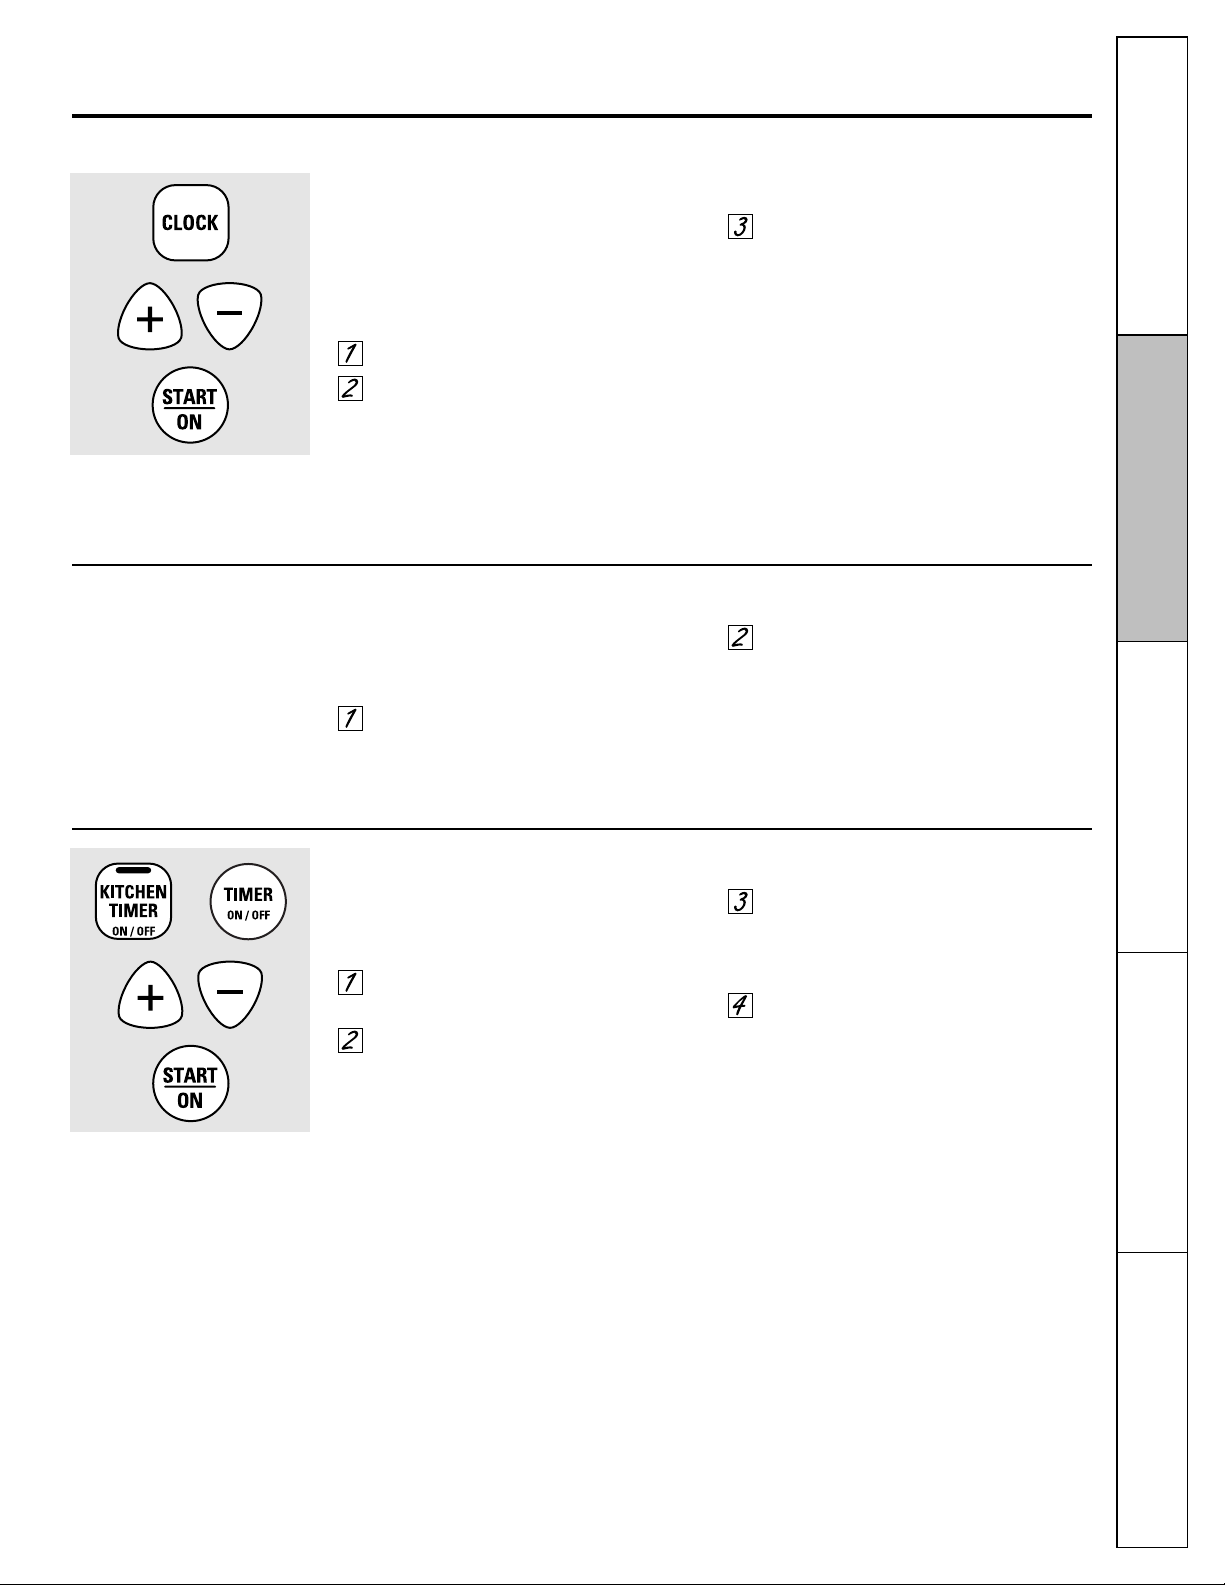
Touch the CLOCK pad twice.
Touch the + or – pads.
If the + or – pads are not touched within one
minute after you touch the CLOCK pad, the
display reverts to the original setting. If this
happens, touch the CLOCK pad and reenter
the time of day.
Touch the START/ON pad until the time
of day shows in the display. This enters
the time and starts the clock.
To check the time of day when the display
is showing other information, simply touch
the CLOCK pad. The time of day shows until
another pad is touched.
Make sure the clock is set to the correct
time of day.
15
To Turn Off the Clock Display
If you have several clocks in your kitchen,
you may wish to turn off the time of day
clock display on your range.
Touch the CLOCK pad once to turn
off the time of day display. Although
you will not be able to see it, the clock
maintains the correct time of day.
Touch the CLOCK pad again to recall
the clock display.
Safety Instructions
Operating Instructions
Safety Instructions Operating Instructions
Care and Cleaning
Troubleshooting Tips
Consumer Support
or
or
Loading ...
Loading ...
Loading ...