Loading ...
Loading ...
Loading ...
9
5. Cut the 1¹⁄₂" (3.8 cm) diameter hole at the circular
shaded area “G” on the template. This hole is for
the power supply cord.
NOTE: If upper cabinet is metal, the supply cord bushing needs
to be installed around the supply cord hole as shown.
A
B
A. Metal cabinet
B. Power supply cord bushing
6. Drill ³⁄₈" (10 mm) holes at points “D” and “E” on the template.
These are for two ¹⁄₄-20 x 3" bolts and washers used to
secure the microwave oven to the upper cabinet.
For Roof Venting Installation Only
7. Cut ³⁄₄" (19 mm) hole at one corner of the shaded rectangular
area “F” on Upper Cabinet Template.
8. Using a keyhole saw, cut out the rectangular area.
Install Damper Assembly
(for wall venting only)
1. Check that damper blade moves freely and opens fully.
2. Position the damper assembly on the back of the microwave
oven so that the damper blade hinge is at the top and the
damper blade opens away from the microwave oven.
A B C D
A. Back of microwave oven
B. Damper assembly
C. Damper blade
D. 6 x ³/₈" Sheet metal screws
.3 Secure damper assembly with 2 6 x ³/₈" sheet metal screws.
inside upper cabinet near the ³⁄₈" (10 mm) holes.
3. Make sure the microwave oven door is closed and
taped shut.
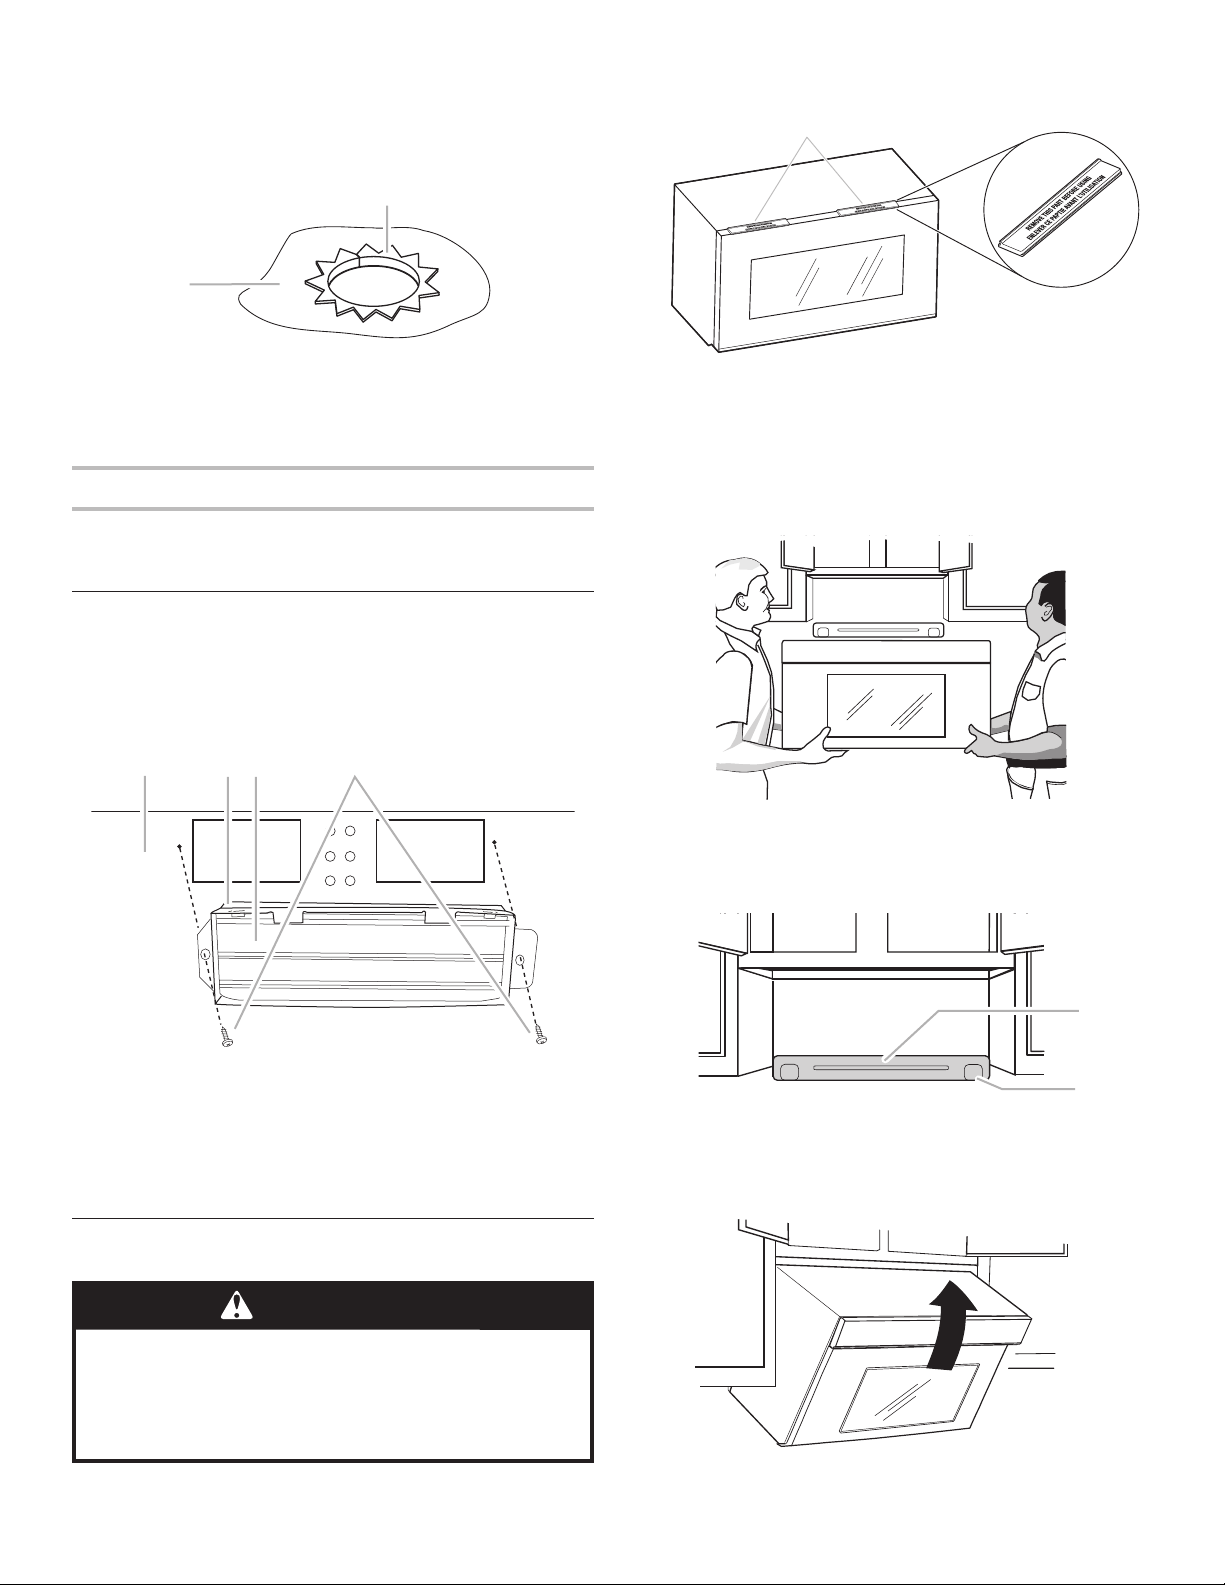
4. Using 2 or more people, lift microwave oven and hang it on
support tabs at the bottom of mounting plate.
NOTE: To avoid damage to the microwave oven, do not grip
or use the door or door handle while the microwave oven is
being handled.
A
B
A. Mounting plate
B. Support tabs
5. With front of microwave oven still tilted, thread power supply
cord through the power supply cord hole in the bottom of the
upper cabinet.
6. Rotate microwave oven up toward upper cabinet.
NOTE: If venting through the wall, make sure the damper
assembly fits easily into the vent in the wall cutout.
Install the Microwave Oven
WARNING
Excessive Weight Hazard
Use two or more people to move and install
microwave oven.
Failure to do so can result in back or other injury.
IMPORTANT: The control side of the microwave oven is the
heavy side. Handle the microwave oven gently.
1. Remove the 2 packing spacers from the top of the vent grille
before using the microwave oven.
A. Packing spacers (2)
A
Note: Depending on your model, it may has no packing
spaces. If no packing spaces, install your microwave oven
start from Step 2.
.2 Place a washer on each ¹⁄₄-20 x 3" flat-head bolt and place
#
#
Loading ...
Loading ...
Loading ...