Loading ...
Loading ...
Loading ...
22 Robert Bosch Hausgeräte GmbH
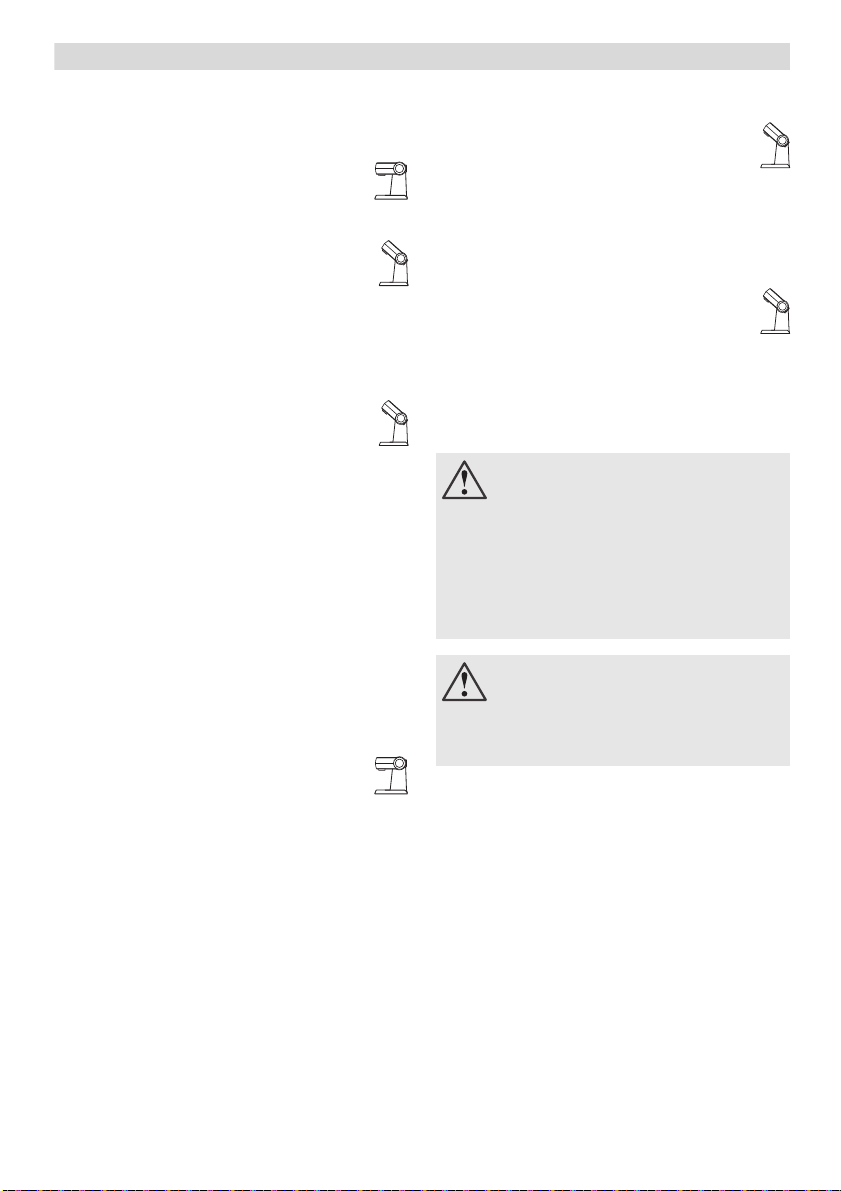
Set the whisk to the optimum height
by rotating the whisk:
– Turn clockwise: Raise
– Turn anti-clockwise: Lower
Press release button and move
multi-function arm to position 2.
Check the height of the whisk and,
if required, correct.
When the height has been set
correctly, press the release button
and move the multi-function arm
to position 1.
Hold whisk in place and tighten nut
anti-clockwise using enclosed key.
Working with the bowl
and the tools Fig.
Press release button and move
multi-function arm to position 1.
Cover unused drives with drive covers.
Insert the bowl:
– Tilt the bowl forwards and then
set it down.
– Turn anti-clockwise until it locks into
place.
Depending on the processing task, insert
the stirrer, whisk or kneading hook until
it locks into position.
Note:
If using the kneading hook, first insert
dough deflector, then the kneading hook
(Fig. –4b).
Note shape and position of the parts.
Put the ingredients to be processed into
the bowl.
Press release button and move
multi-function arm to position 2.
Attach the cover.
Insert the mains plug.
Set the rotary switch to the desired setting.
Our recommendation:
– Stirrer:
First mix at setting 1–2, then setting
3–7 as required
– Whisk:
setting 7, mix in at setting 1
– Kneading hook:
first stir in at setting 1, knead at setting 3
Adding more ingredients
Switch off the appliance with the rotary
switch.
Attach funnel (Fig. –7).
Top up ingredients through the funnel.
or
Remove lid.
Press release button and move multi-
function arm to position 1.
Add ingredients.
After using the appliance
Switch off the appliance with the rotary
switch.
Remove mains plug.
Remove lid.
Press release button and move
multi-function arm to position 1.
Take the tool out of the drive.
Remove the bowl.
Clean all parts, see “Cleaning and
servicing”.
Blender
Warning!
Operate the blender in the indicated
operating position only.
Operate the assembled blender only and with
the lid attached. Lid must be locked correctly.
Do not operate blender when empty.
Preparation Fig.
Warning!
Never assemble the blender without the seal
on the blender holder.
Putting the blender together:
Insert blender holder with seal into
the blender jug, ensuring that the line
is under the arrow.
Attach blender holder by rotating it as far
as possible to the right.
en
Risk of injury from sharp
blades/rotating drive!
Never place fingers in the attached
blender! Do not remove/attach the
blender until the drive is at a standstill!
Do not switch on the appliance until the
blender has been screwed in all the way
and the tool drive cover (7) has been
attached.
Risk of scalding!
If processing hot liquids, steam escapes
through the funnel in the lid. Add a max.
0,75 litres of hot or frothing liquid.
Loading ...
Loading ...
Loading ...