Loading ...
Loading ...
Loading ...
5
Water Pressure
A cold water supply with water pressure between 30 and 120 psi
(207 and 827 kPa) is required to operate the water dispenser and
ice maker.
NOTE: If the water pressure is less than what is required, the ow
of water from the water dispenser could decrease or ice cubes
could be hollow or irregular shaped. If you have questions about
your water pressure, call a licensed, qualied plumber.
Reverse Osmosis Water Supply
IMPORTANT: The pressure of the water supply coming out of
a reverse osmosis system going to the water inlet valve of the
refrigerator needs to be between 30 and 120 psi (207 and
827 kPa).
If a reverse osmosis water ltration system is connected to your
cold water supply, the water pressure to the reverse osmosis
system needs to be a minimum of 40 psi (276 kPa).
If the water pressure to the reverse osmosis system is less than
40 psi (276 kPa):
■ Check to see whether the sediment lter in the reverse
osmosis system is blocked. Replace the lter if necessary.
■ Allow the storage tank on the reverse osmosis system to rell
after heavy usage.
■ If your refrigerator has a water lter, it may further reduce
the water pressure when used in conjunction with a reverse
osmosis system. Remove the water lter. See “Water Filtration
System.”
If you have questions about your water pressure, call a licensed,
qualied plumber.
Water System Preparation
Please read before using the water system.
IMPORTANT:
■ After connecting the refrigerator to a water source or after
replacing the water lter, ll and discard two full containers of
ice to prepare the water lter for use before using the ice.
■ Connect to potable water supply only.
1. To turn on the ice maker, simply lower the wire shutoff arm.
See “Ice Maker and Storage Bin” for further instructions on
the operation of your ice maker.
NOTE: Allow 24 hours to produce the rst batch of ice.
NOTE: If your model has a base grille lter system, make sure
the base grille lter is installed so that the Eject button is out. See
“Water Filtration System.”
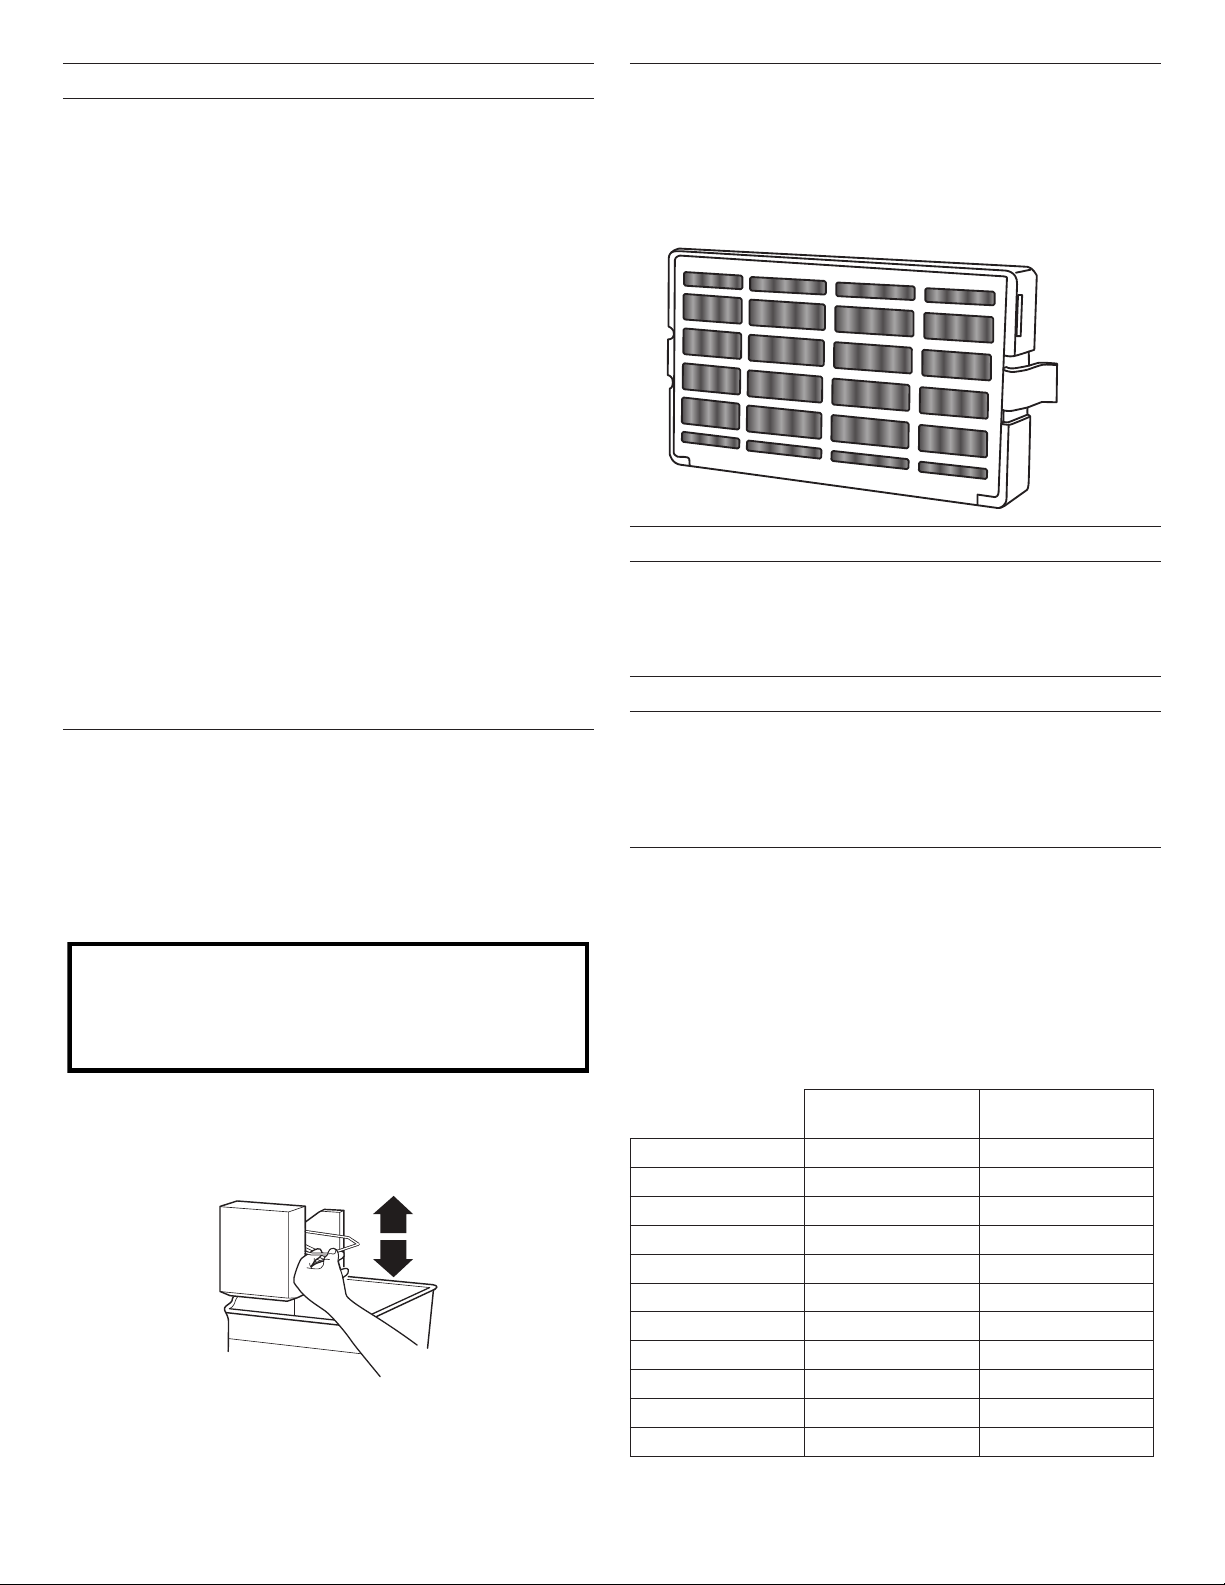
Install Air Filter
(on some models)
An air lter is 15 times more powerful than baking soda at
reducing common food odors inside the refrigerator.
On some models, your refrigerator’s accessory packet includes
an air lter which must be installed prior to use.
Installing the Air Filter
Install the air lter in the ceiling, along the back wall, of the
refrigerator compartment.
1. Remove the air lter from its packaging.
2. Snap the lter into place.
Replacing the Air Filter
The disposable air lter should be replaced every 6 months. To
order a replacement air lter, contact us. See “Accessories” for
information on ordering.
1. Remove the used air lter by squeezing in on the side tabs.
2. Install the new air lter by snapping it into place.
Install Produce Preserver
(on some models)
The produce preserver absorbs ethylene to slow the ripening
process of many produce items. As a result, certain produce
items will stay fresh longer.
Ethylene production and sensitivity varies, depending on the type
of fruit or vegetable. To preserve freshness, it is best to separate
produce with sensitivity to ethylene from fruits that produce
moderate-to-high amounts of ethylene.
Sensitivity
to Ethylene
Ethylene
Production
Apples High Very High
Asparagus Medium Very Low
Berries Low Low
Broccoli High Very Low
Cantaloupe Medium High
Carrots Low Very Low
Citrus Fruit Medium Very Low
Grapes Low Very Low
Lettuce High Very Low
Pears High Very High
Spinach High Very Low
Do not use with water that is microbiologically unsafe or
of unknown quality without adequate disinfection before
or after the system. Systems certified for cyst reduction
may be used on disinfected waters that may contain
filterable cysts.
Loading ...
Loading ...
Loading ...