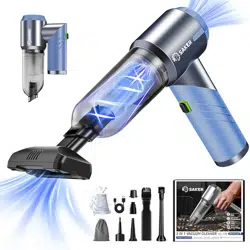
Saker HL132 Portable Car Vacuum Cleaner Cordless High Power 17000PA
Product's Documents
Below are documents related to this product, you can read online or download:
- User Manual - (English) Read Online | Download pdf