1. Overview
The ROCGORLD R7 Pro is a portable, rechargeable tire inflator designed for inflating car tires, motorcycle tires, bicycle tires, sports balls, and other inflatables. It features a built-in 6600mAh battery, a digital pressure gauge, and an automatic shut-off function.

Model: R7 Pro
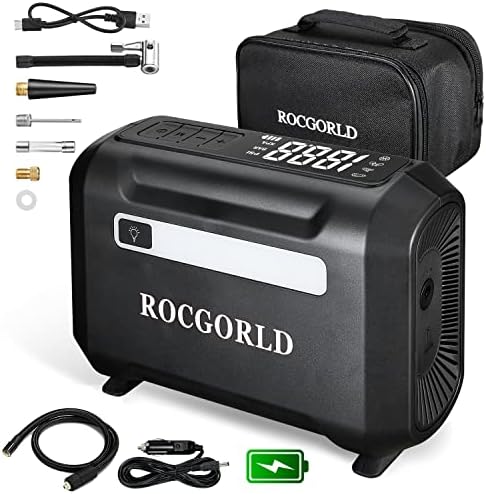
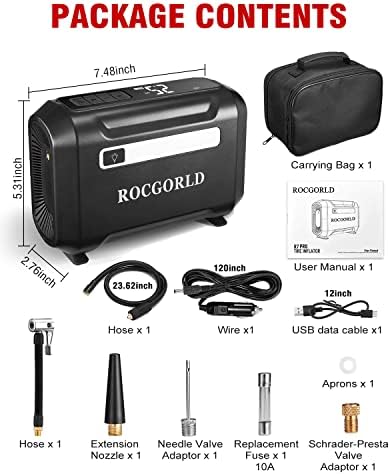
2. Package Contents
- ROCGORLD R7 Pro Tire Inflator unit
- 1 x USB Type-C charging cable
- 1 x Carrying bag
- 2 x Air hoses
- 1 x 12V DC power cord (for car cigarette lighter)
- 1 x Schrader to Presta valve adapter
- 1 x Needle valve adapter (for balls, toys)
- 1 x Extension nozzle
- 1 x Set of rubber aprons (for nozzle seals)
- 1 x Replacement fuse
- User manual (this document)
3. Key Features & Specifications
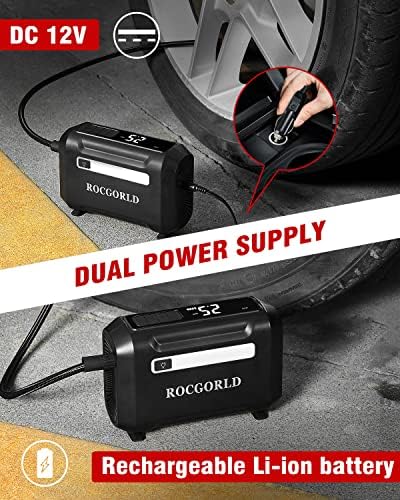
3.1 Power & Battery
- Dual Power Supply: Can operate from its internal rechargeable battery or a 12V DC car outlet.
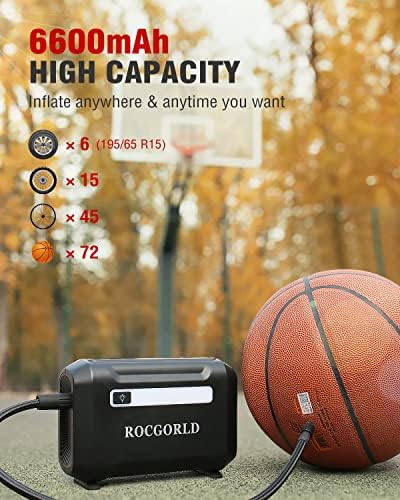
- Battery Capacity: 6600mAh (3 x 2200mAh cells).
- Voltage: 12V DC.
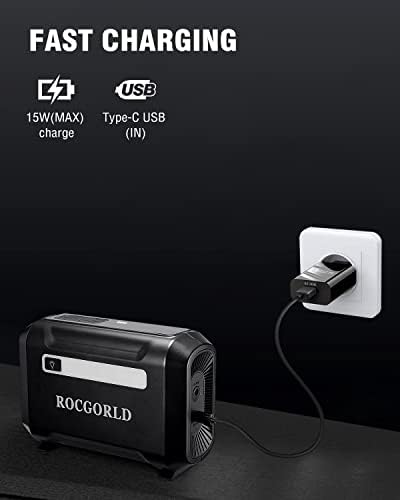
- Charging Port: USB Type-C.
3.2 Performance
- Maximum Pressure: 150 PSI.
- Pressure Units: Digital display shows PSI, BAR, and KPA.
- Auto Shut-Off: Automatically stops inflation when the preset pressure is reached.
- Noise Level: Approximately 92 decibels during operation.
3.3 Physical
- Dimensions: 7.48 x 2.76 x 5.31 inches.
- Material: Rubber and plastic construction.
- Display: Digital LCD screen.
4. Control Panel & Components
Identify the main parts of your inflator:
- Digital Display: Shows current pressure reading and target pressure setting.
- Unit Button (UNIT): Cycles the pressure display between PSI, BAR, and KPA.
- Pressure Adjustment Buttons (+ / -): Sets the desired target pressure for auto shut-off.
- Power/Start Button (I/O): Turns the inflator on and starts the inflation process.
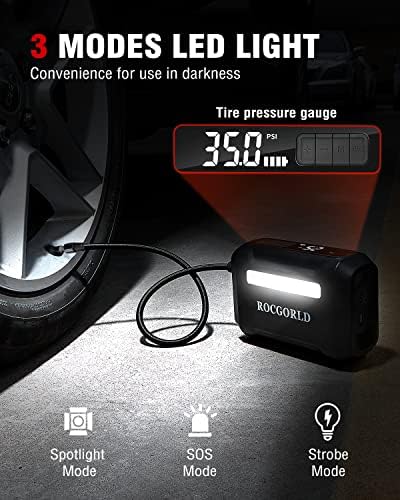
- Light Button: Turns the built-in LED work light on/off.
- Air Hose Connection Port: Where the air hose screws onto the unit.
- USB Type-C Charging Port: For charging the internal battery.
- 12V DC Input Port: For connecting the included 12V car power cord.
- Battery Indicator LEDs: Show remaining battery charge level.
5. Initial Setup & Charging
5.1 Initial Charge
Before first use, fully charge the internal battery.
- Connect the provided USB Type-C cable to the charging port on the inflator.
- Connect the other end to a standard USB power adapter (not included) or a computer USB port.
- The battery indicator LEDs will illuminate to show charging progress. A full charge may take several hours.
5.2 Checking Battery Level
Press the power button briefly. The battery indicator LEDs on the side or display will show the approximate charge level.
6. Usage Guide
WARNING: Do not leave the inflator unattended during use. Do not inflate beyond the maximum pressure rating of the item you are inflating. Refer to your vehicle or equipment manual for correct pressure values.
6.1 Inflating with Internal Battery (Cordless Mode)
- Set Target Pressure: Press the Power button to wake the display. Use the '+' and '-' buttons to set your desired pressure (e.g., 35 PSI for a car tire). Use the UNIT button to select PSI, BAR, or KPA.
- Attach Hose & Nozzle: Screw the appropriate air hose onto the unit's connection port. Attach the required nozzle or adapter to the other end of the hose (e.g., standard Schrader nozzle for car tires).
- Connect to Valve: Remove the valve cap from the tire or item. Firmly press the nozzle onto the valve stem until you hear a slight hiss, indicating a seal. Lock the lever if your nozzle has a locking mechanism.
- Start Inflation: Press and hold the Power/Start button. The digital display will show the rising current pressure. The inflator will run loudly.
- Auto Shut-Off: The inflator will automatically stop when the preset target pressure is reached.
- Disconnect: Quickly remove the nozzle from the valve stem and replace the valve cap.
- Press the Power button to turn the unit off.
6.2 Inflating with 12V DC Car Power (Corded Mode)
- Ensure your vehicle's engine is running to avoid draining the car battery.
- Plug the included 12V DC power cord into your vehicle's cigarette lighter/power outlet.
- Plug the other end into the 12V DC input port on the inflator. The unit will now draw power from the vehicle, preserving its internal battery.
- Follow steps 1-7 from section 6.1 to set pressure and inflate.
6.3 Using Different Adapters
- Presta Valves (Bicycles): Use the Schrader-Presta adapter. Screw the adapter onto the Presta valve before attaching the standard hose nozzle.
- Needle Valves (Balls, Toys): Use the needle valve adapter. Attach it to the air hose, then insert the needle into the ball's valve.
- Extension Nozzle: Use for hard-to-reach valves or to provide a better angle.
7. Care & Maintenance
- Storage: Store the inflator and all accessories in the provided carrying bag in a cool, dry place.
- Cleaning: Wipe the exterior with a dry cloth. Do not use liquids or submerge the unit.
- Hose & Nozzles: Keep the air hose and nozzles clean and free of debris to ensure a proper seal.
- Battery: For long-term storage, charge the battery to approximately 50% and recharge every 3 months.
- Fuse Replacement: If the unit fails to power on in 12V DC mode, the fuse in the car power cord plug may be blown. Use the provided replacement fuse to swap it out.
8. Troubleshooting
| Problem | Possible Cause | Solution |
|---|---|---|
| Unit does not turn on. | Battery is depleted. Faulty power connection. | Charge the battery. Check 12V cord connection. Ensure car outlet is working. |
| Inflator runs but does not inflate. | Air hose not securely connected. Nozzle not sealed on valve. | Check all connections. Ensure nozzle is firmly pressed onto valve stem. |
| Auto shut-off does not work. | Target pressure not set correctly. | Set the target pressure using the '+' and '-' buttons before starting. |
| Pressure reading is inaccurate. | Calibration drift. Faulty sensor. | Compare with a known accurate gauge. If consistently wrong, contact support. |
| Unit stops after a few seconds. | Overheating protection activated. | Allow the unit to cool down for 15-20 minutes before resuming. |
9. Specifications Reference
- Brand: ROCGORLD
- Model Number: R7 Pro
- ASIN: B09MK28FYX
- Max Pressure: 150 PSI (10.3 BAR, 1034 KPA)
- Battery: 6600mAh Lithium-ion
- Power Source: Battery Powered & DC 12V
- Noise Level: ~92 dB
- Dimensions: 7.48" x 2.76" x 5.31"