Loading ...
Loading ...
Loading ...
14
HOW TO USE THE WASHER DRYER
1. LOADING LAUNDRY.
•Prepare the laundry, following the
recommendations given in the section “HINTS
AND TIPS” - Open the Door
and load the laundry without exceeding
the maximum load capacities indicated in
the section titled "Programmes and Options".
•Close the door, pressing until
the latch audibly locks, and
check that there is no laundry trapped between
the door glass and the rubber seal.
2. OPEN THE WATER TAP.
Check that the washing machine is
properly connected to the water
mains. Open the water tap.
3. SWITCHING ON THE WASHER DRYER.
Press button ; the indicator light will ash
slowly.
4. SELECT THE PROGRAMME AND CUSTOMISE
THE CYCLE.
This appliance allows for the following
functions to be performed:
•Wash only
•Wash and dry
•Dry only
Wash only
Select the desired programme using the
PROGRAMME selector. The duration of the
wash cycle is shown on the display. The washer
dryer machine automatically displays the
maximum temperature and spin speed settings
possible for the selected programme. Adjust
the temperature and/or spin speed settings if
needed with the relative buttons.
•Press the “Temp°” button to progressively lower
the temperature setting until cold wash has
been set (“- -“ will be shown on the display).
•Press the “Spin speed” button to progressively
decrease the spin speed until the spin cycle is
turned o (“0” will be shown on the display).
Pressing the button again sets the highest
possible setting.
Select the required options (if necessary).
•Press the button to select the option; the
respective button lamp illuminates.
•Press the button again to cancel the option; the
lamp extinguishes.
! If the selected option is not compatible with
the set programme, an error alarm will sound
and the indicator light will ash three times.The
option is not selected.
Wash and dry
If you want to wash and dry a load without any
interruption between the wash and dry cycles,
it is necessary to make sure that the load to be
washed is within the maximum load drying limit
for the selected programme (see “Max. drying
load” in the chapter titled “Programmes and
Options”).
1. Follow the instructions given in the paragraph
“Wash Only” to select and, if necessary,
customise the required programme.
2. Select the desired drying mode by pressing the
“Drying settings” button. Two drying modes are
available: automatic or timer.
- Automatic drying with selectable levels:
In automatic drying mode, the washer dryer
machine dries the laundry until the set level
of dryness is reached. As soon as the "Drying
settings" button has been pressed, the washer
dryer automatically selects the maximum
drying level compatible with the selected
programme.Press the button again to reduce
the drying level.
The following levels are available:
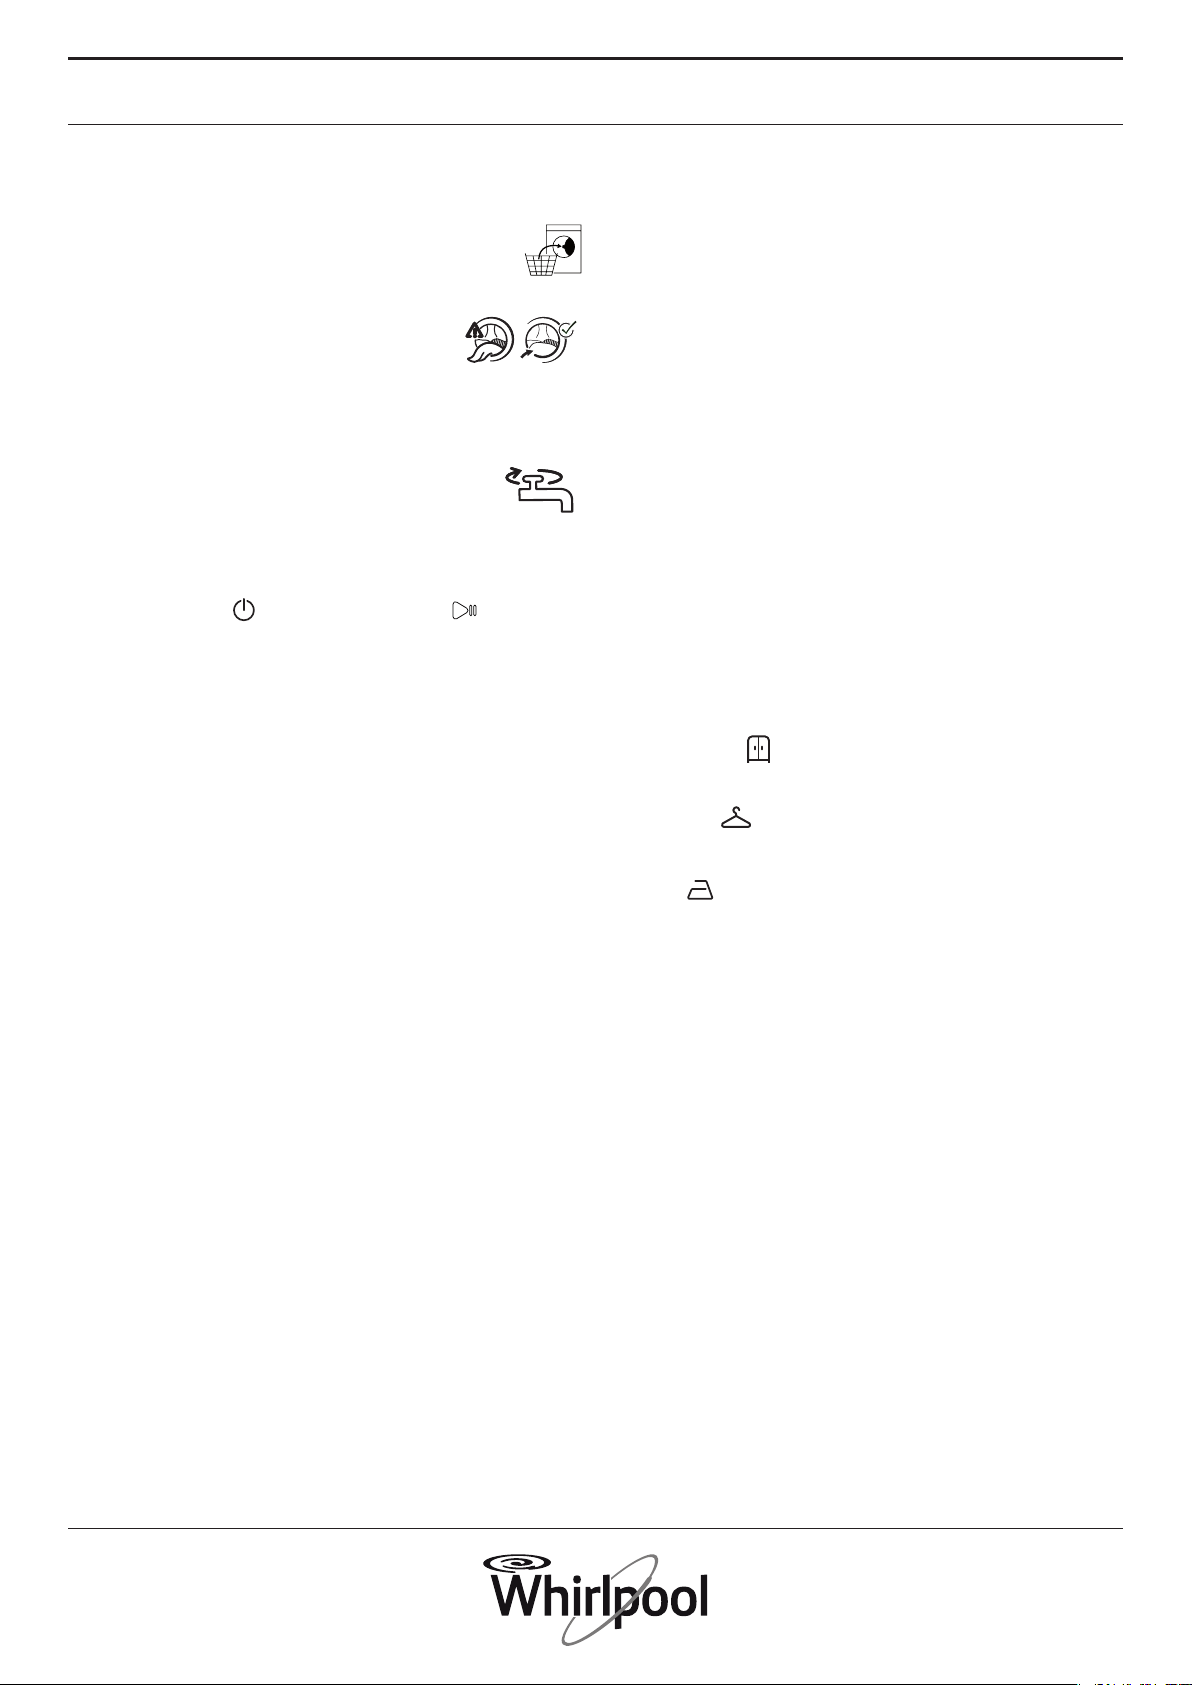
Wardrobe : laundry is completely dry and
ready to be put away in the wardrobe without
ironing.
Hanger : laundry is left slightly damp to
minimise creasing. Garments must be hung to
air dry completely.
Iron : garments are left reasonably damp to
make ironing easier.
- Timer drying mode:
If you want to set a timed drying cycle, press the
“Drying settings” button repeatedly. After all
the automatic drying levels have been displayed,
continue pressing the “Drying settings” button
until the desired time is displayed. Values from 210
to 30 minutes are settable.
If instead you want to wash and dry a load of
laundry that exceeds the maximum drying
load (see “Max. drying load” in the chapter
titled “Programmes and Options”), a number of
garments will have to be removed at the end
of the wash cycle before proceeding with the
drying cycle. Proceed as follows:
1. Follow the instructions given in the paragraph
“Wash Only” to select and, if necessary,
customise the required programme.
2. Do not include a drying cycle.
3. Once the washing cycle is nished, open the
door and remove a few garments to reduce the
load. Now follow the instructions for “Dry only”.
N.B.: always allow a cooling down period after
drying before opening the door.
Loading ...
Loading ...
Loading ...