Loading ...
Loading ...
Loading ...
41
Recording
(ENG) DVQX1310
∫ Registering the set AF area to [ ], [ ] or [ ]
1 On the screen in step
3 on P40, press 3.
2 Press 3/4 to select a destination to which the setting will be registered, and press
[MENU/SET].
Specifying the AF area position
• When [Focus Switching for Vert / Hor] in the [Custom] ([Focus / Release Shutter]) menu is set,
the last specified positions of the AF area (when [
Ø], [ ] or [ ] is set) and the MF Assist
display are stored separately for the camera’s horizontal and vertical orientations (two vertical
orientations, left and right, are available).
Applicable modes:
∫ When selecting [š], [ ], [ ], [Ø]
1 Press [ ].
2 Select [š], [ ], [ ] or [Ø] and press 4.
3 Change the position and size of the AF area.
• If you have selected [ ], you can set the lock-on position by changing the AF area
position.
• To specify the person or eye to be brought into focus when [š] has been selected, align
any of the AF areas currently indicating human subjects with the desired person or eye.
For any position where a person or eye is not located, an AF area that operates in the
same way as [Ø] will be set.
• Press [MENU/SET] or touch [ ] to cancel the AF area settings when using [š], [ ] or
[].
4 Press [MENU/SET] to set.
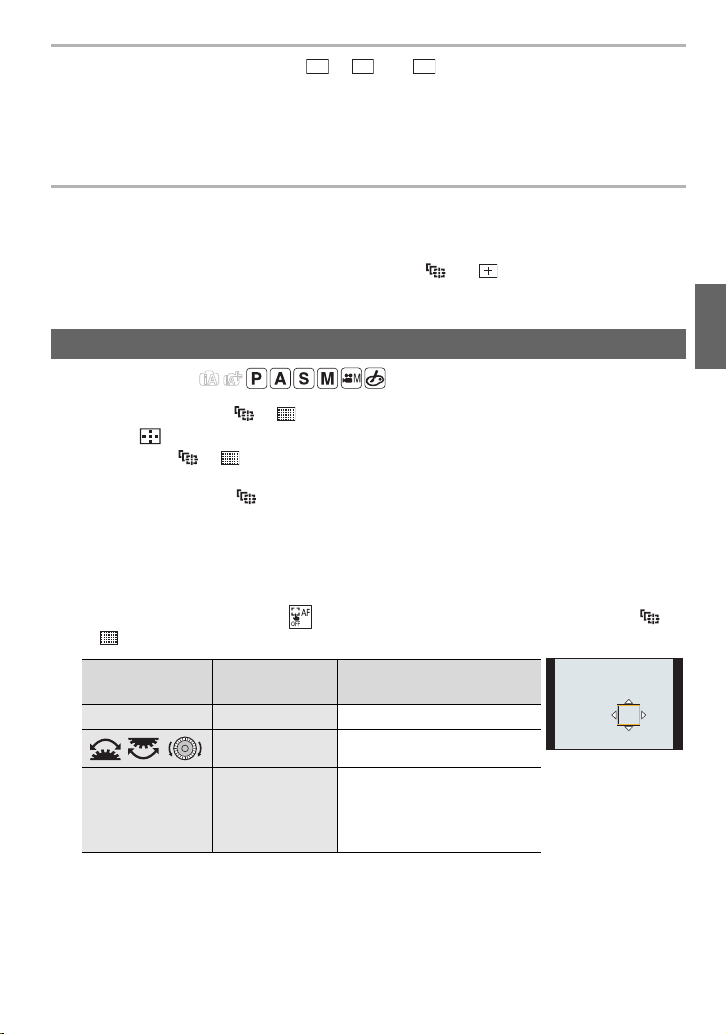
Specifying the AF area position on the setting screen
Button
operation
Touch
operation
Description of operation
3/4/2/1 Touching Moves the position
//
Pinching out/in Changes the size
[DISP.] [Reset]
First time: The position is
reset to the center
Second time: The size is
reset to the default
ヤヒ
ヤビ
ヤピ
DC-G9BodyP-DVQX1310_eng.book 41 ページ 2017年11月13日 月曜日 午前9時59分
Loading ...
Loading ...
Loading ...