Loading ...
Loading ...
Loading ...
7
STEP 4
Select a Cycle
Efcient dishwashers run longer to save water and energy,
just as driving a car slower saves on gas. Typical cycle time
is approximately 2
1
/
2
hours but can take less or more time to
complete depending on selections. Press START keypad to
select the Auto cycle or select another cycle appropriate for your
load (see Cycle Guide).
Select Options (Options varies by model)
See the “Cycle and Option Descriptions” chart in the following
section.
You can customize the cycles by selecting the options desired
and pressing the START keypad.
STEP 5
Start a Cycle
■ If needed, run hot water at the sink nearest your dishwasher
until the water is hot. Turn off water.
■ For best dish washing results, water should be 120ºF (49ºC)
as it enters the dishwasher.
■ Select the wash cycle and options desired. To run the Auto
cycle, press the START keypad twice. Within 4 seconds
of pressing START keypad you must rmly push the door
closed. If the door is not closed within 4 seconds, the START
light will ash, an audible tone will be heard, and the cycle
will not start.
■ You can add an item at the beginning of the cycle. Open the
door slowly and add the item. Press the START keypad and
close the door rmly within 4 seconds. If the door has been
open more than 4 seconds the light will ash, a tone will
sound and the dishwasher will not resume unless you press
START keypad again.
IMPORTANT: If the door has been opened for more than a few
seconds after the cycle has started (even during the Delay time),
The START button must be pressed again or the cycle will not
resume.
STEP 6
Follow the progress of your dishwasher
A light on the front right corner of the door panel will glow blue
for washing/rinsing, red for drying, and white for complete.
The display will indicate cycle progress such as Add Dish,
Washing, Drying, Clean and Sanitized. The cycle has completed
when the Clean light is lit. Refer to the Controls and Cycle Status
section for operation of the Sanitized indicator.
Dishwasher Features
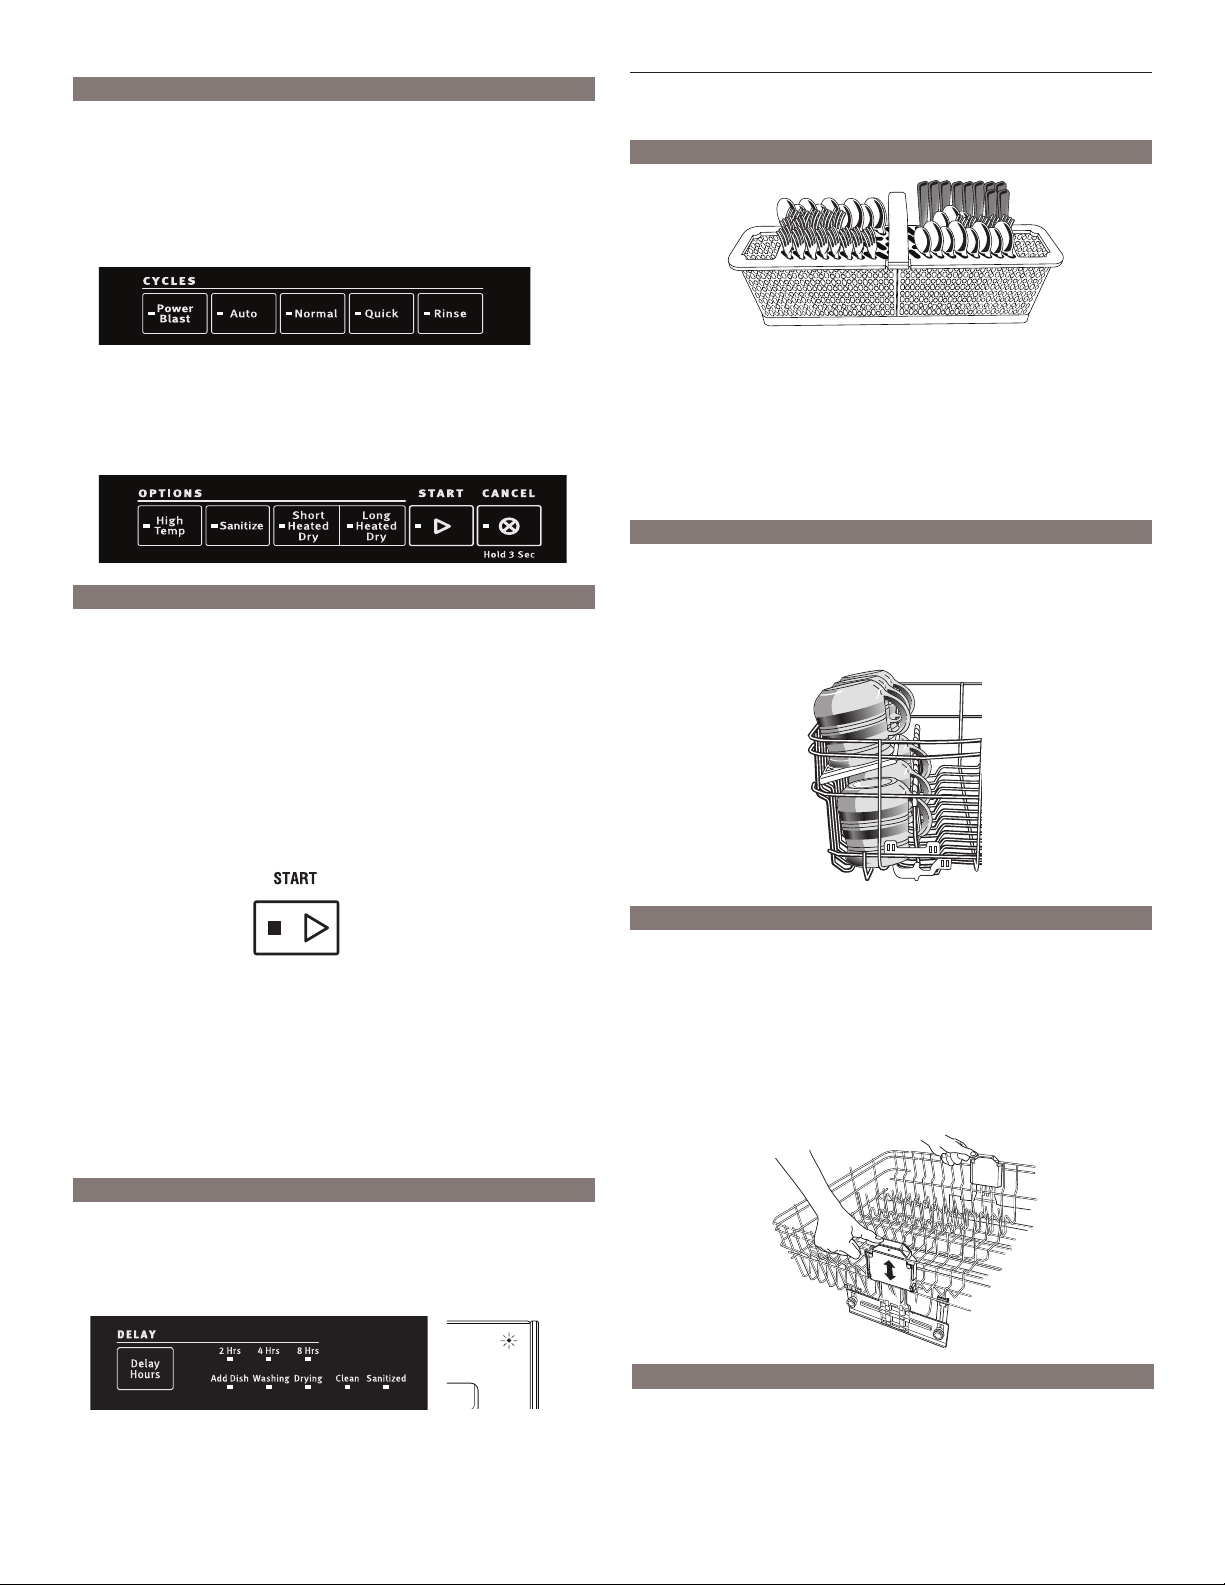
Silverware Basket (Varies by model)
Silverware basket lids:
Use silverware basket lids to provide optimal spacing and best
cleaning performance.
NOTE: If your silverware does not t into the designated slots,
push tabs inward on either end and lift lid off of the silverware
baskets. Mix silverware types to keep them separated. Load
knives down, forks up, and alternate spoons for best cleaning
results.
Cup Shelves (On some models)
Fold down the extra shelf on the left-hand or right-hand side of
the top rack to hold additional cups, stemware, or long items
such as utensils and spatulas. For best results on cups, stagger
the spacing so that the cups on the shelf are not directly above
the cups below.
Removable Top Rack LAVA RAIL (On some models)
The removable top rack allows you to wash larger items, such as
pots, roasters, and cookie sheets, in the bottom rack.
IMPORTANT: Remove dishes prior to removing the top rack
from the dishwasher.
Adjustable Upper Rack
You can raise or lower the top rack to t tall items in either the
upper or lower rack. Adjusters are located on each side of the
top rack.
To Raise : Press both rack adjuster thumb levers and lift the
rack until it is in the up position and level.
To Lower: Press both rack adjuster thumb levers and slide the
rack to its down position and level.
NOTE: The top rack must be level.
Loading ...
Loading ...
Loading ...