Loading ...
Loading ...
Loading ...
4 - EN
DESCRIPTION OF THE APPLI-
ANCE (Fig.1)
1 Motor base
2 Carafe
3 Notched whisk (for frothing the milk or
the chocolate)
3a Smooth whisk (for hot milk function)
4 Lid
5 Measuring cap
6 START/STOP button
7 Program selection knob
8 LED
IDENTIFICATION PLATE
The identification plate states the technical
data, the serial number and marking. The
identification plate must never be removed.
BEFORE COMMISSIONING
(Fig.1)
• Unpack the appliance carefully and remove
all packaging materials and any labels and
stickers.
• Clean the motor base (1) using a damp
cloth.
Wash all components and dry thoroughly
(see paragraph “Cleaning and Mainte-
nance”).
Before use, check that all compo-
nents are integral.
ASSEMBLY OF COMPONENTS
(Fig. 1)
• Position the carafe (2) on the motor base
(1).
• Position the whisk (3) inside the carafe (2),
inserting it into the relevant pin.
• Position the lid (4) on the carafe (2) and
press it down.
DESCRIPTION OF CONTROLS
(Fig. 1)
Program selection knob (7)
The appliance has 6 pre-set programs and a
manual function, which can be selected using
the knob (7).
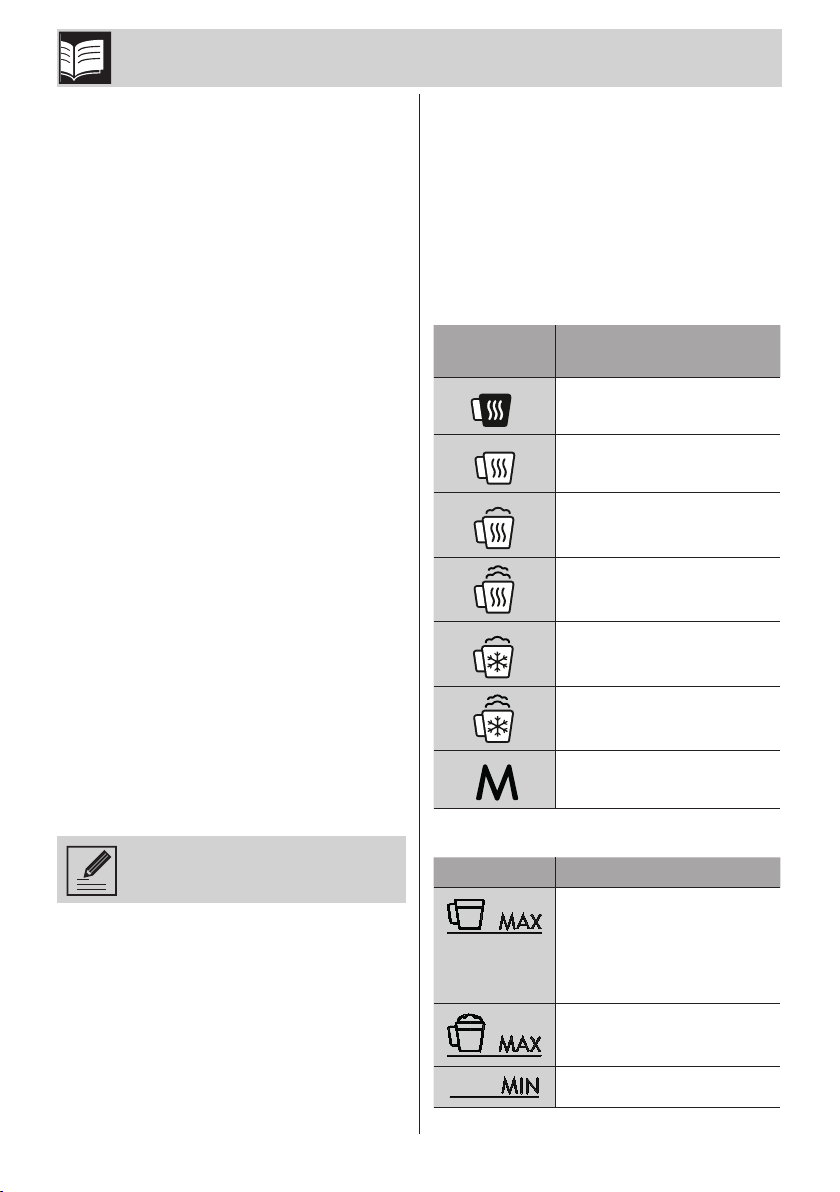
Knob
icon
Program
Hot chocolate
Hot milk
Hot milk with light froth
Hot milk with dense froth
Cold milk with light froth
Cold milk with dense froth
Manual
Liquid level indications
Symbol Description
Maximum milk level for
heating and chocolate
preparation functions
(including the amount of
chocolate).
Maximum level of milk to be
frothed.
Minimum level.
Description/Assembly
Loading ...
Loading ...
Loading ...