Loading ...
Loading ...
Loading ...
SEWING BASICS — — — — — — — — — — — — — — — — — — — — — — — — — — — — — — — — — — — — — — — — — — — —
52
g
After 3 to 5 reverse stitches have been sewn,
release (Reverse/reinforcement stitch
button).
X The machine stops sewing.
h
Press (Start/stop button), or press down
on the foot controller.
At this time, if the start/stop button is held
pressed, the machine sews at a low speed.
X The machine starts sewing in the normal
sewing direction.
i
After sewing to the end of the stitching, the
sewing machine stops.
Release the start/stop button or foot controller.
a Beginning of stitching
b End of stitching
■ Sewing stitches
Reverse stitches are set for the
13
and
7
stitches.
When (Reverse/reinforcement stitch button)
is pressed with stitches other than these,
reinforcement stitches are used. Reinforcement
stitches are 3 to 5 stitches sewn on top of each
other in one place.
a Reverse stitching
b Reinforcement stitching
Memo
z The sewing machine can be set to
automatically sew reverse or reinforcement
stitches at the beginning and end of the
stitching. For details, refer to "Automatically
sewing reverse/reinforcement stitches" (page
59).
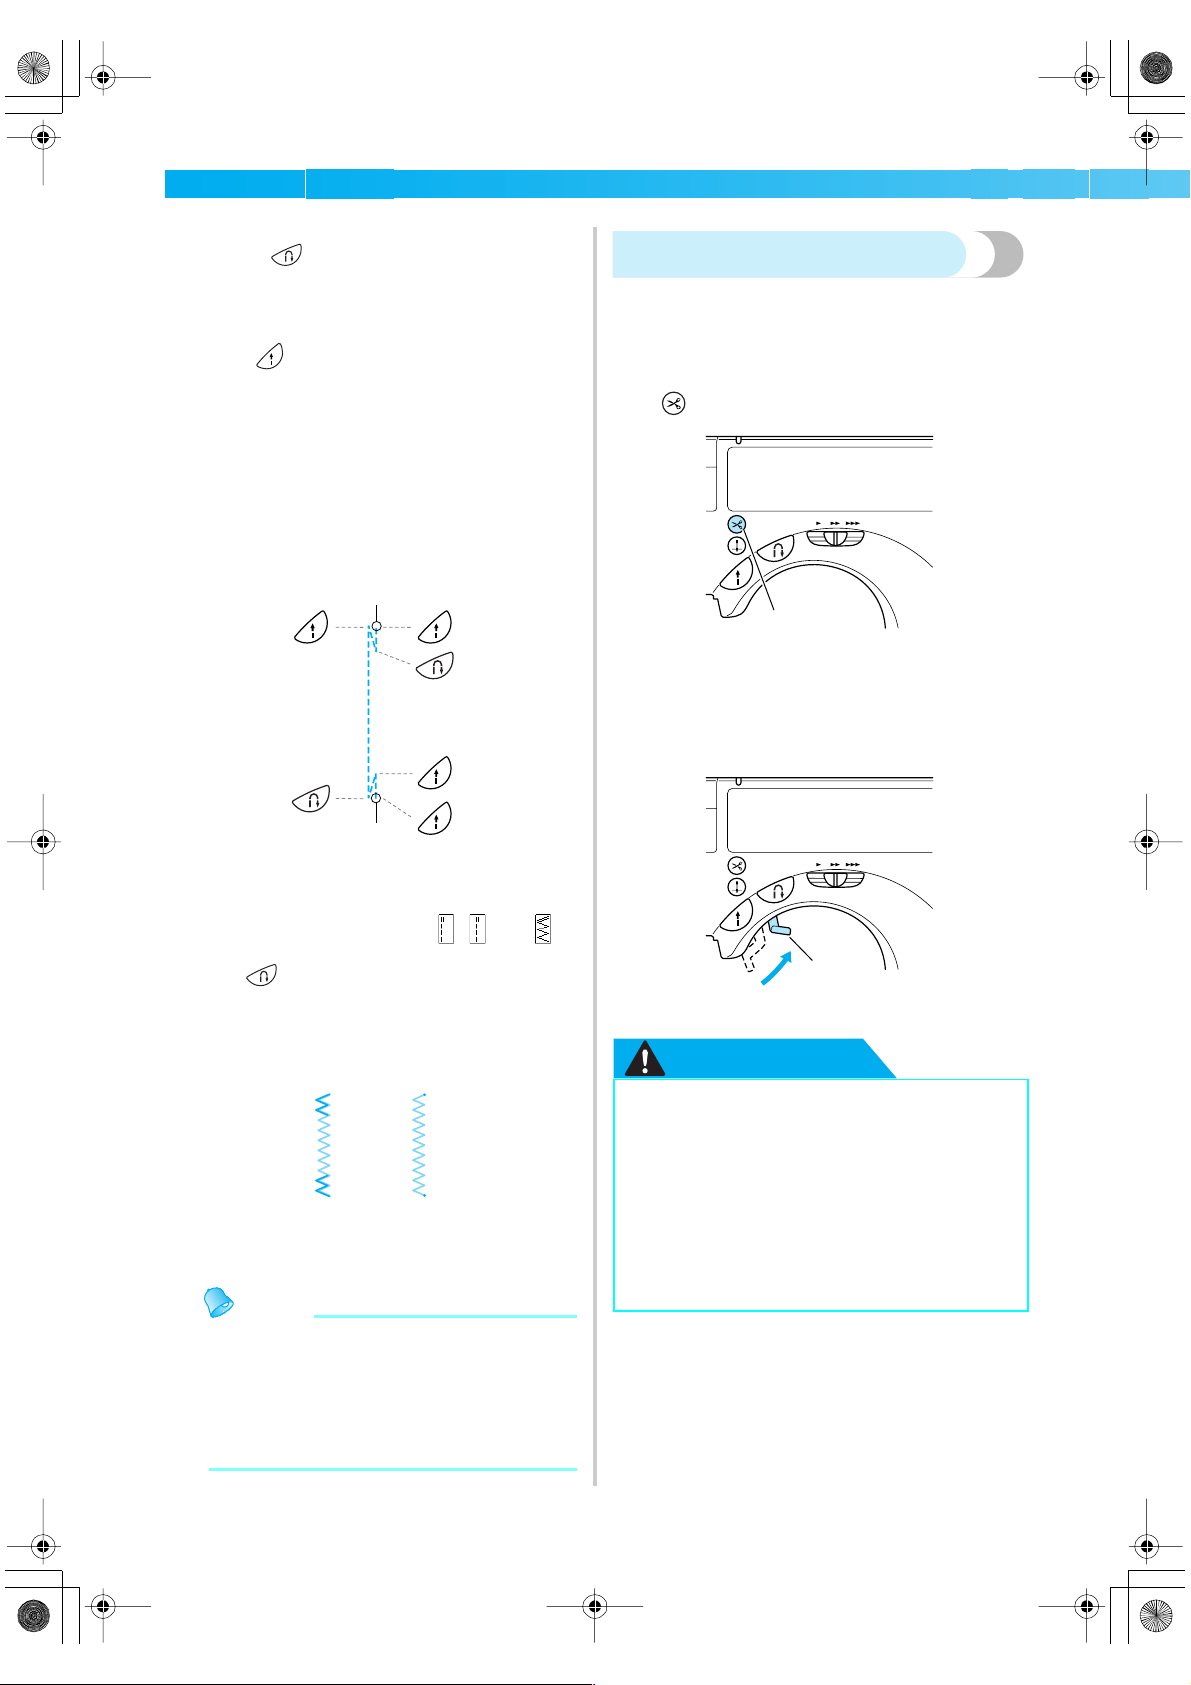
Cutting the thread
When you have finished sewing, cut the threads.
■ Using the thread cutter button
a
When you wish to finish the stitching, press
(Thread cutter button) once.
a Thread cutter button
X The threads are cut and the needle is raised.
b
Raise the presser foot lever, then remove the
fabric.
a Presser foot lever
CAUTION
1
1
2
5
6
4
3
2
1
2
● Do not press the thread cutter button
after the threads have already been cut,
otherwise the needle may break, the
threads may become tangled or damage
to the machine may occur.
● Do not press the thread cutter button if
there is no fabric under the presser foot or
while the machine is sewing, otherwise
damage to the machine may occur.
1
1
SE-BrotherE_sgml.book Page 52 Monday, June 30, 2003 3:44 PM
Loading ...
Loading ...
Loading ...