Loading ...
Loading ...
Loading ...
Attaching the embroidery unit 137
4
— — — — — — — — — — — — — — — — — — — — — — — — — — — — — — — — — — — — — — — — — — — — — — — — — — — —
e
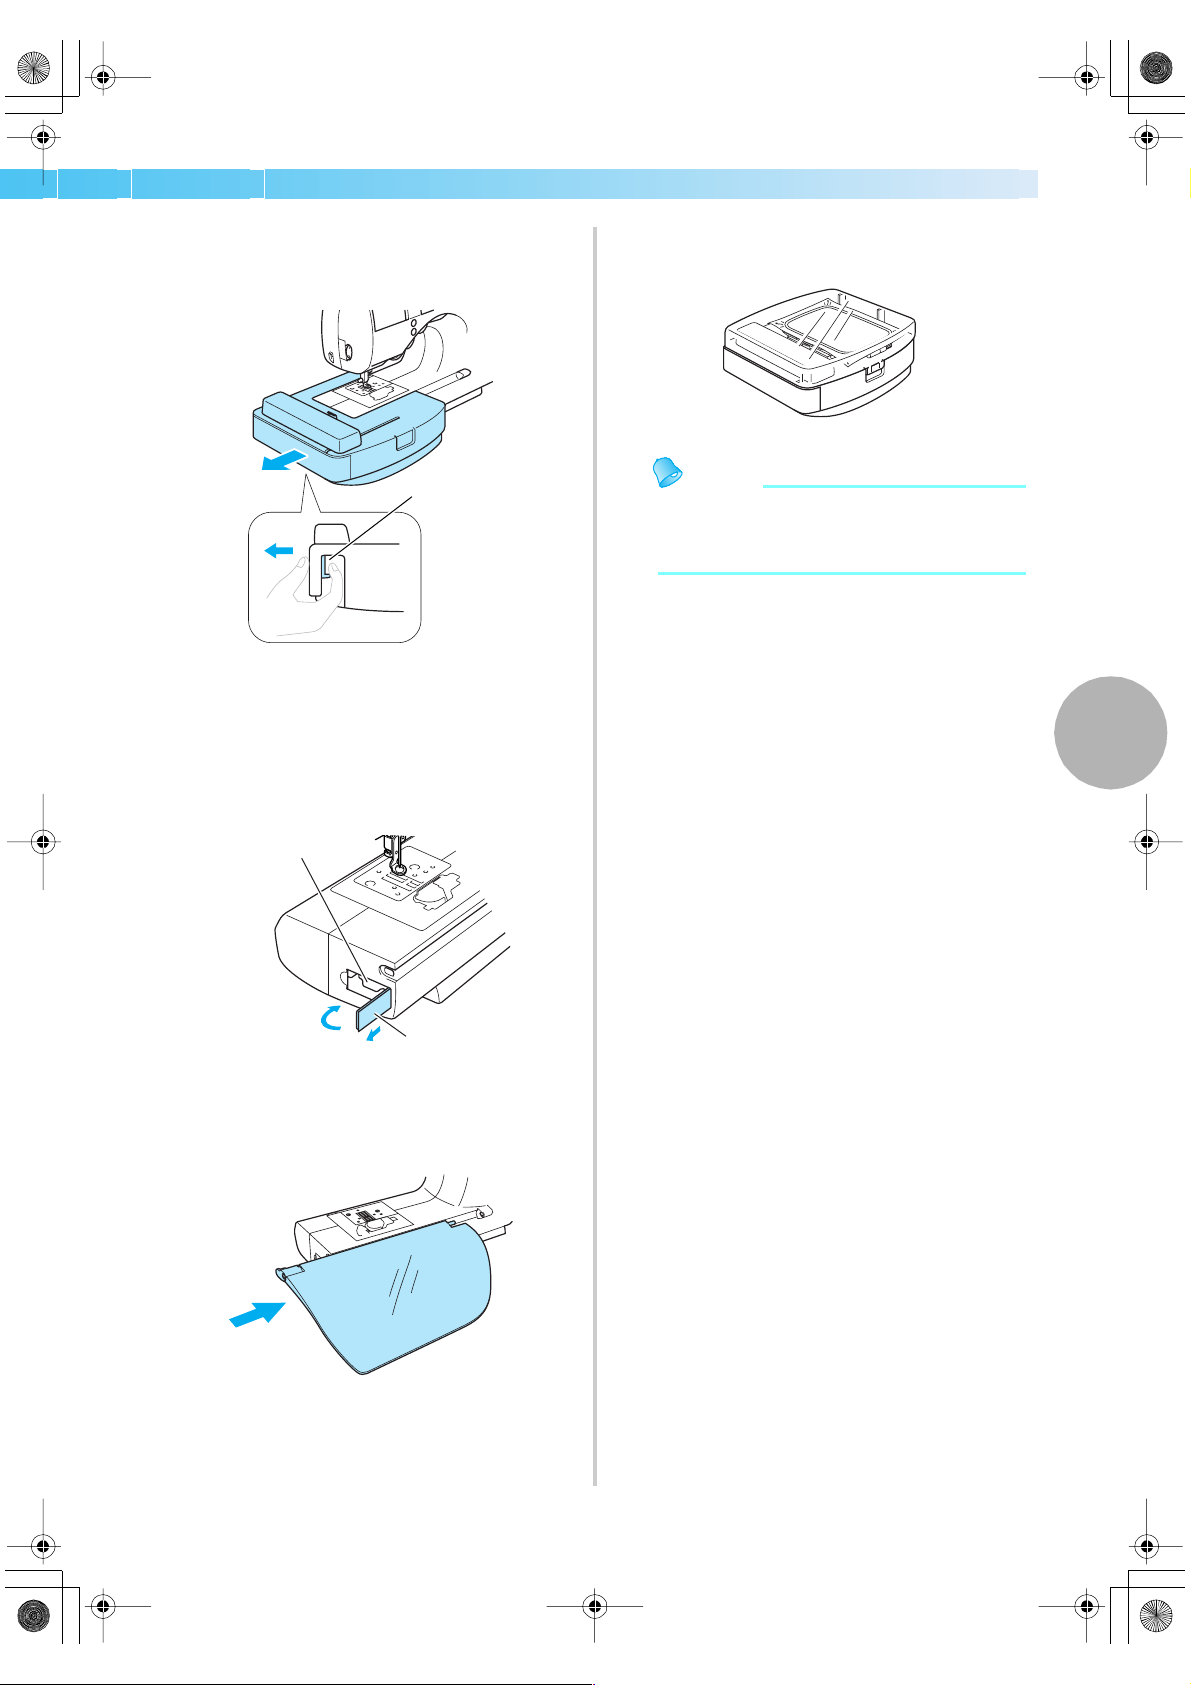
Hold the removal lever on the bottom left of
the embroidery unit, and slowly pull the
embroidery unit to the left.
a Removal lever
X The embroidery unit separates from the
sewing machine.
f
Close the cover on the embroidery unit
connector slot on the sewing machine.
After the cover is pulled out, snap it shut.
a Embroidery unit connector slot
b Cover
g
Install the flap back to its original position.
h
Put the cover on the embroidery unit and store
it.
Memo
z The embroidery unit can be stored with
embroidery frame (medium) or (small)
attached.
1
1
2
2
1
SE-BrotherE_sgml.book Page 137 Monday, June 30, 2003 3:44 PM
Loading ...
Loading ...
Loading ...