Loading ...
Loading ...
BBQ AND SIDE BURNER GAS CONVERSION INSTRUCTIONS
4. Replace all Burners into Position in the Barbecue.
Refit the locking clips that hold each burner in position.
Replace all Vaporizers, cooking plates and grills.
Check the operation of each burner. It may be required to
open the Air-Mixture screw, located at the burner venture, a
couple of turns to get the correct flame.
5. Change the gas type label.
Peel the “Natural Gas” gas Type label from backing sheet
and place this over the existing LPG Gas label to indicate that
the unit is configured for Natural Gas.
6. Side Burner
Side burner uses the 1.7mm injector. Other details are same
as described for main burners above.
SIGNATURE SERIES
LPG to Natural Gas Conversion
1. Removing And Replacing Gas Injectors
• Turn off the gas supply valve on the gas cylinder. Ensure
that all gas controls on the barbecues are in the OFF
position.
• Disconnect the hose and regulator from the gas cylinder
and disconnect the gas hose from the barbecue gas inlet
using a 19mm open-ended spanner / wrench.
• Remove all cooking plates, grills, Vaporizers and heat
reflectors (where fitted) from the barbecue.
• Remove the ‘R’ shaped locking clips that hold each
burner in place and remove all burners from the
barbecue. This needs to be done at the rear of the BBQ.
The gas injectors for each burner are located within deep
pockets on the front firewall of the barbecue. Remove
each gas injector from the end of each valve body using a
6mm socket spanner / wrench, turning gently in a counter
clockwise direction.
Be careful not to block the orifice at the end of the valve
where the gas injector is fitted and do not remove any of the
thread sealing compound from the orifice where the injector
is located.
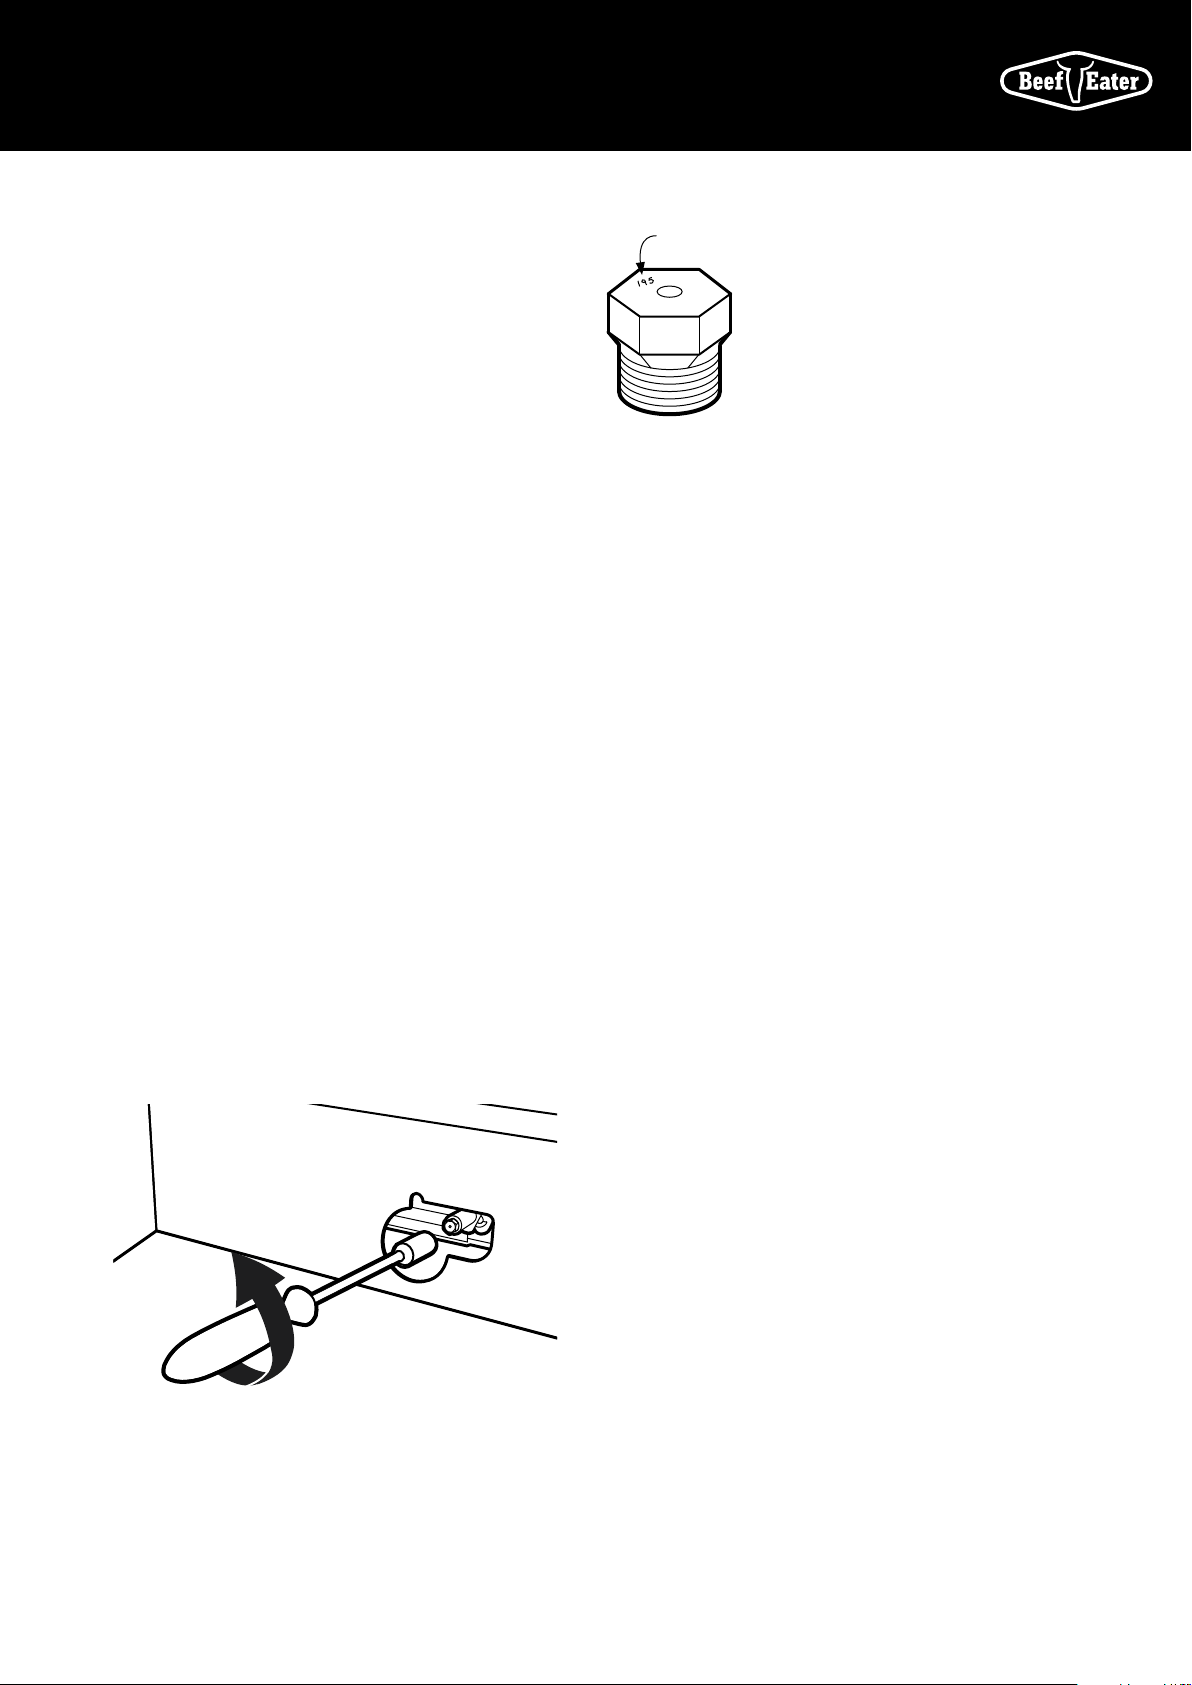
Look here for
identification reference
Check the identification mark stamped on the Hex Head
of the injector to confirm that it is the correct size (NG:
2.10mm) before proceeding to fit it into the valve.
When fitting the NG gas injectors to the end of the valve body
be sure to seat the injector correctly on the thread before
turning it in a clockwise direction until it is seated firmly in
place. Do not over tighten.
2. Adjusting Low Flame Control Screw
The low flame adjustment must be carried out for each
burner. The low flame adjustment screw is located on
the lower right hand corner of the front of the valve body.
The screw can be accessed from the front of the BBQ by
removing the control knob of each burner.
To set the low flame adjustment for NG, use a 4mm wide, flat
blade screwdriver.
The Low flame adjustment screw must be turned counter-
clockwise ¾ turn.
NOTE: For Signature 3000E, no adjustment is needed
3. Connecting The Natural Gas Hose And Regulator
Connect the Natural gas hose and regulator (where
applicable) to the gas inlet on the barbecue using a 19mm
spanner / wrench. Tighten firmly but do not over tighten.
Connect gas regulator (if required) to the gas source line and
perform a gas leak test as per instructions in the barbecue
operating and assembly instructions, or see page 4 of this
instruction manual.
4. Replace All Burners into Position in the Barbecue
Refit the locking ‘R’ clips that hold each burner in position.
Replace all vaporizers, cooking plates and grills. Check the
operation of each burner. It may be required to open the
Air-Mixture screw, located at the burner venture, a couple of
turns to get the correct flame.
5. Change the gas type label.
Peel the “Natural Gas” gas Type label from backing sheet
and place this over the existing LPG Gas label to indicate that
the unit is configured for Natural Gas.
6. Side Burner
Side burner uses same injector as main burners*, and
converted in same manner as above.
* On the SL4000 Side Burner, also need to replace the Pilot
Nozzle. see last page for details.
NOTE: To convert from NG to LPG, reverse the above steps.
BETTER PIC TO COME
Loading ...