Loading ...
Loading ...
Loading ...
106
Front Panel≫ Rear Panel≫ Remote≫
Contents
≫
Connections
≫
Playback
≫
Setup
≫
6. Multi Zone
1. Zone 2
Change the settings for Zone 2.
Setting Item Default Value Setting Details
Maximum Volume O Set the maximum value for Zone 2 to prevent the
volume from becoming too loud. Select a value
from "O", and "50" to "99".
(When "3. Audio Adjust" - "Volume" - "Volume
Display" is set to "Absolute")
Power On Volume Last Set the Zone 2 volume level of when the unit is
turned on. Select a value from "Last" (Volume level
when the unit was turned o), "Min", "1" to "99"
and "Max". (When "3. Audio Adjust" - "Volume" -
"Volume Display" is set to "Absolute")
• You cannot set a higher value than that of
"Maximum Volume".
2. Remote Play Zone
Change the settings for remote play.
Setting Item Default Value Setting Details
Remote Play
Zone
Auto When playing with AirPlay or Spotify Connect,
or when using the Music Server function to play
remotely from your PC, you can set whether to play
in the main room (where this unit is located) or in a
separate room (ZONE 2).
"Auto": When the main room input is NET, music
is played in the main room. When the separate
room input is NET and the main room input is other
than NET, then the music is played in the separate
room.
"Main", "Zone 2": Select when limiting the play zone
to a particular room. For example, when playing
only in the separate room, select "Zone 2".
• This function may not work if playback is already
proceeding with the same network function.
7. Miscellaneous
1. Tuner
Change the frequency step for the tuner.
Setting Item Default Value Setting Details
AM/FM
Frequency Step
(North American
and Taiwanese
models)
10 kHz/0.2 MHz Select a frequency step to suit your residential
area.
Select "10 kHz/0.2 MHz" or "9 kHz/0.05 MHz".
• When this setting is changed, all radio presets
are deleted.
AM Frequency
Step (European,
Australian and
Asian models)
9 kHz Select a frequency step to suit your residential
area.
Select "10 kHz" or "9 kHz".
• When this setting is changed, all radio presets
are deleted.
2. Remote ID
Change the remote controller ID.
Setting Item Default Value Setting Details
Remote ID 1 If multiple ONKYO products are installed in the
same room, select the ID for the remote control
used with this unit from “1”, “2” and “3” to prevent
interference between the unit and other ONKYO
products. After changing the ID on the main unit,
set the same ID on the remote controller as the
main unit with the following procedure.
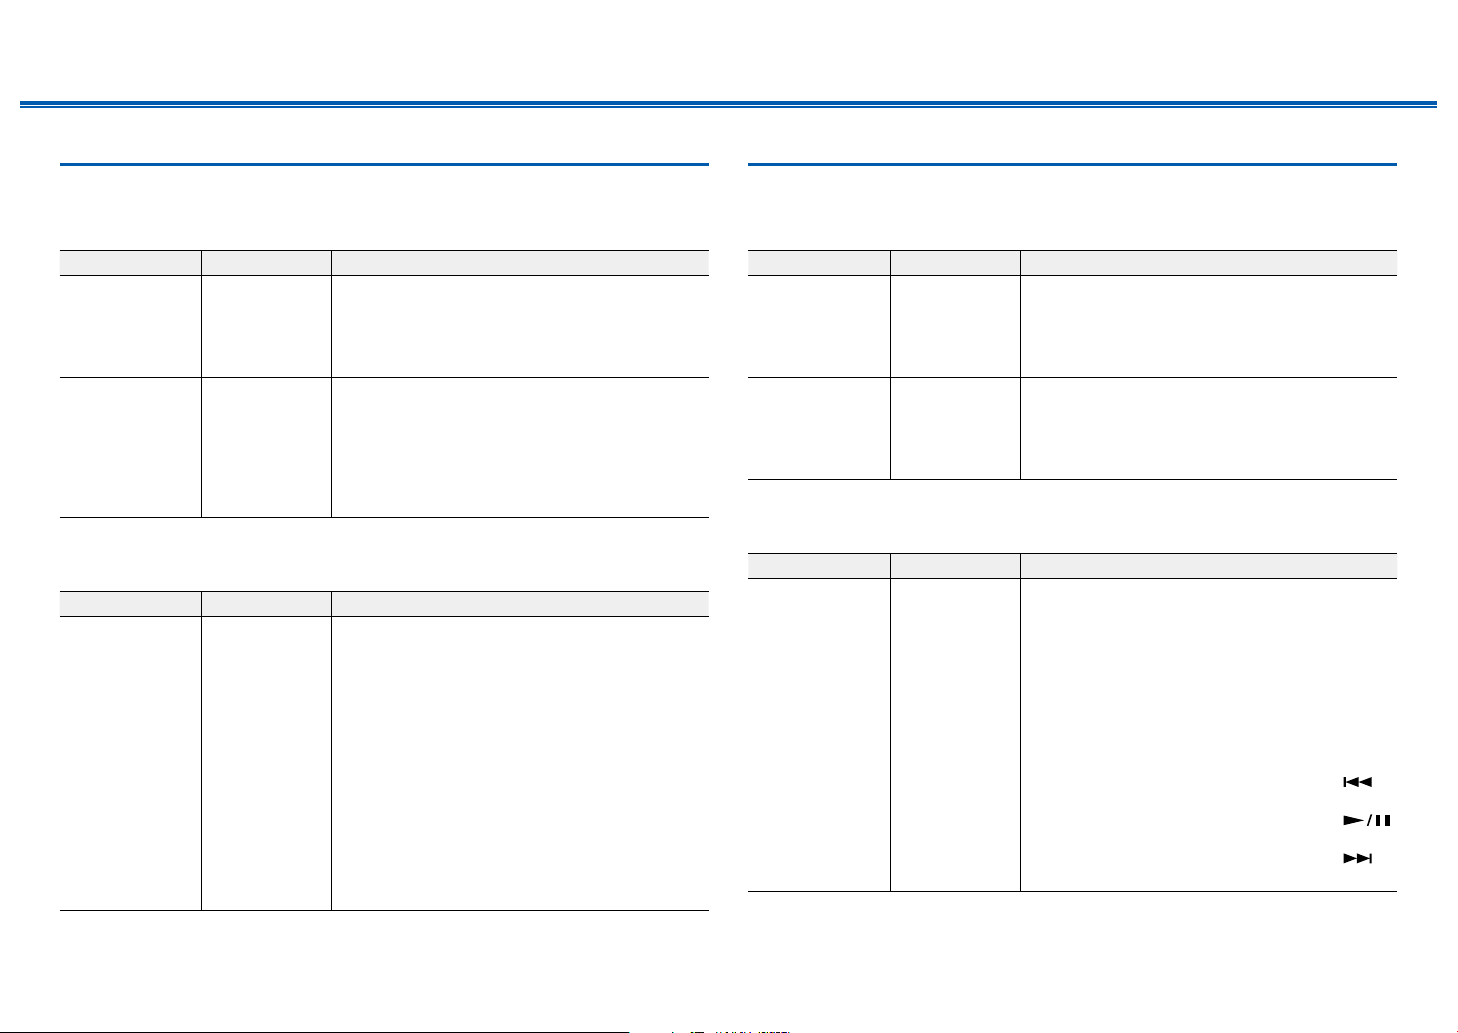
While pressing and holding the MODE button,
press the following buttons for approx. 3 seconds.
• To change the remote controller ID to “1”:
(The remote indicator blinks once.)
• To change the remote controller ID to “2”:
(The remote indicator blinks twice.)
• To change the remote controller ID to “3”:
(The remote indicator blinks three times.)
Loading ...
Loading ...
Loading ...