Loading ...
Loading ...
Loading ...
98
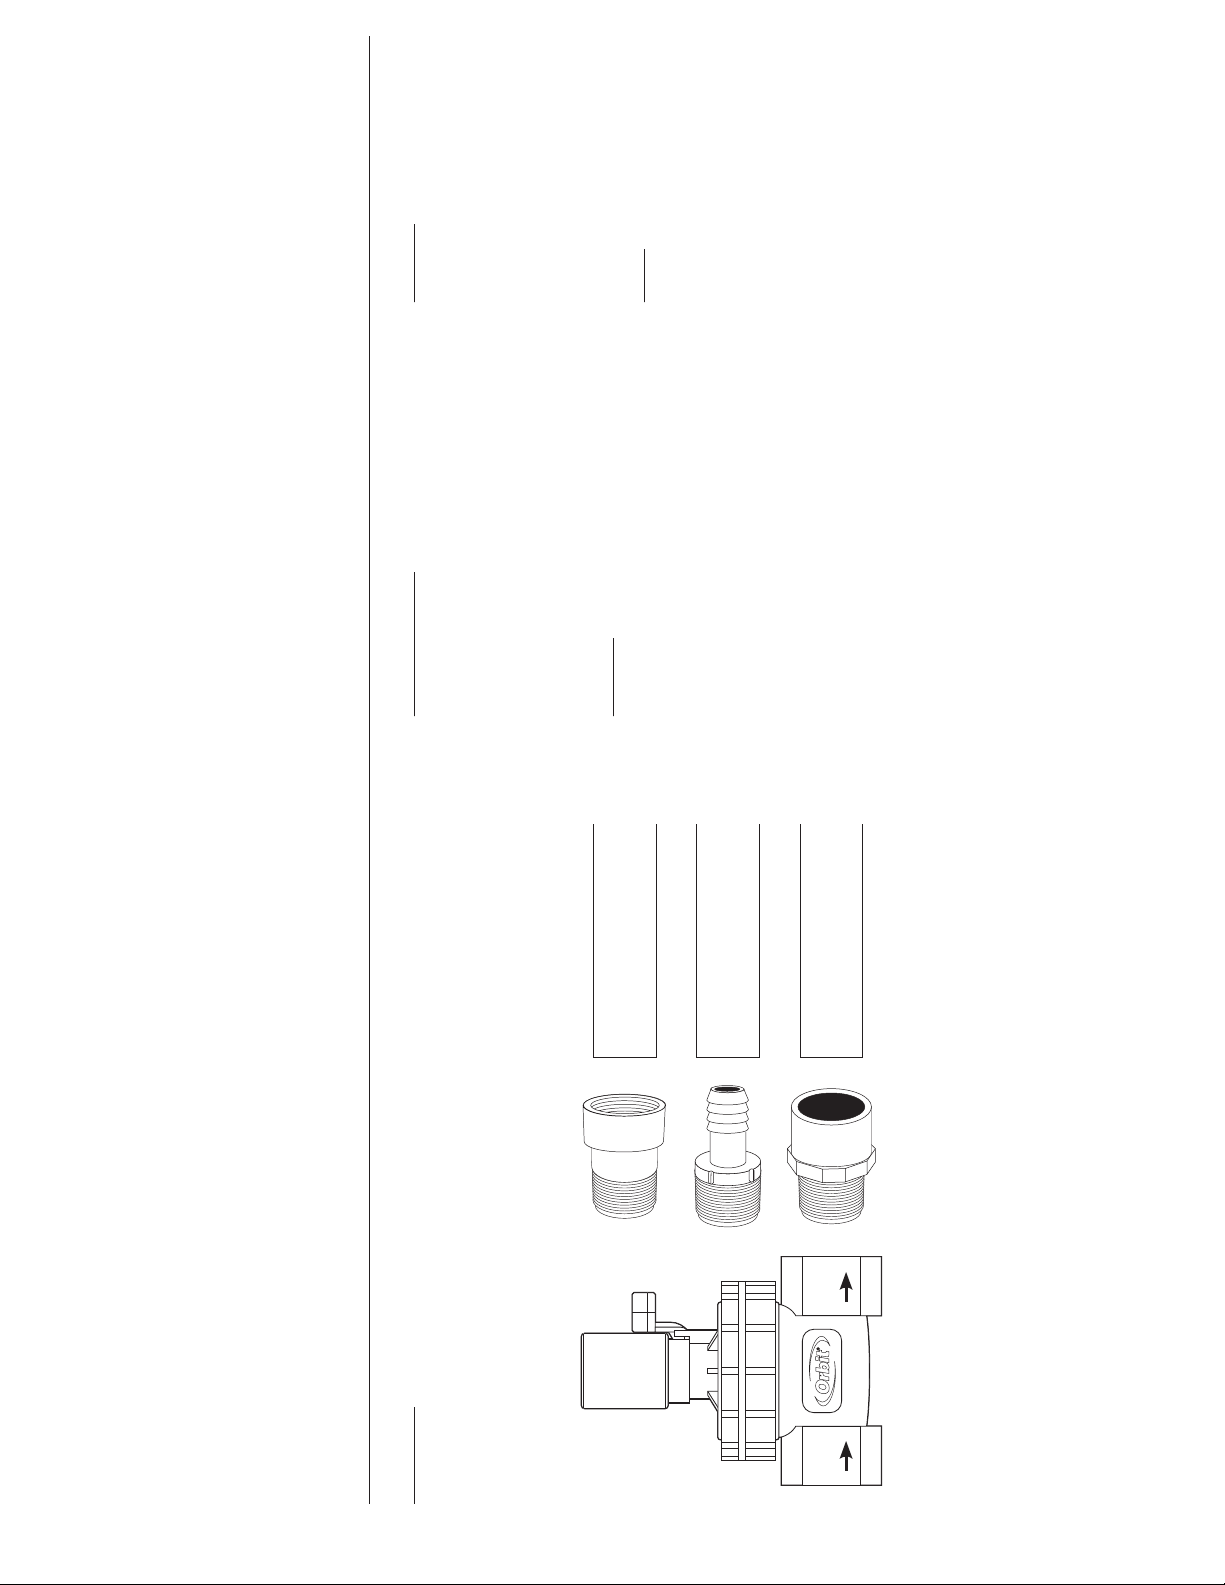
Installing the Valve
After flushing line, install the valve using
appropriate fittings (not included) for
your system (see figure below). DO NOT
OVERTIGHTEN. Do not use pipe joining
compound. Use thread seal tape only. Note
arrow on valve for water flow direction.
Valves have tapered fittings and therefore
require seven to eight turns of thread
seal tape to prevent leaking and to guard
against the connections bottoming out. To
prevent possible leaking, make sure that
the valve, fittings and pipe are properly
aligned.
Test the System
After all pipe and fittings have been
installed, turn the water supply on and
check for leaks with the valve closed.
The system is now ready to be controlled
electrically from the timer or manually by
opening the manual lever/screw.
Draining
In freezing areas, the valves and lines
will need to be drained. Refer to the
Orbit
®
Layout Guide or local dealer to
recommend proper drain points. To insure
the electric valve is completely drained in
the fall, turn off the main sprinkler shut-
off valve and electrically run each valve dry
for a few minutes. Turn timer to the OFF
position.
Cautions
• Check local codes for valve types and
permit information.
• If static water pressure exceeds 80 psi, a
pressure regulator should be used.
• For outdoor use with cold water only. Not
for indoor use. Place valves so they drain
away from the house.
Notes
• Where possible, always protect valves
with an Orbit
®
Valve Box and place gravel
in the bottom.
• Test all lines and fittings before burying
the system.
• Use a filter if you will not be using
culinary water in your system.
INSTALLING THE VALVE INSTALLING THE VALVE
PVC
Poly
Hose
1" 1"
Loading ...
Loading ...
Loading ...