Loading ...
Loading ...
Loading ...
© 2016 RVM Australia Pty Ltd. All Rights Reserved
5
PARTS AND FEATURES - CONTINUED
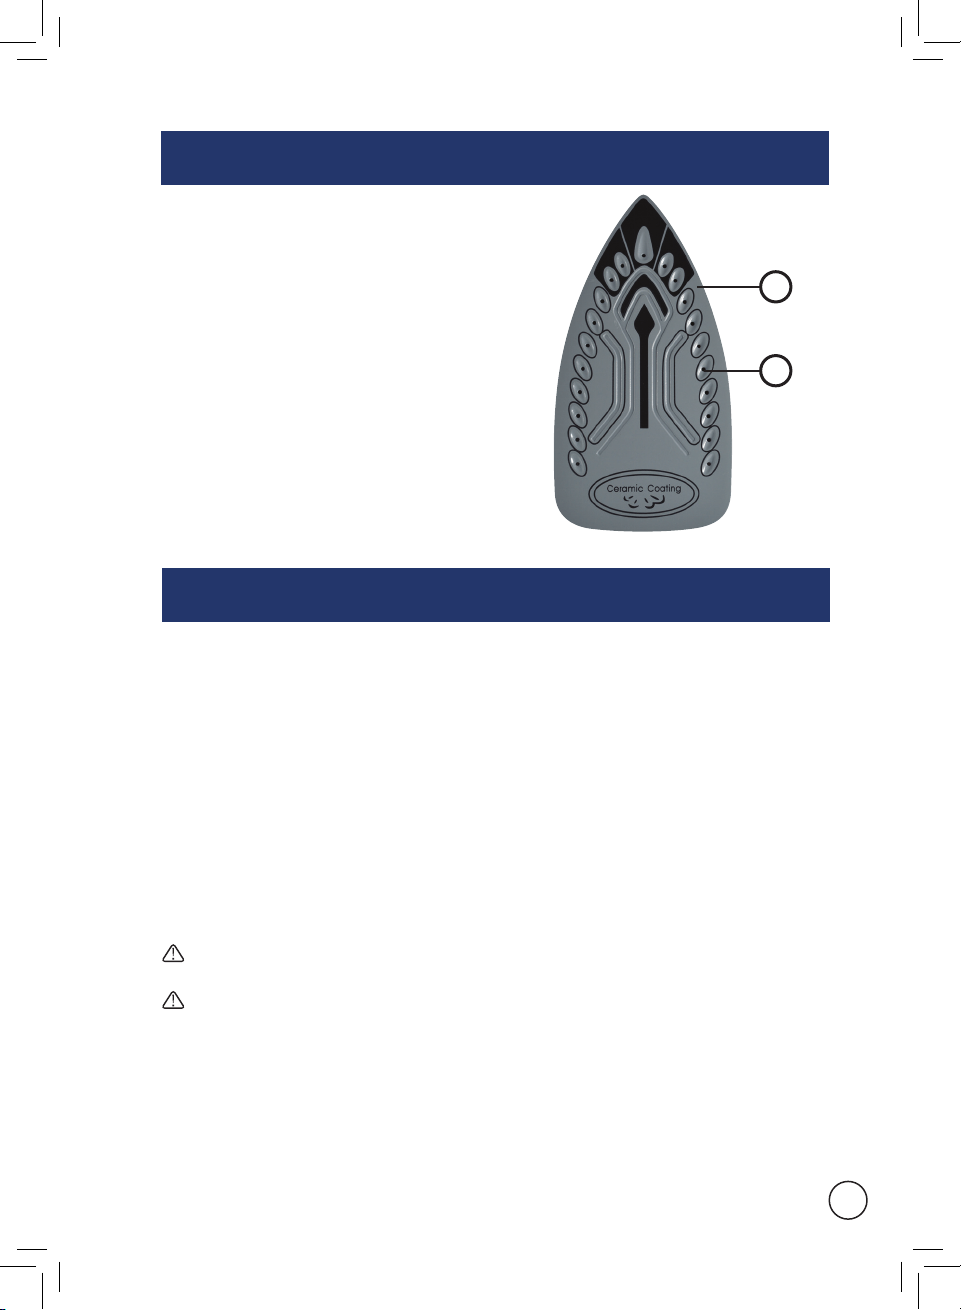
K. Ceramic Cera-Silk Soleplate
Glides easily across fabric for eortless
ironing.
L. Steam holes
For producing continuous steam and
powerful shots of steam.
See Cleaning and care instructions on
page 10 & 11.
K
L
IRON OPERATION
USING YOUR IRON FOR DRY IRONING
1. Insert the plug into a power outlet and turn the power on.
2. Ensure the steam control switch is in ‘0’ (= No steam) position.
3. Turn the temperature dial to the desired setting according to the ironing
recommendation on your garment label. The temperature indicator light will light
up, indicating that the iron is heating up. When the light goes out the iron has
reached the set temperature and is ready for use.
NOTE: When changing the temperature setting from higher to lower temperature,
allow the appliance to reach the lower temperature before using it on the garment.
FILLING THE IRON WITH WATER
Make sure the iron is not plugged in and the temperature dial is in the ‘OFF’ position.
Tilt the unit to a 45 degree angle and using the water beaker, pour water into the water
inlet opening until ‘MAX’ level is reached.
DANGER Do not under any circumstances immerse the iron, power cord or power
plug in water or any other liquid.
CAUTION The power plug must be removed from the outlet before the water
reservoir is filled with water.
NOTE: Do not overfill the water tank as this may cause the iron to leak during use.
NOTE: Deposits or minerals in water supply will generate scales which may block the
steam holes in the soleplate. Use of distilled water is therefore recommended. Do not
use chemically distilled water.
NOTE: Do not use fragrances, fabric softeners, starch, cleaning agents or any other
chemical liquids in the water tank as they may damage the appliance.
Loading ...
Loading ...
Loading ...