Loading ...
Loading ...
Loading ...
24
Before Use
Basic Guide
Advanced Guide
Camera Basics
Auto Mode /
Hybrid Auto Mode
Other Shooting Modes
Tv, Av, and M Mode
Playback Mode
Wi-Fi Functions
Setting Menu
Accessories
Appendix
Index
P Mode
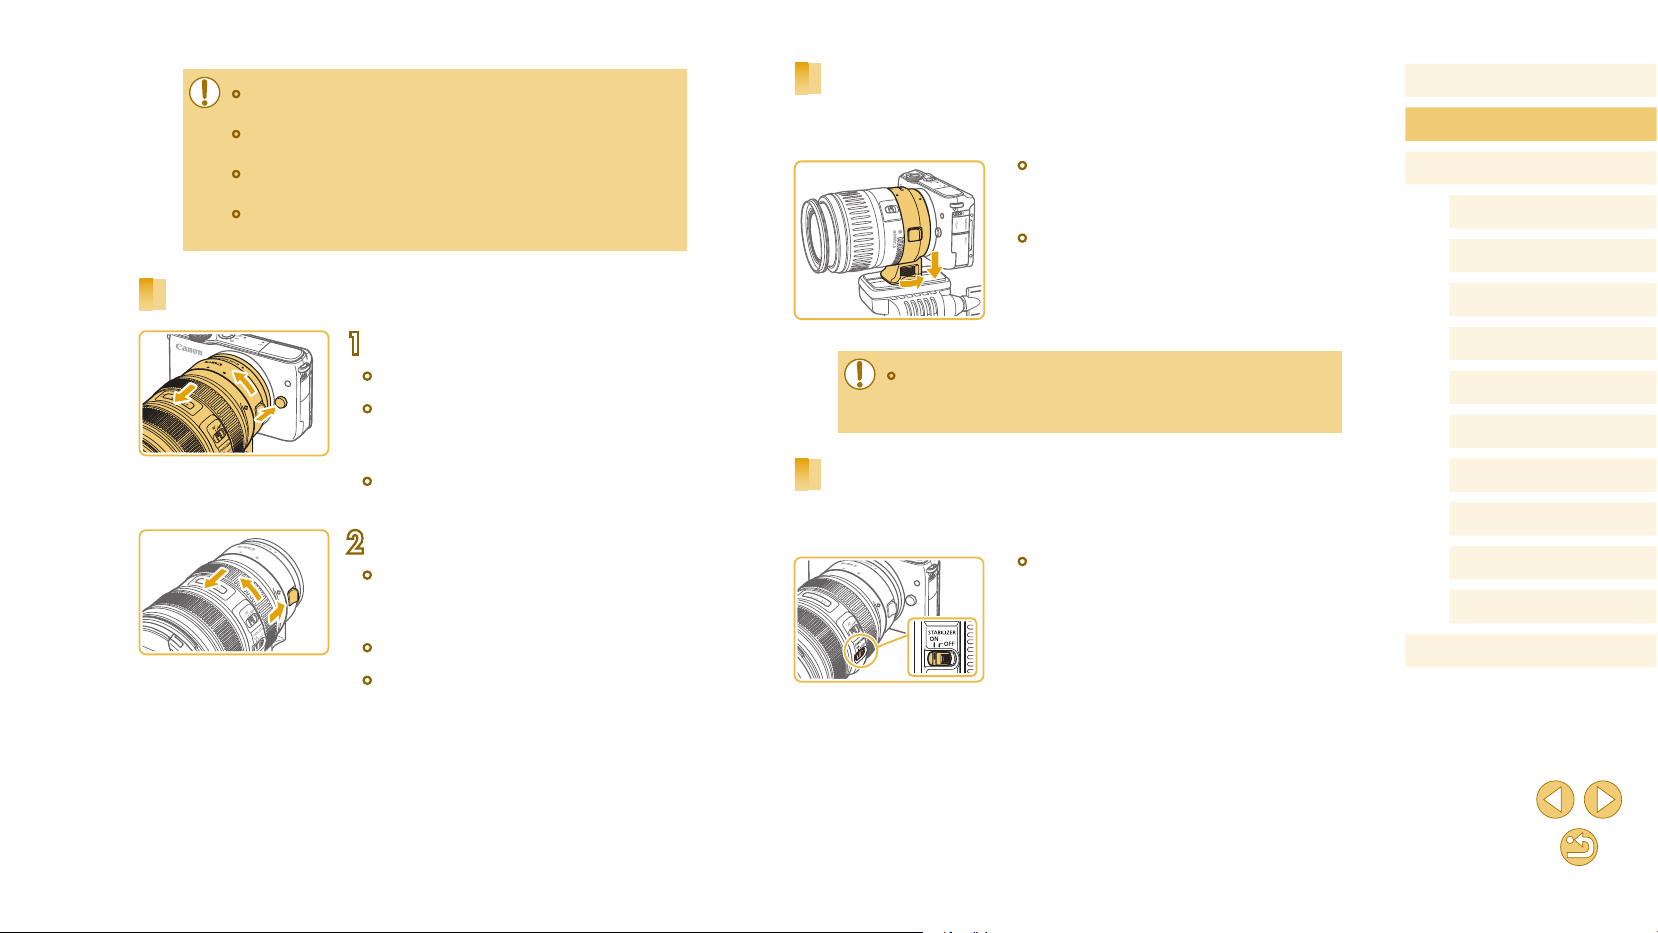
Using a Tripod
When using the adapter with a tripod, use the tripod mount included with
the adapter. Do not use the camera’s tripod socket.
● Attach the tripod mount to the adapter.
Turn the tripod mount knob to ensure that
it is securely attached.
● Attach the tripod to the tripod mount
socket.
● With EF lenses that incorporate a tripod mount (such as super
telephoto lenses), attach the tripod to the tripod mount on the
lens.
Using Lens Image Stabilization
Correct camera shake by using a lens with built-in image stabilization.
Lenses with built-in image stabilization are named with “IS”.
● Slide the image stabilization switch on the
lens to [ON].
● When holding or carrying a camera with a lens that is heavier
than the camera, support the lens.
● Adapters may extend the minimum focusing distance or affect the
maximum magnication or shooting range of the lens.
● If the front part (focusing ring) of the lens rotates during
autofocusing, do not touch the rotating part.
● The focus preset and power zoom features of some super
telephoto lenses are not supported.
Detaching a Lens
1
Detach the adapter.
● Make sure the camera is off.
● Hold down the lens release button and
turn the adapter (with the lens attached)
in the direction shown.
● Turn the adapter until it stops, then
detach it.
2
Detach the lens.
● Hold down the lens release lever
on the adapter and turn the lens
counterclockwise.
● Turn the lens until it stops, then detach it.
● Attach the lens cap to the lens after
removal.
Loading ...
Loading ...
Loading ...