Loading ...
Loading ...
Loading ...
3-6 Chapter 3: General instructions
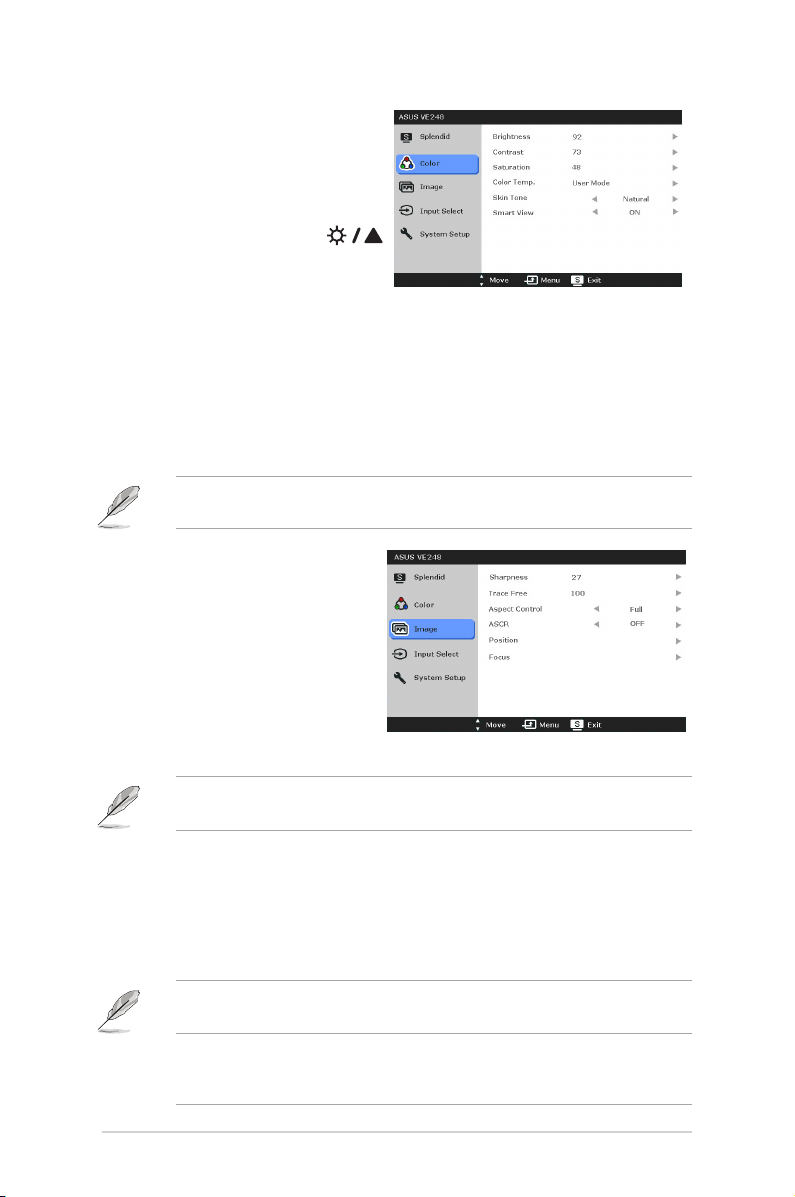
2. Color
You can adjust Brightness, Contrast,
Saturation, Color Temp., and Skin
Tone from this menu.
• Brightness: the adjusting
range is from 0 to 100.
is a hotkey to activate this
function.
• Contrast: the adjusting range is from 0 to 100.
• Saturation: the adjusting range is from 0 to 100.
•
ColorTemp.: contains four modes including Cool, Normal, Warm, and
User Mode.
•
SkinTone: contains three color modes including Reddish, Natural, and
Yellowish.
•
SmartView: provides better display quality under big viewing angle.
In the User mode, colors of R (Red), G (Green), and B (Blue) are user-
configurable; the adjusting range is from 0-100.
3. Image
You can adjust Sharpness, Trace
Free, Aspect Control, ASCR,
Position (VGA only), and Focus
(VGA only) from this menu.
• Sharpness: the adjusting
range is from 0 to 100.
•
TraceFree: adjusts the
response time of the monitor.
•
AspectControl: adjusts the aspect ratio to full, 4:3, 1:1 or OverScan.
4:3 is only available when input source is in 4:3 format. OverScan is only
available for the HDMI input source.
• ASCR: turns on/off the ASCR (ASUS Smart Contrast Ratio) function.
• Position: adjusts the horizontal position (H-Position) and the vertical
position (V-Position) of the image. The adjusting range is from 0 to 100.
• Focus: reduces Horizonal-line noise and Vertical-line noise of the image
by adjusting (Phase) and (Clock) separately. The adjusting range is from
0 to 100.
• Phase adjusts the phase of the pixel clock signal. With a wrong phase
adjustment, the screen shows horizontal disturbances.
• Clock (pixel frequency) controls the number of pixels scanned by one
horizontal sweep. If the frequency is not correct, the screen shows vertical
stripes and the image is not proportional.
Loading ...
Loading ...
Loading ...