Loading ...
Loading ...
Loading ...
English 29
Operating the oven
Operating the oven
Setting the clock
The clock must be set to the correct time of day for the automatic oven timing
functions to work properly. The clock can be adjusted to show a 12-hour or
24-hour display. The 12-hour display is the default setting.
The time of day cannot be changed during a timed cooking, delayed start,
self-cleaning, or Sabbath function operation.
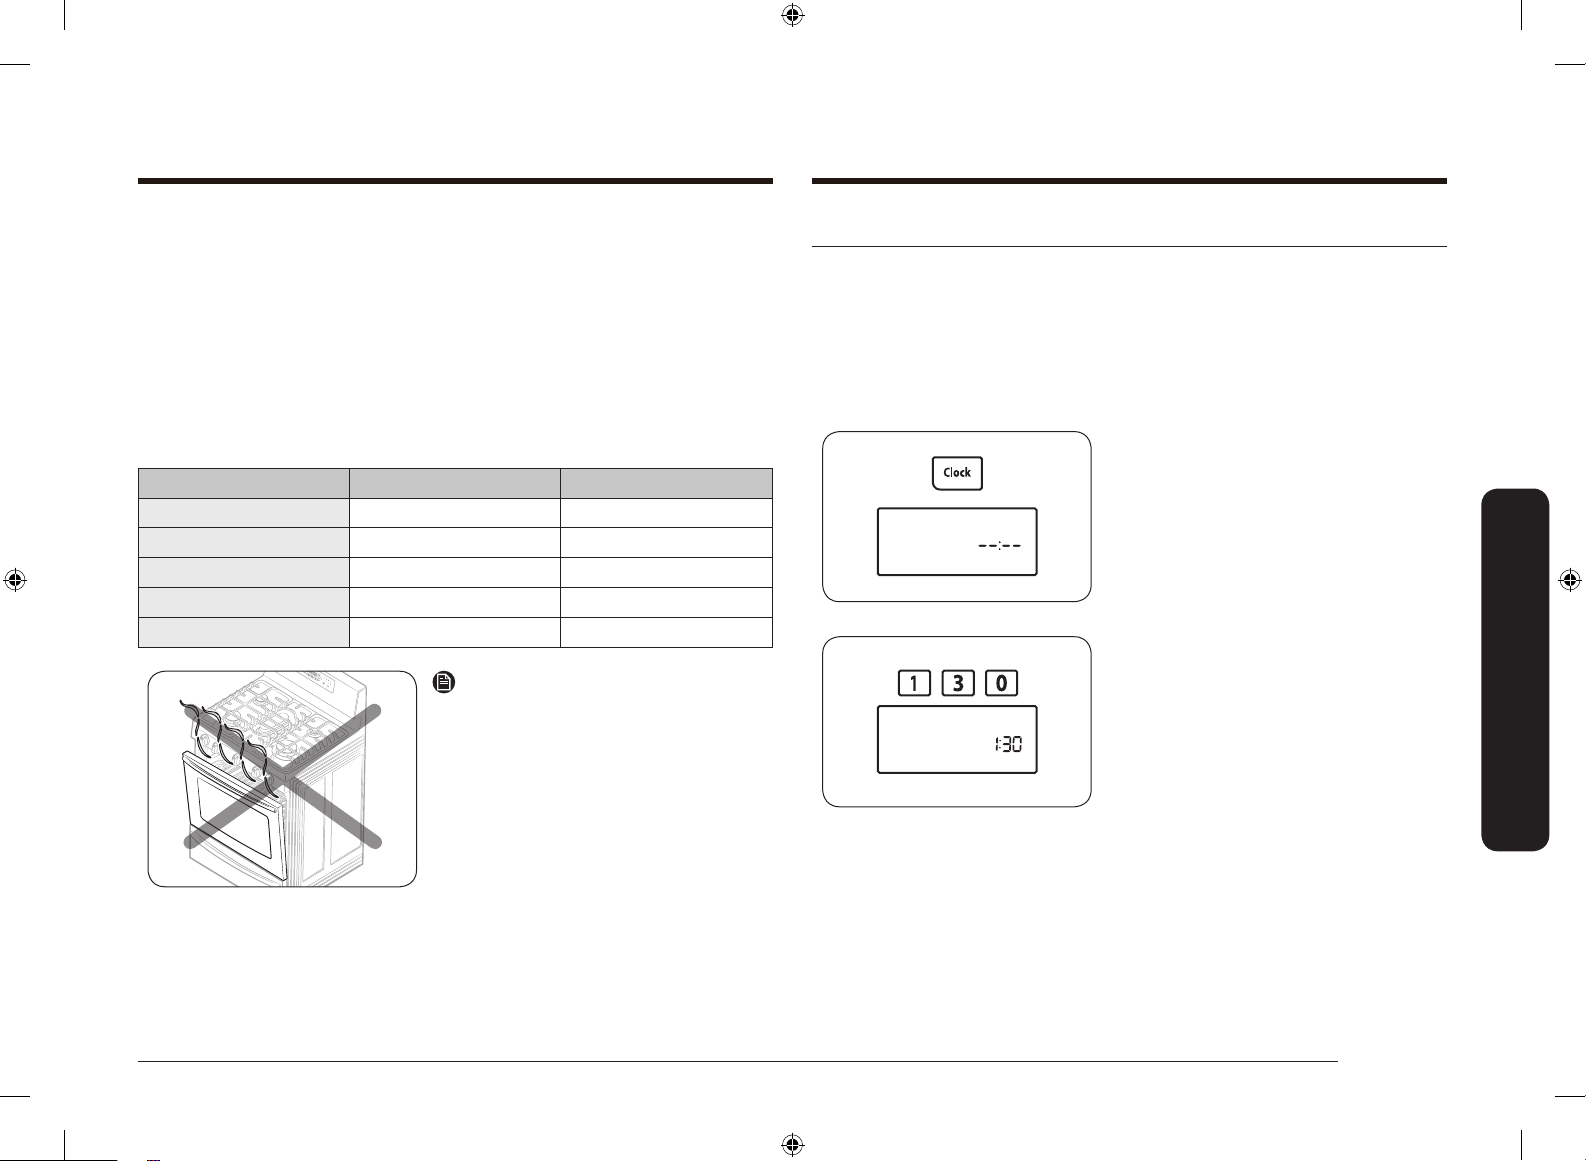
How to set the clock
1. Press the Clock pad.
2. Enter the current time in hours and
minutes using the number pads
(e.g., 1, 3, 0).
The display will show the time of day,
and the Start indicator will blink.
13 Clock: Allows you to set the clock.
14 Hold 3 Sec: Deactivates the control panel touch pads to prevent the oven from
accidentally being turned on. It also locks the oven door to prevent accidental
tipping of the range. Touch pads will not work and the oven door will stay
locked until this function is turned off.
15 Start/Set: Touch this pad to start the oven cooking, cleaning, and/or timing
functions.
Minimum and maximum settings
All the features listed in the following chart have minimum and maximum
temperature or time settings.
FEATURE MINIMUM SETTING MAXIMUM SETTING
Bake 150 °F (66 °C) 550 °F (288 °C)
BROIL Lo Hi
Self-Clean 2 hours 4 hours
Keep Warm - 3 hours
Bread Proof - 12 hours
NOTE
Always bake and/or broil with the oven
door closed. If you open the oven door
while the oven is operating and leave it
open, the oven burner will stop in 1 minute.
This is not a product failure. The oven will
automatically start again when you close
the door.
Application mode: Bake, Broil, Pizza, Bread
Proof, Chicken Nuggets, Favorite Cook.
NX58F5300SS_AA_DG68-00509A-06_EN+MES.indb 29 2018-08-30 12:07:24
Loading ...
Loading ...
Loading ...