Loading ...
Loading ...
Loading ...
English - 26
No Leak
1. Slip the compression nut (A) through the
supplied plastic tubing (A).
2. Tighten the compression nut (A) onto the 1/4”
compression fitting.
- If you are using copper tubing, slip the
compression nut (B) (not included) and ferrule
(not included) on copper tubing (not included)
as shown.
- If you are using plastic tubing (B), insert the
molded end (Bulb) of the plastic tubing (B) into
the compression fitting.
Do not use without the molded end(Bulb)
of the plastic tubing (B).
3. Tighten the compression nut (B) onto the
compression fitting.
Do not over-tighten the compression nut (B).
4. Turn water on and check for any leakage.
Only connect the water line to a drinkable
water source.
If you have to repair or disassemble the
water line, cut o 1/4“ of the plastic tubing
to make sure you get a snug, leak-free
connection.
CAUTION
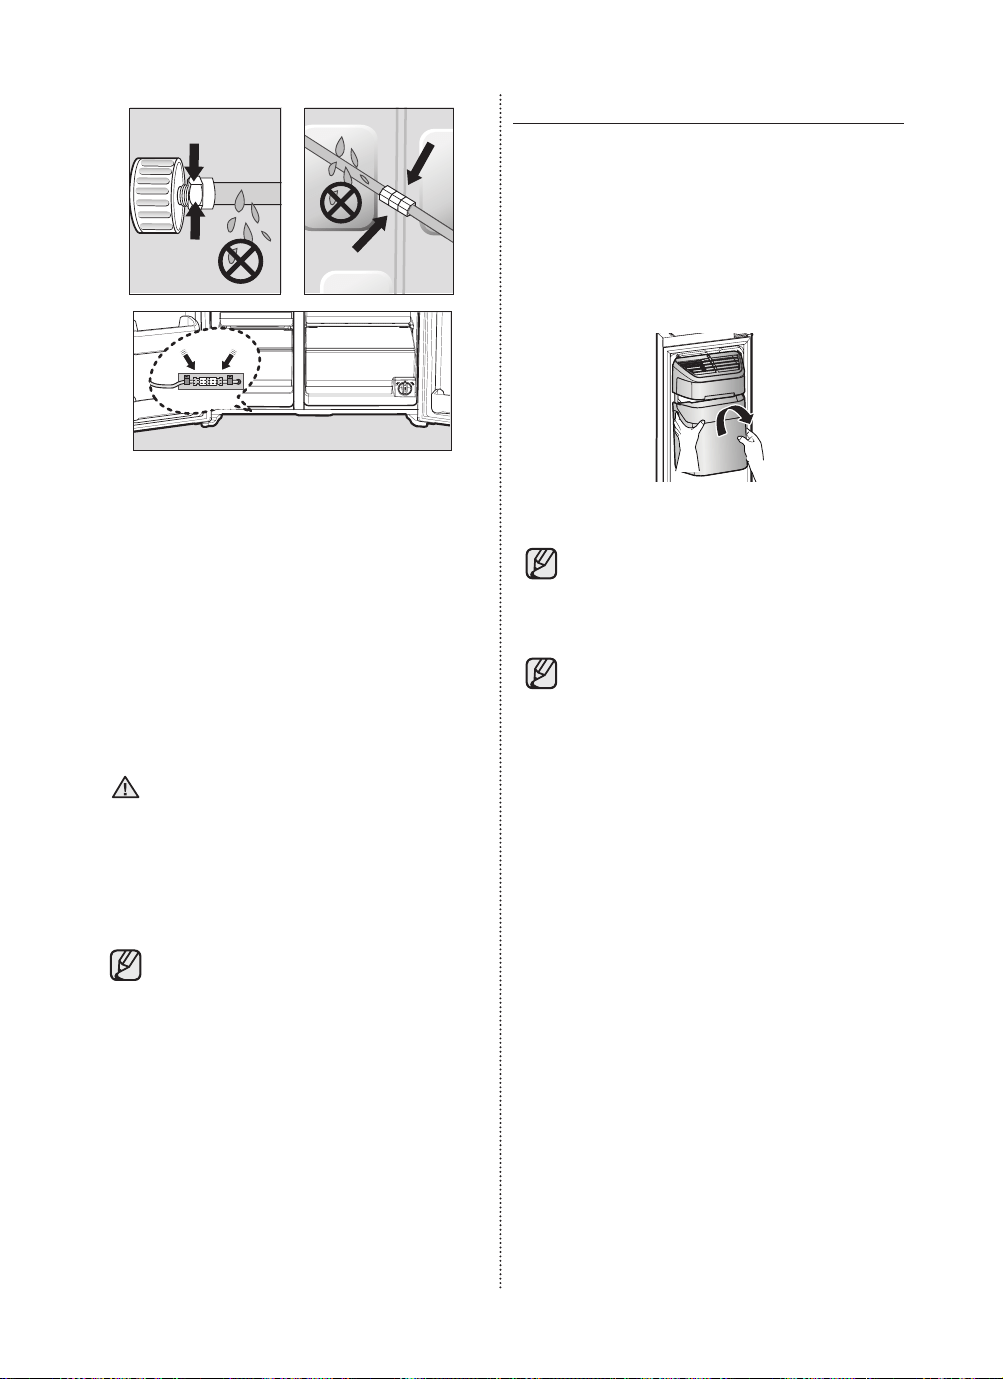
BEFORE USING ICEMAKER
Remove
- Remove the Icemaker Bucket by lifting it up and
pulling it out slowly.
- Grip the handle as shown in the figure.
- Remove the Ice Bucket slowly to prevent
damage.
Figure 1
Do not use excessive force when removing
the drawer cover.
Otherwise, the cover may break and cause
injury.
Before removing any accessories, make
sure that no food is in the way.
When possible, remove the food altogether
to reduce the risk of accidents.
Install
- Assemble the icemaker in the reverse order of
disassembly.
- Push the bucket in firmly until you hear a
clicking sound.
DA68-03015B (EN)-10.indd 26 2017. 7. 7. �� 9:28
Loading ...
Loading ...
Loading ...