Loading ...
Loading ...
Loading ...
Operating36
Operating
4
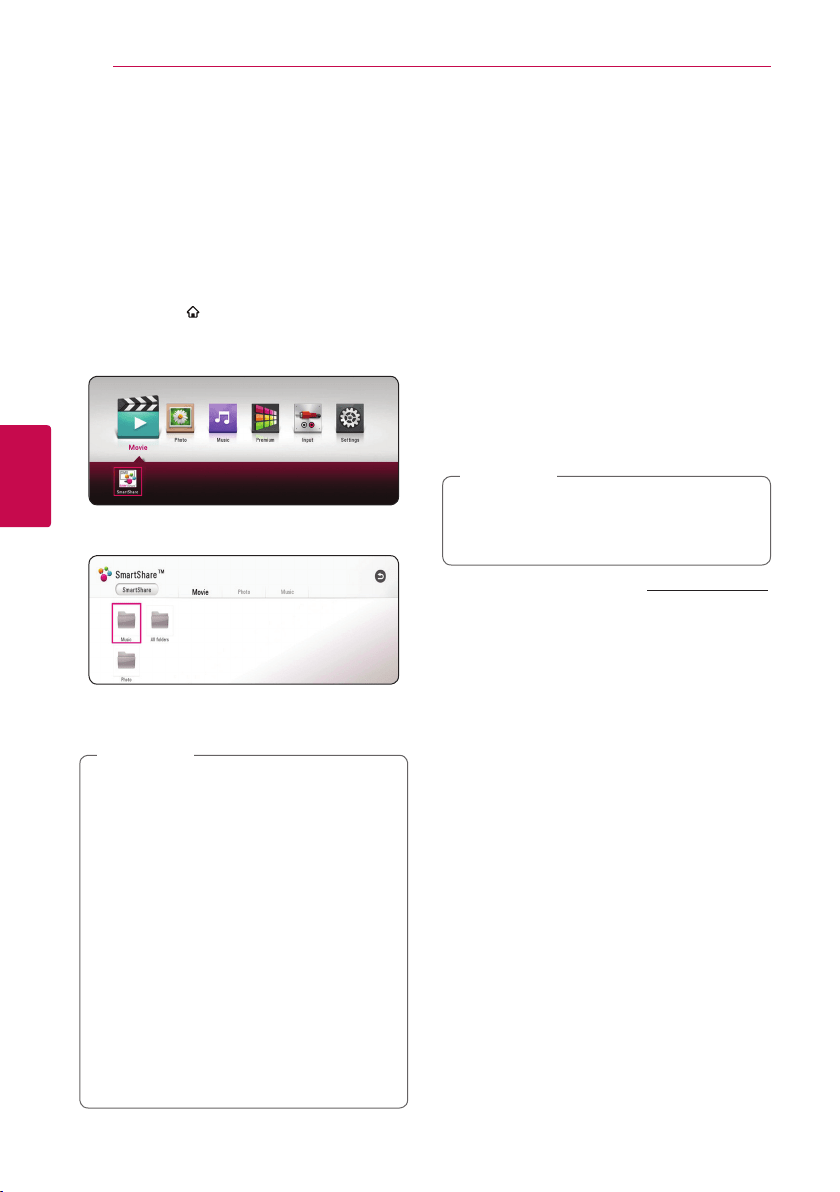
Playing a file on a network
server
yui
This player can play video, audio and photo les
located in a DLNA-compatible digital media server
through your home network.
1. Check the network connection and settings
(page 19).
2. Press HOME (
).
3. Select [Movie], [Photo] or [Music] using
A/D
,
and press
S
.
4. Select DLNA media server in the category using
A/D
and press ENTER (
b
).
5. Select a file using
W/S/A/D
, and press
d
(PLAY) or ENTER (
b
) to play the file.
y
The le requirements are described on page
61.
y
Thumbnails of les with unsupported
format will be displayed, but cannot be
played on this unit.
y
The subtitle le name and video le name
have to be the same and located at the
same folder.
y
The playback and operating quality may be
aected by your home network condition.
y
You may experience connection problems
depending on your server’s environment.
y
To set your PC as a DLNA-compatible digital
media server, install the SmartShare PC
Software on your PC. (page 36)
,
Note
Using Home Network
Server for PC
Before connecting to PC to play a le, SmartShare
PC software should be installed on your PC.
About SmartShare PC
Software
SmartShare PC Software is for sharing video, audio
and photo les stored on your computer to this
unit as a digital media server.
Downloading SmartShare PC
Software
If the SmartShare PC Software disc is supplied,
you can install SmartShare PC Software on
your PC by the disc.
,
Note
1. Start up your computer, visit http://www.lg.com.
If necessary, select your region.
2. Click support tab.
3. Fill your model name on the cover of owner’s
manual in search bar.
4. Find and download the “SmartShare PC
Software” le.
Installing SmartShare PC
Software
1. Before installation, close all running programs
including rewall and Anti-Virus programs.
2. Unzip and double-click “Setup.exe” to install
SmartShare PC Software. The installation is
prepared and the installation wizard appears.
3. Follow the directions of the installation wizard
displayed on the screen.
4. Click the [Exit] button to complete the
installation.
Loading ...
Loading ...
Loading ...