Owner Manual COUNTERTOP OVEN
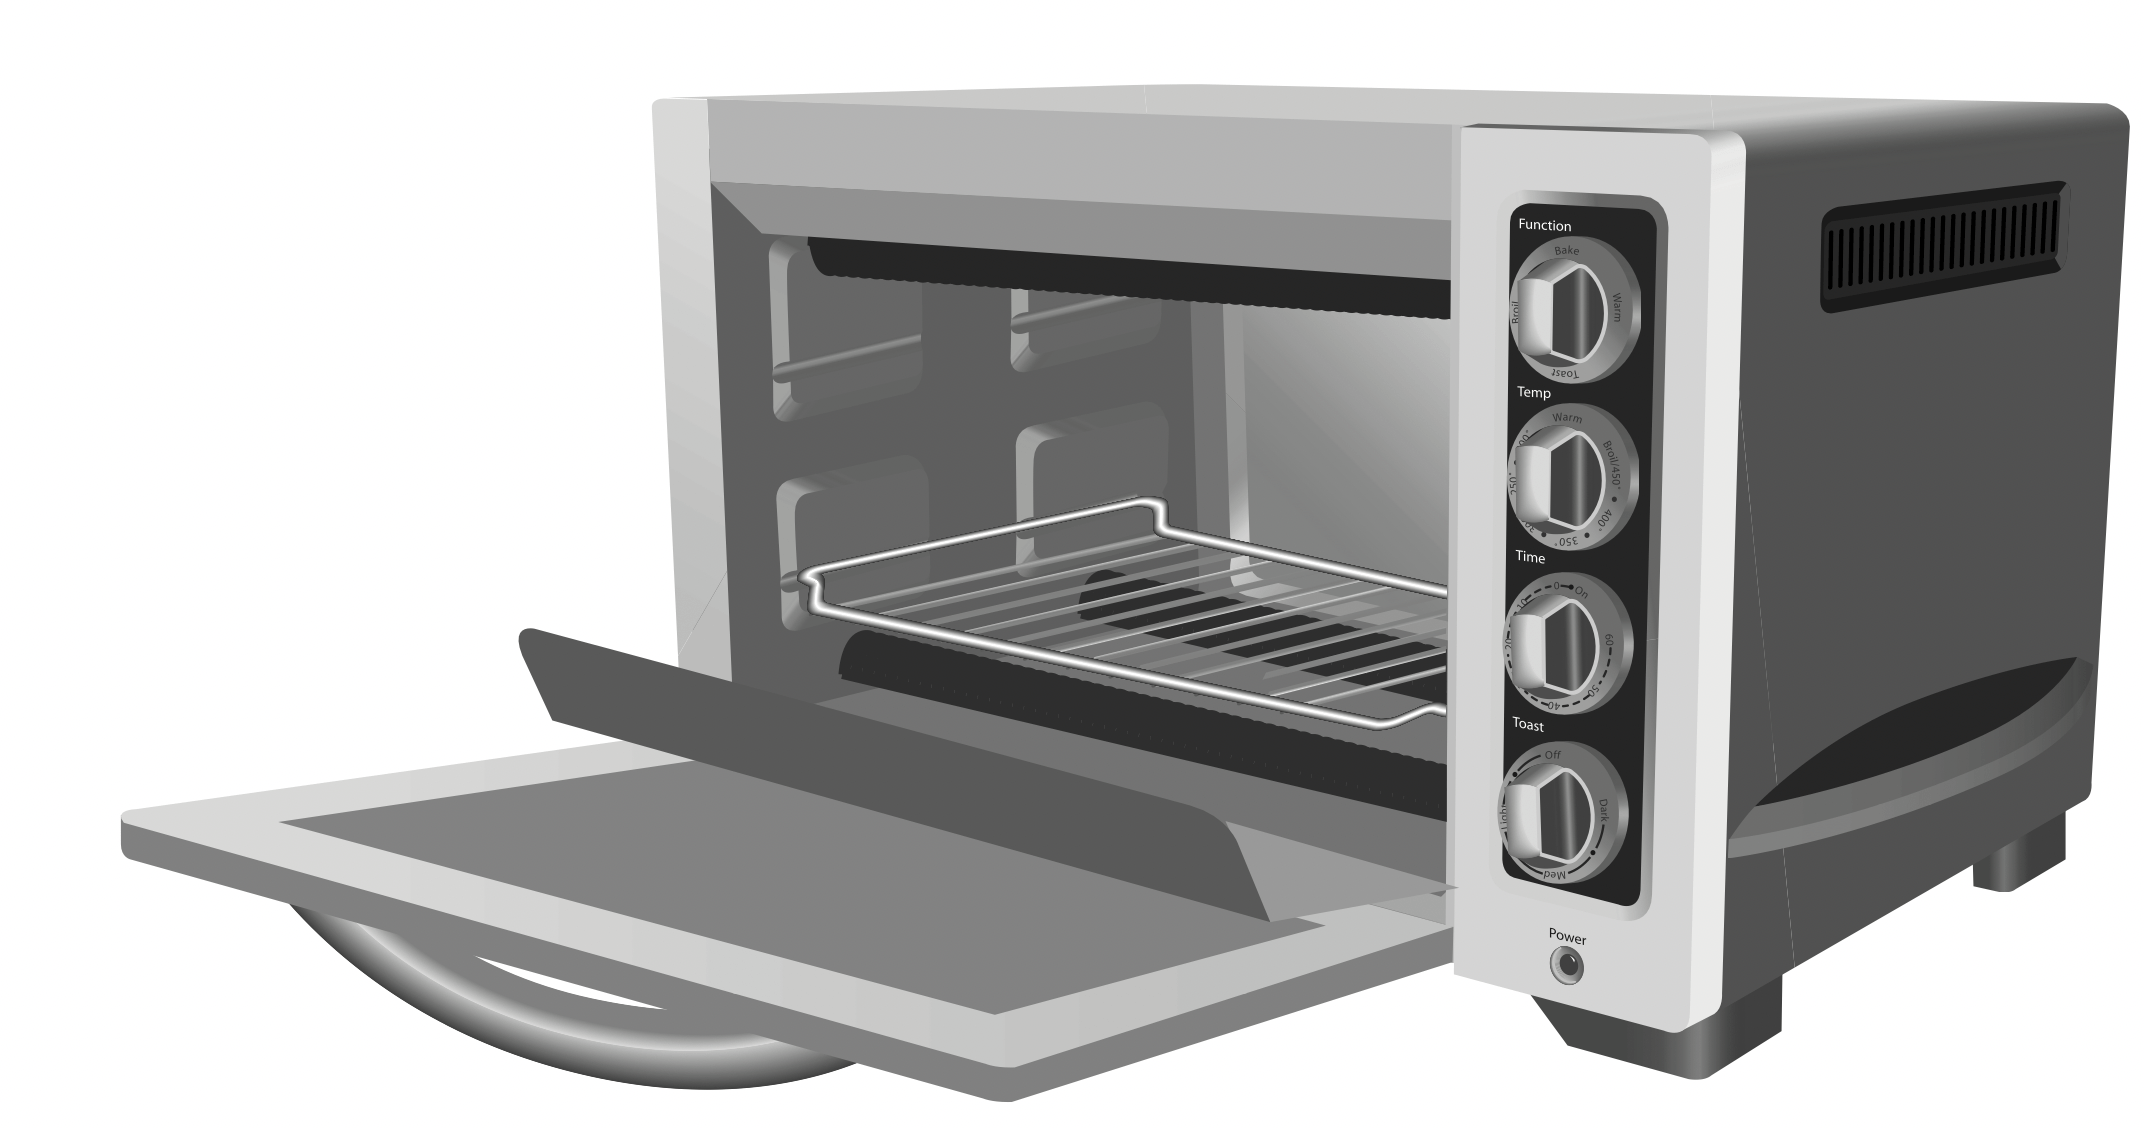
COUNTERTOP OVEN FEATURES
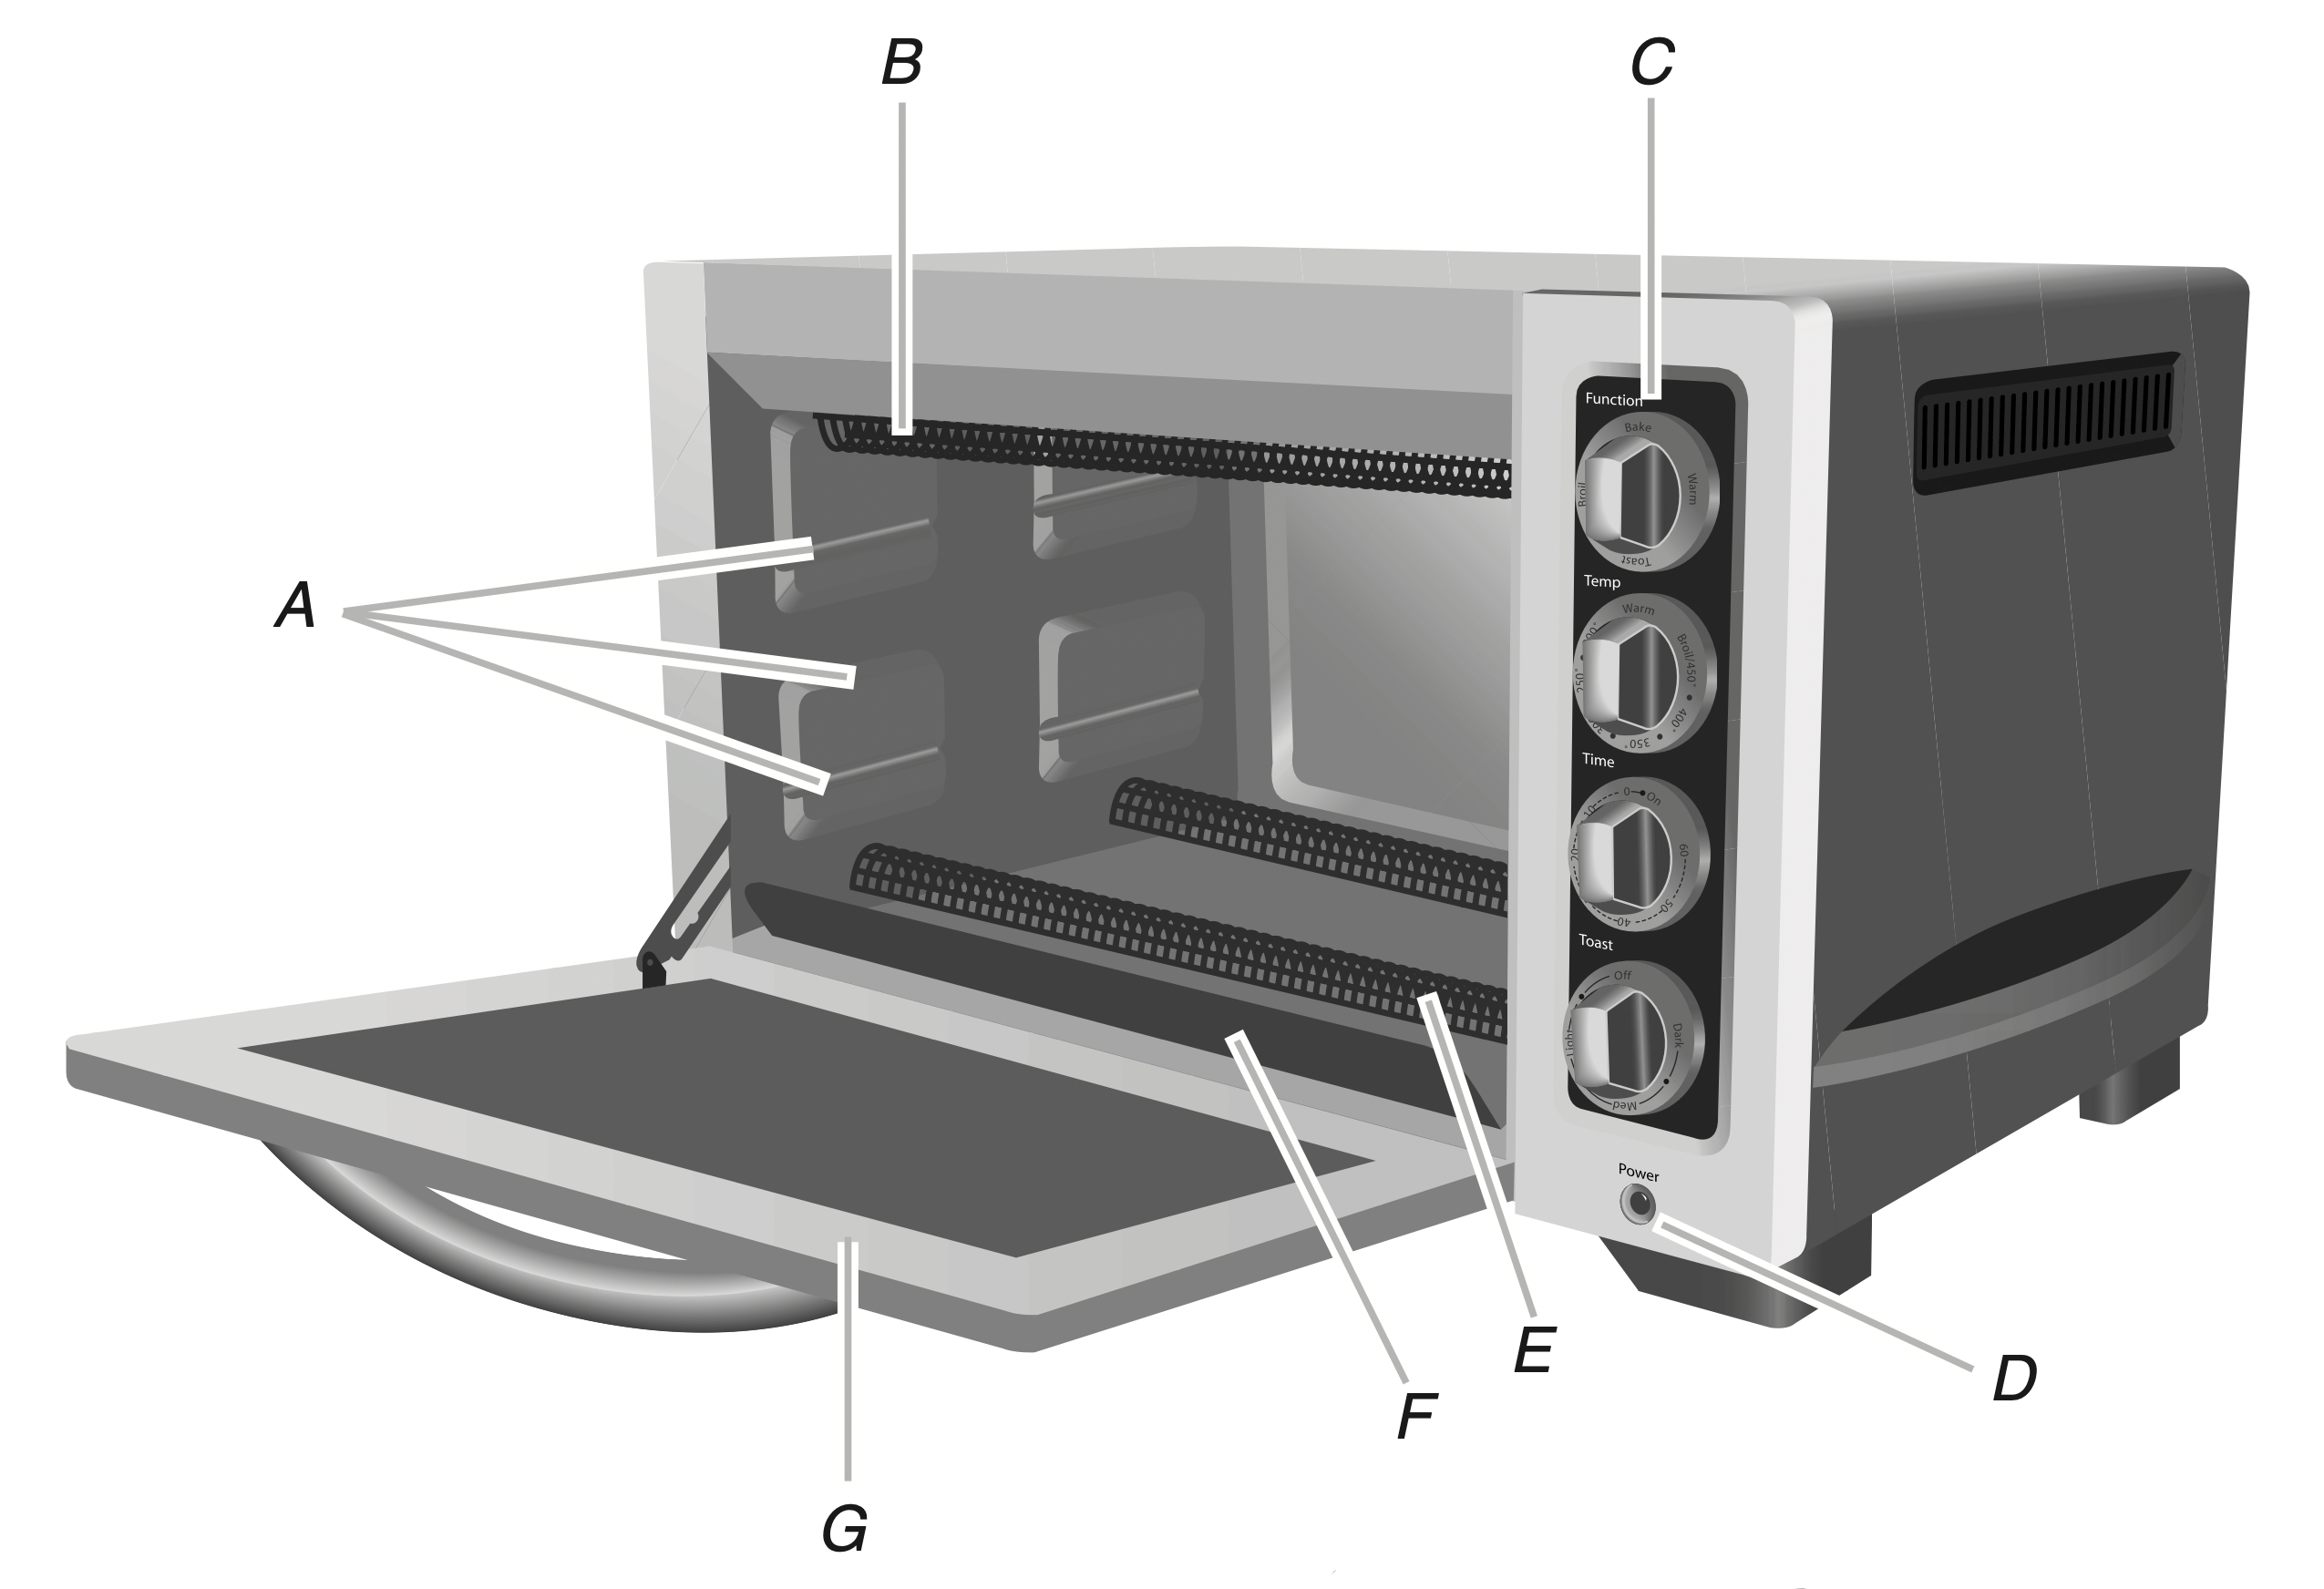
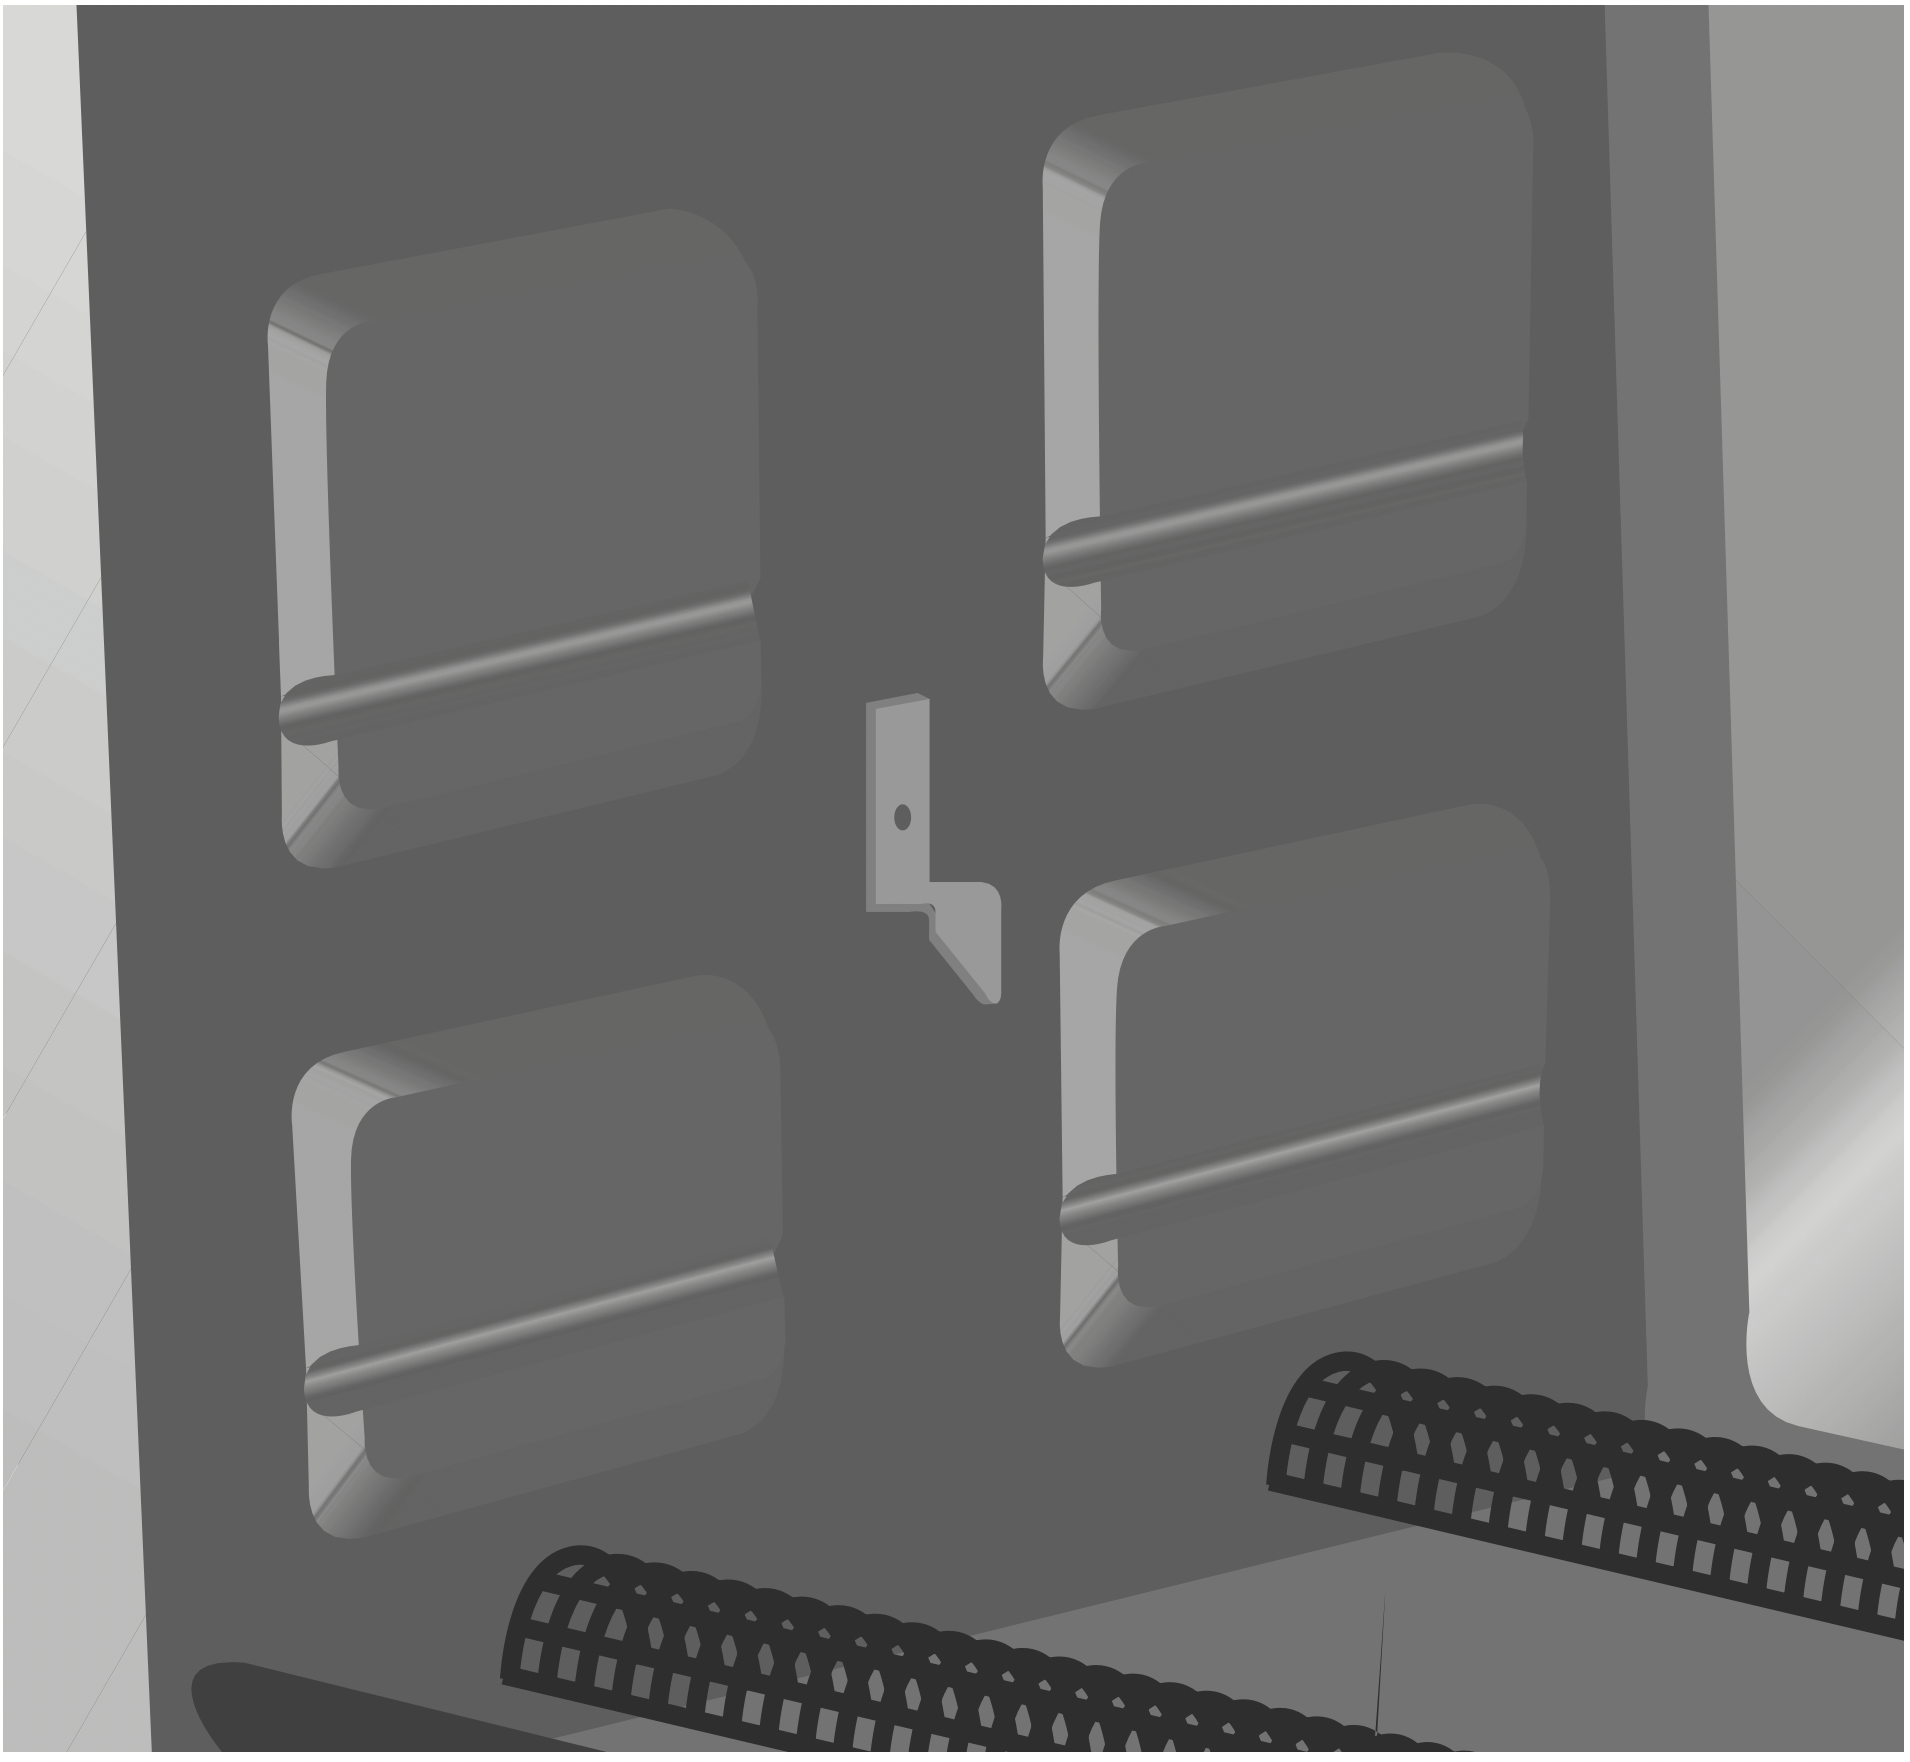
A. Rack-positioning slots
B. Upper cooking elements
C. Countertop oven controls:
Function, Temp, Time and Toast
D. Power on indicator light
E. Lower cooking elements
F. Removable crumb tray
G. Countertop oven door
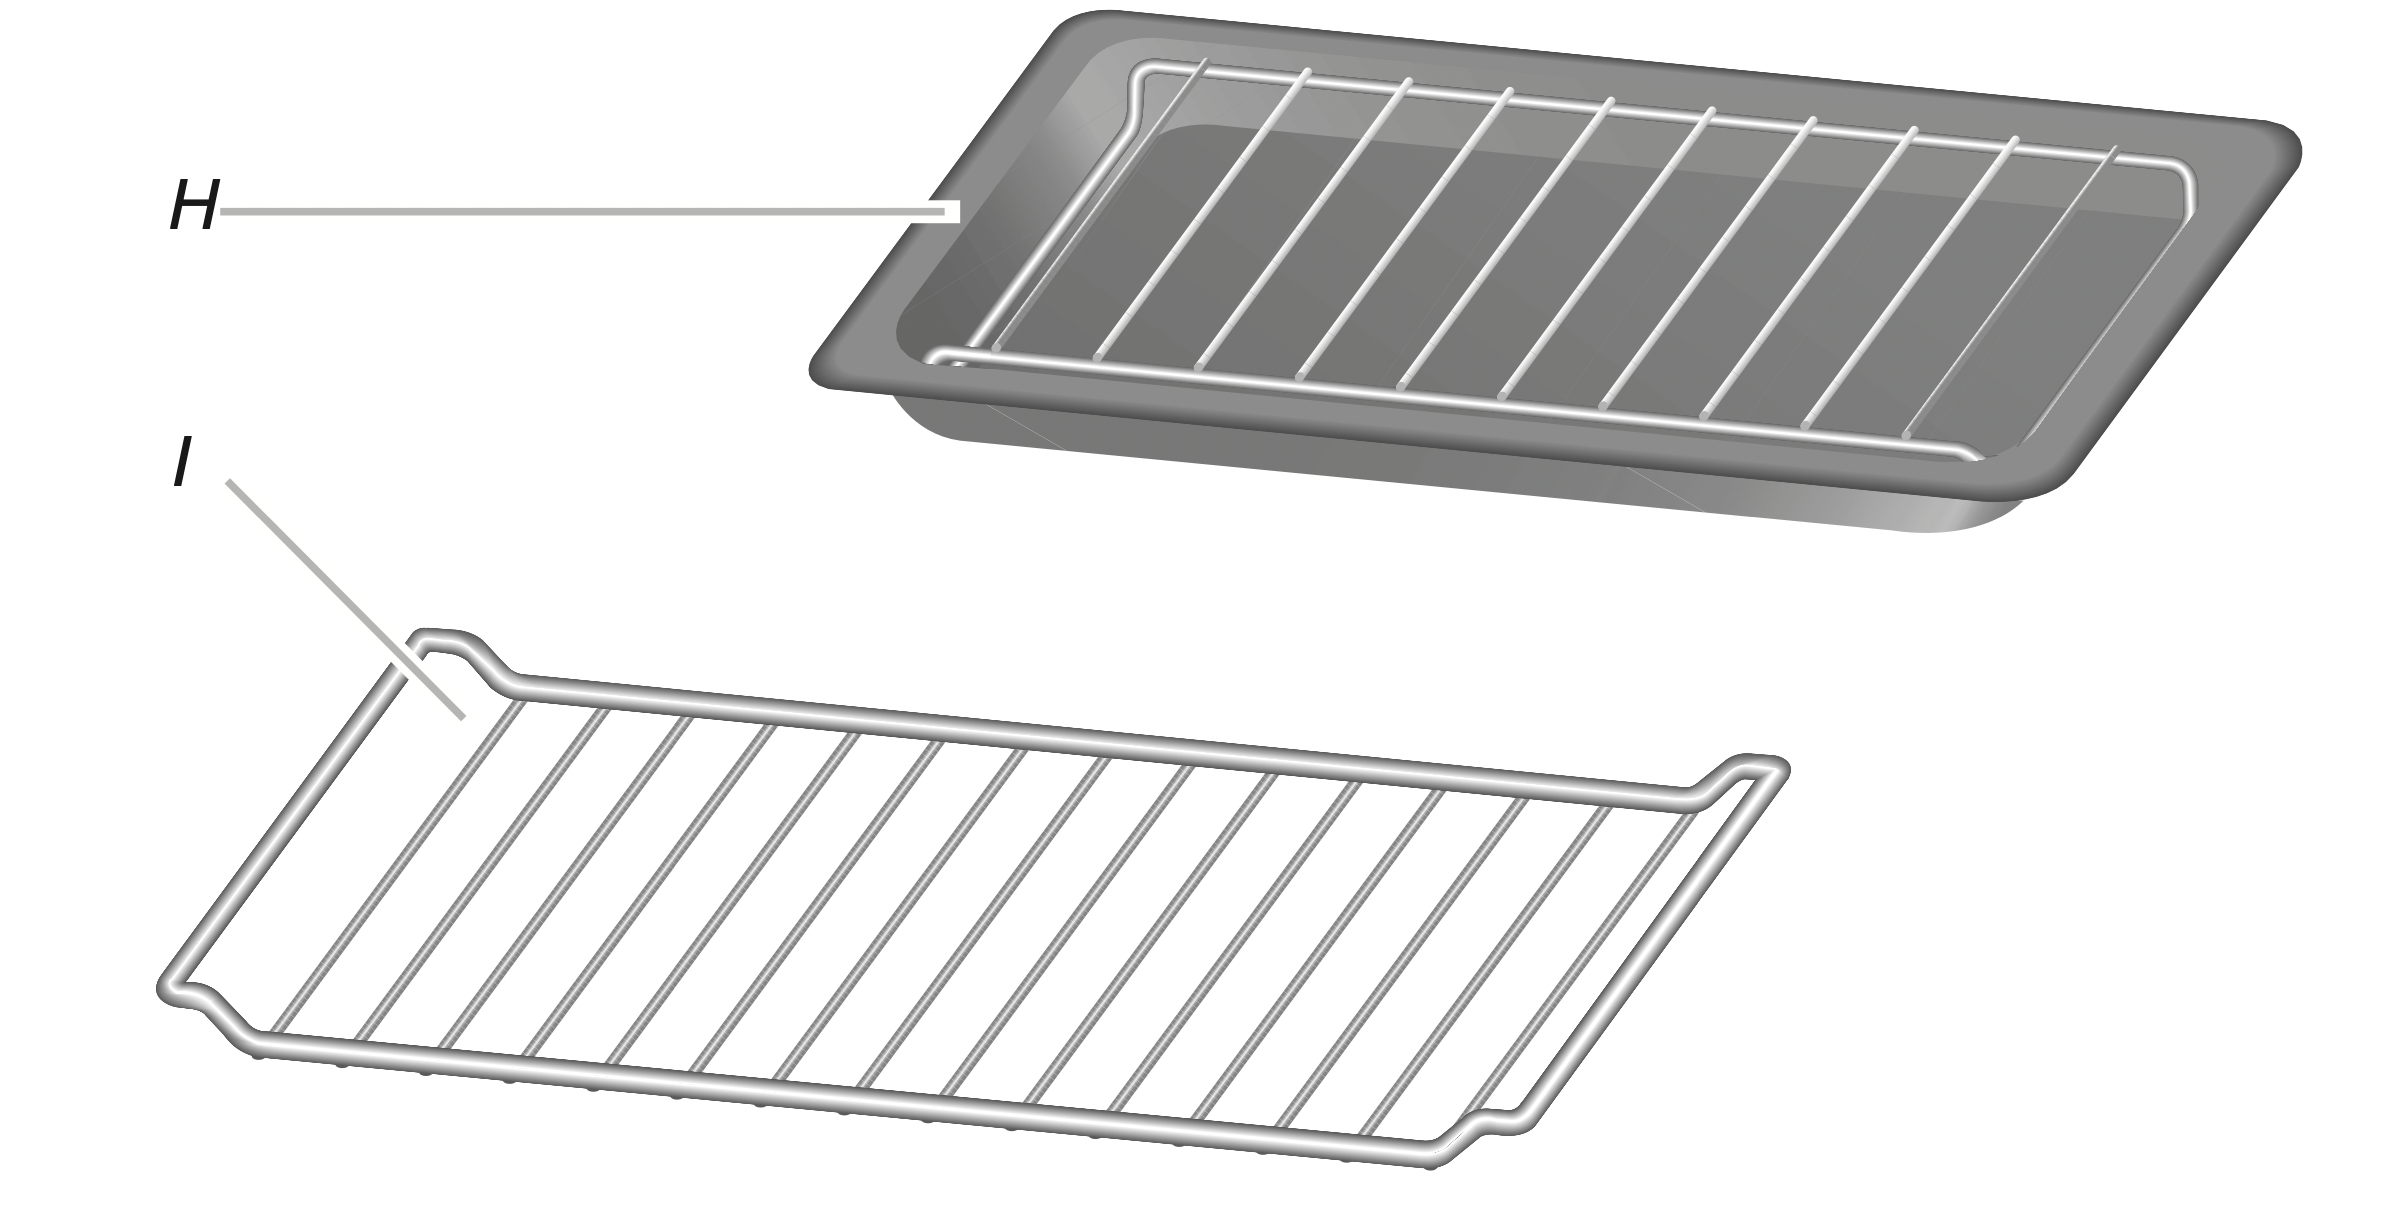
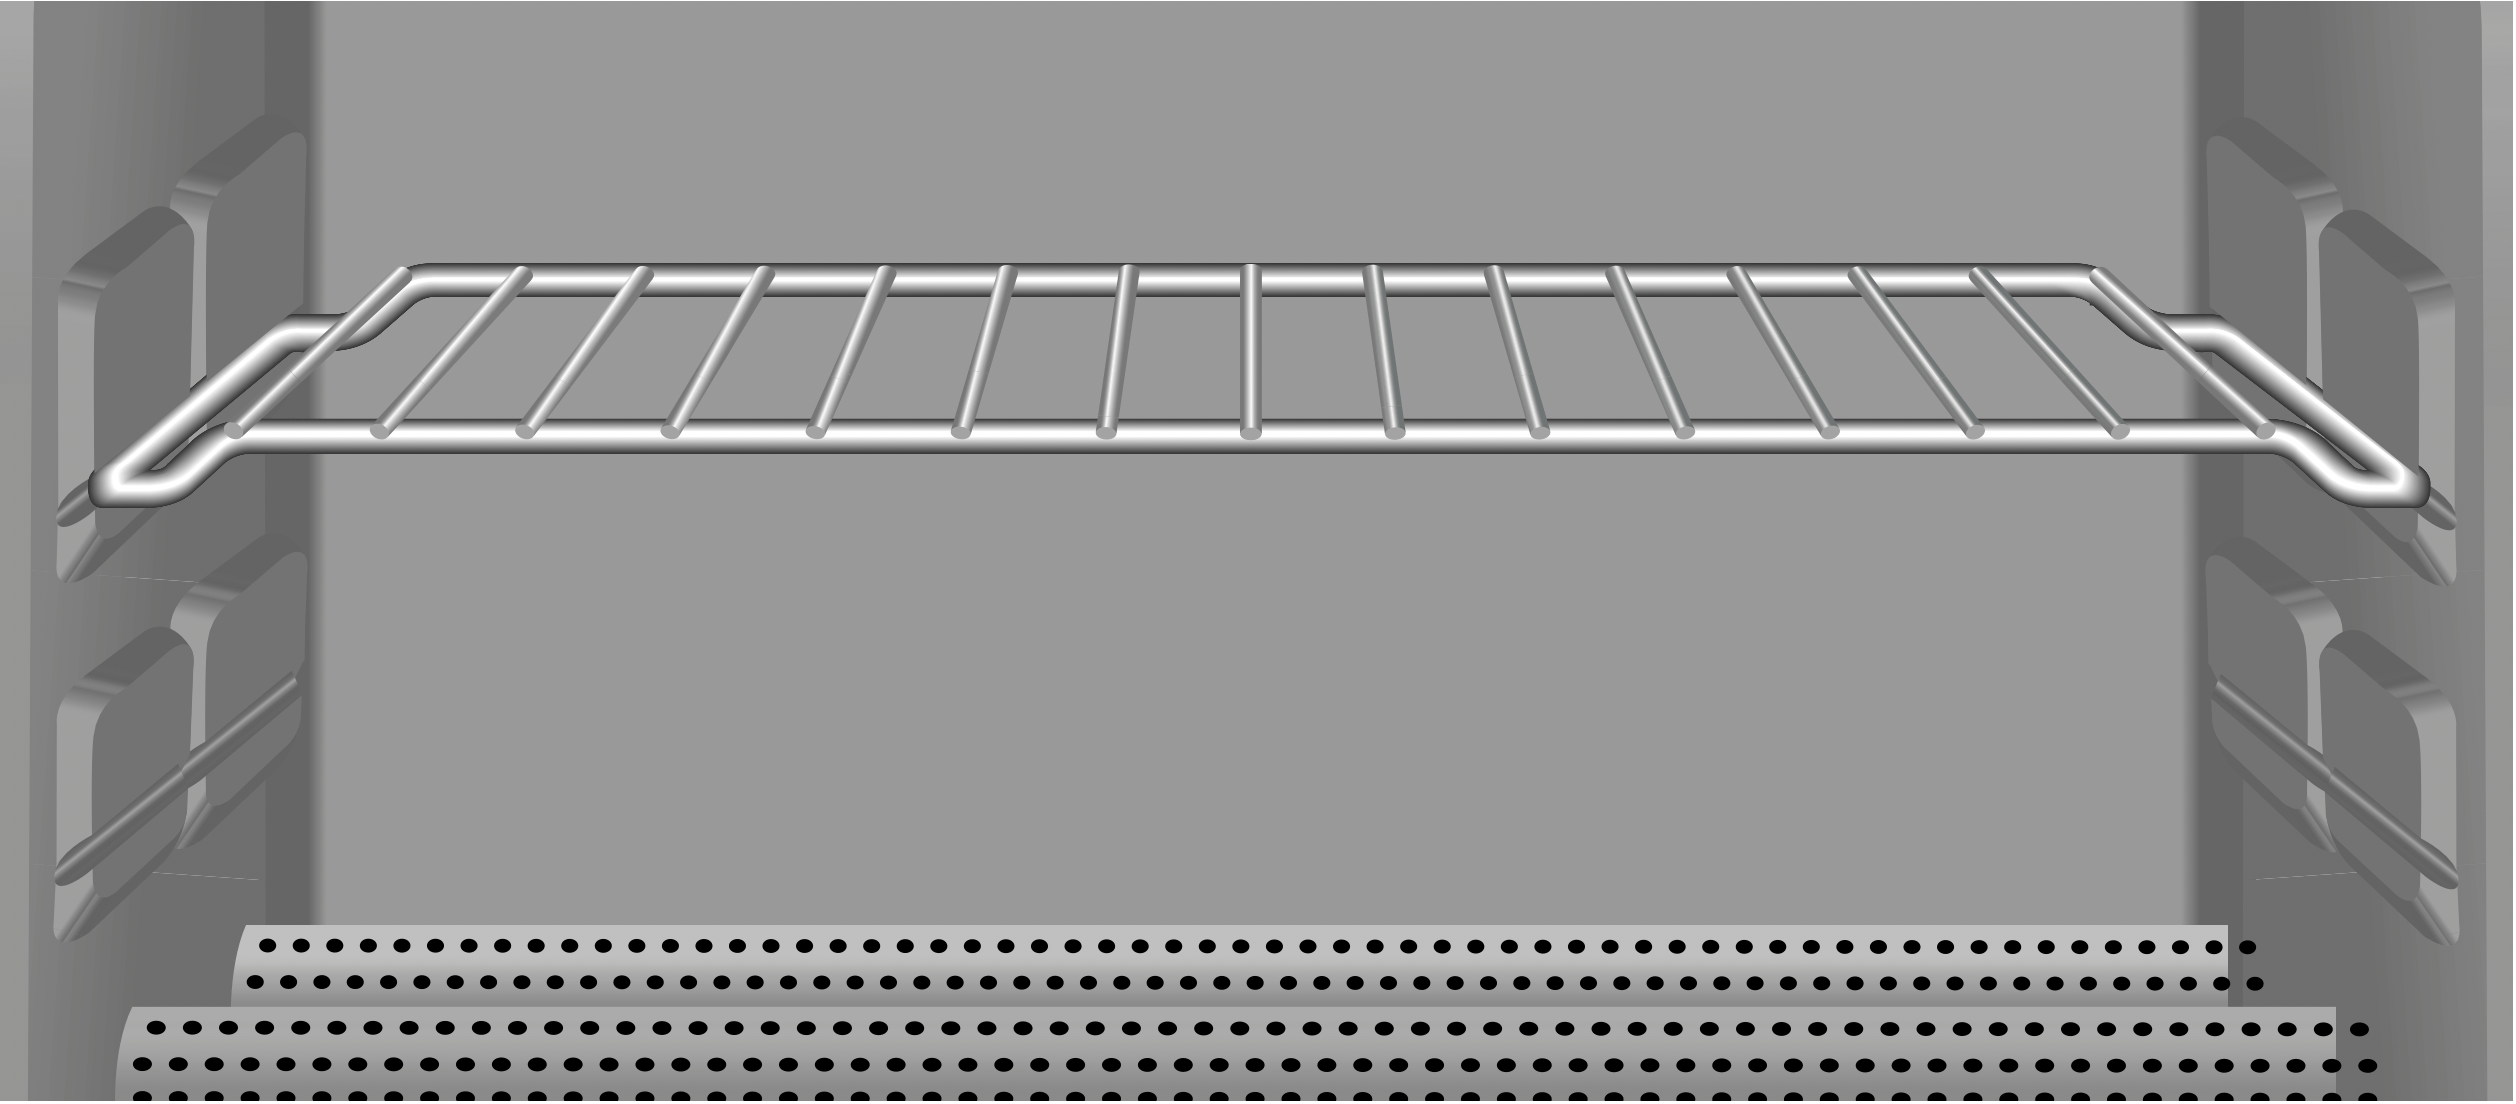
H. Broiler pan with grill
I. 2 position countertop oven rack; up or down (2)
COUNTERTOP OVEN CONTROLS
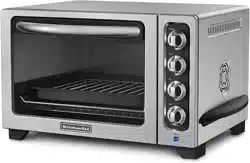
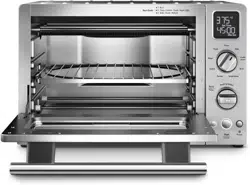
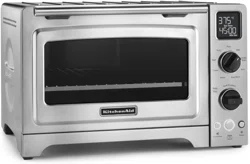
This manual covers different models. The appearances of the items shown here may not match those of your model.
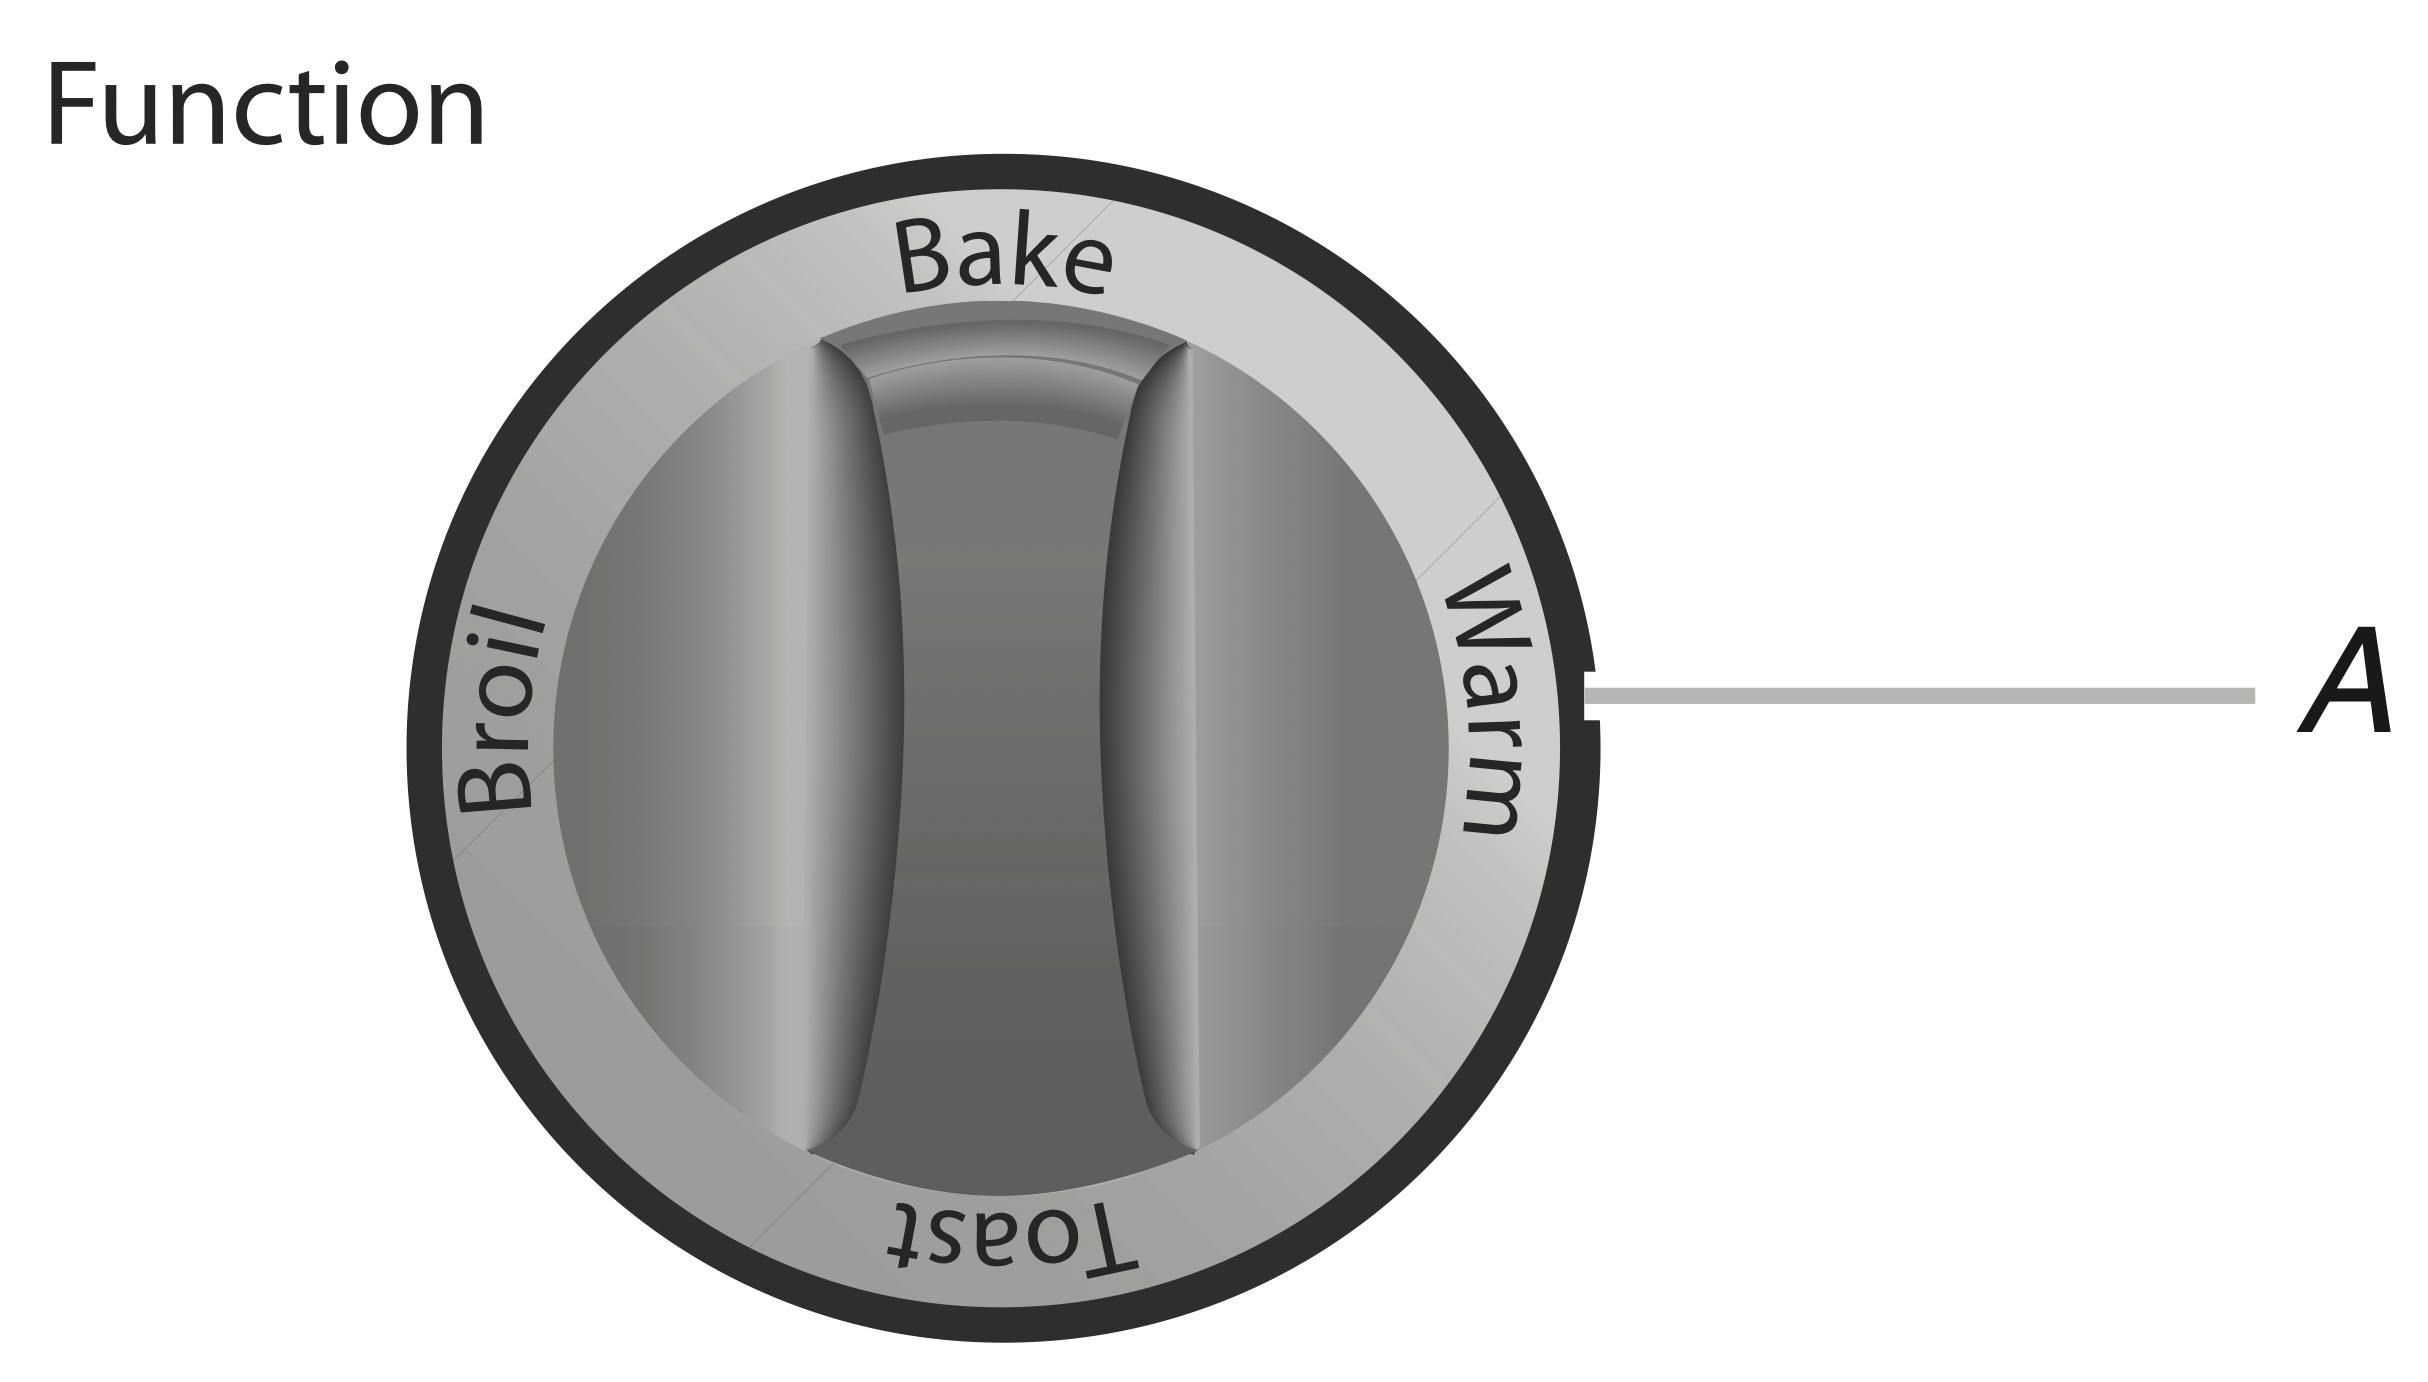

A. Function control knob
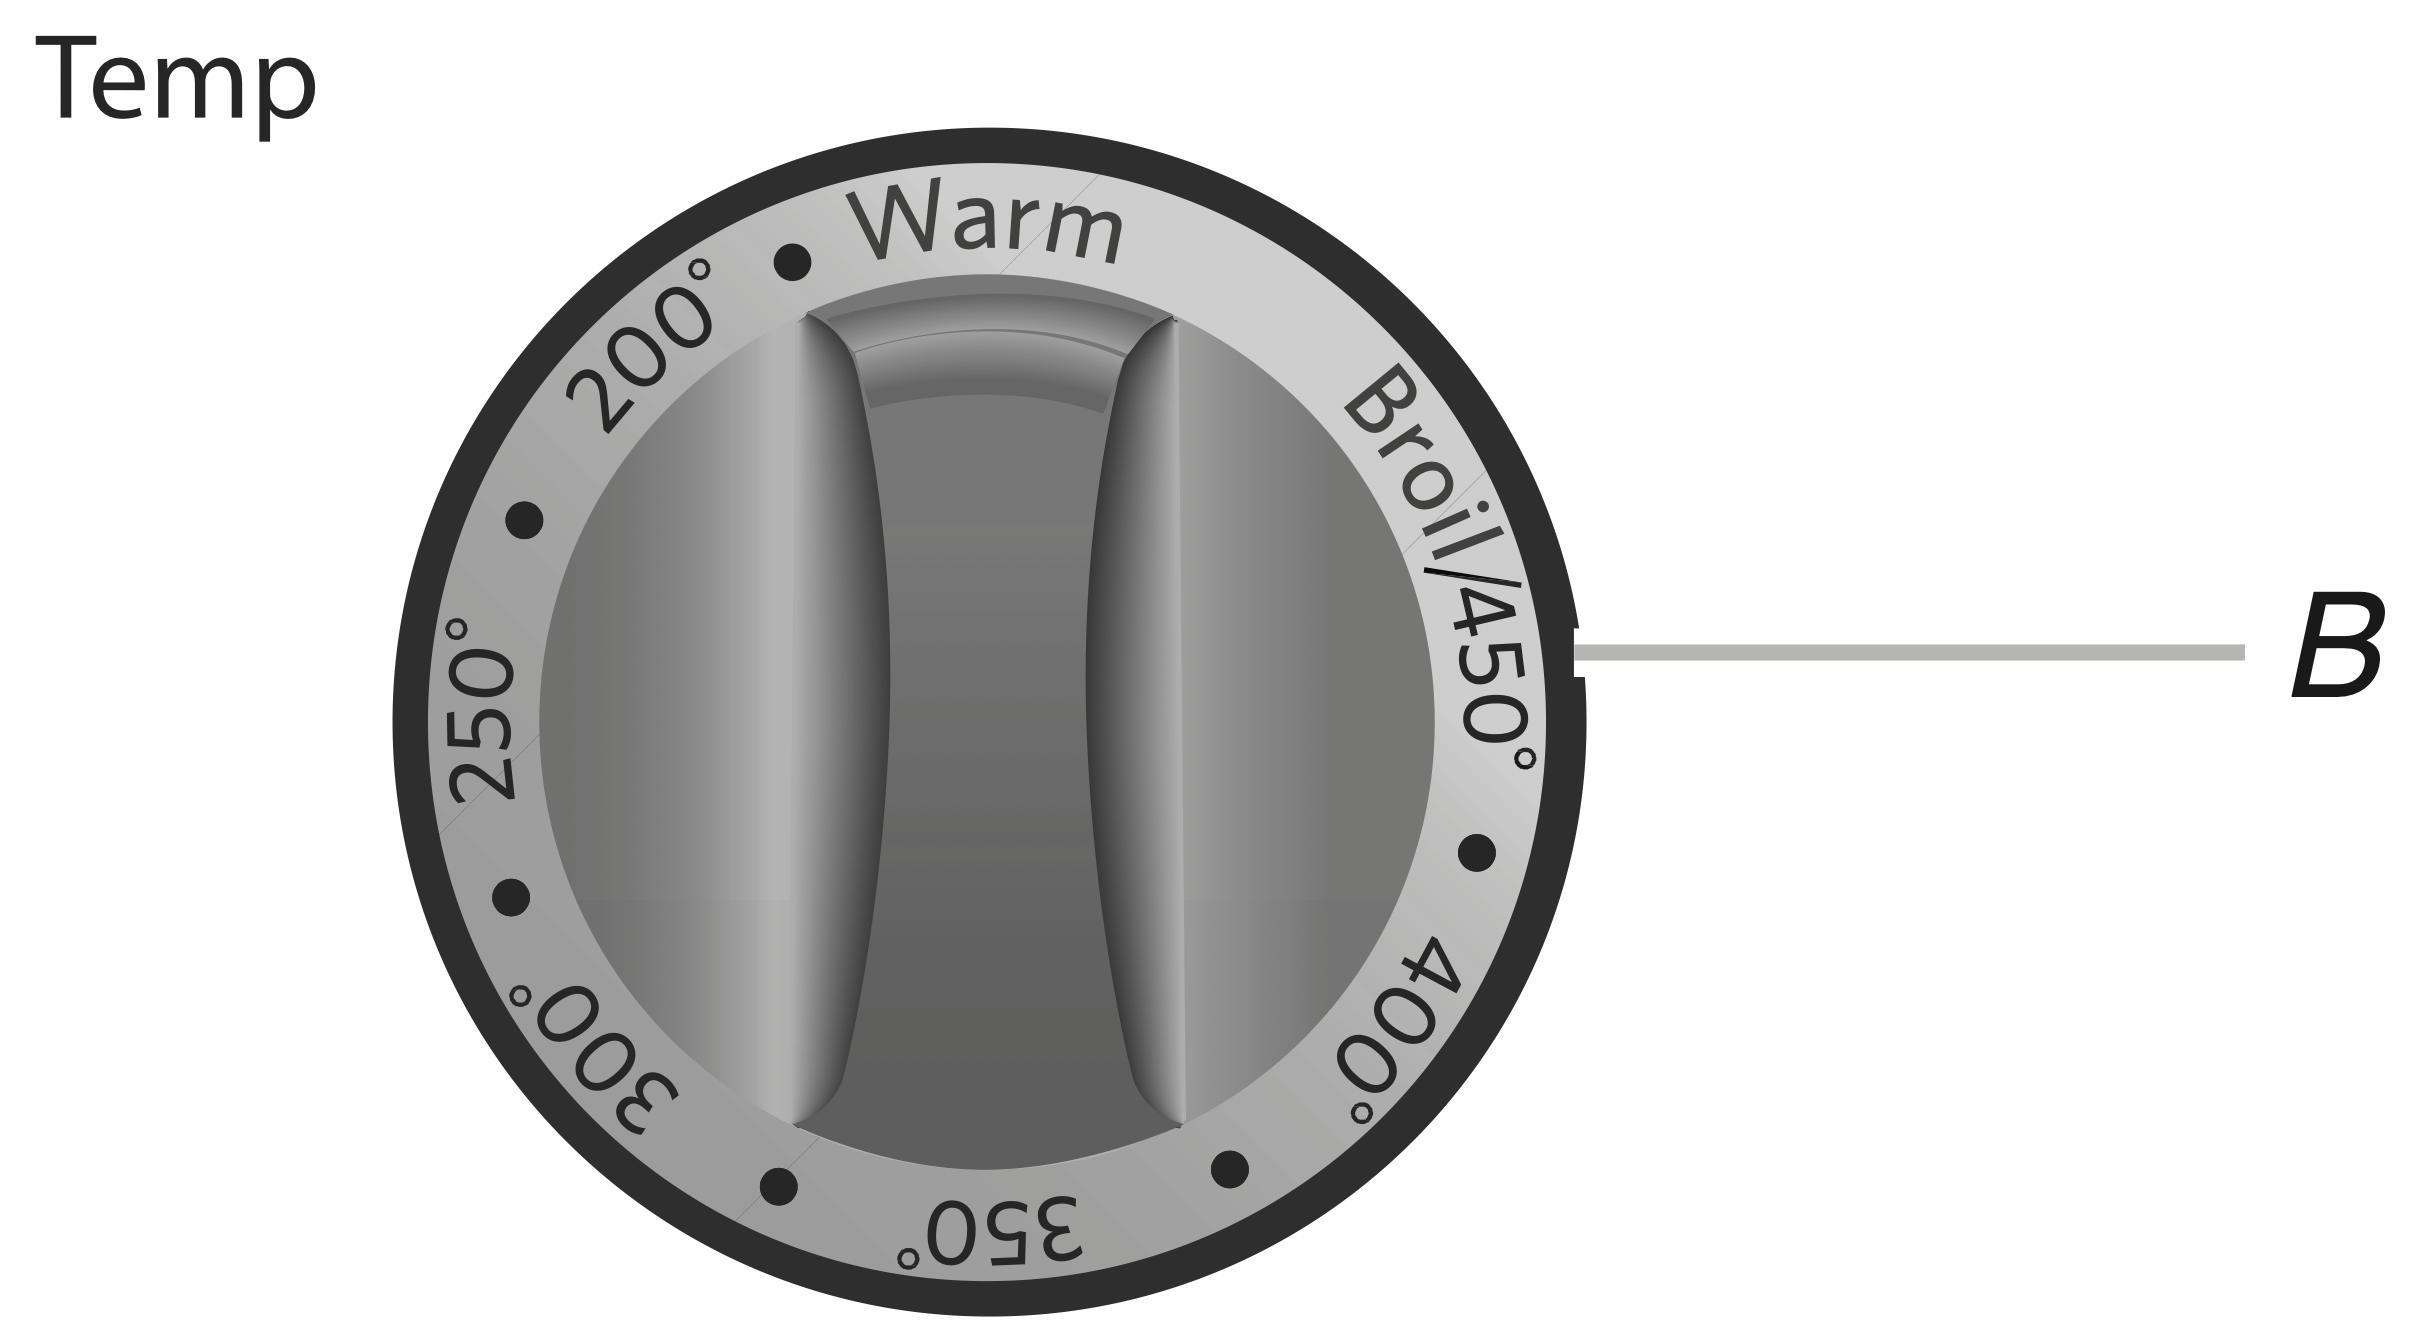
B. Temperature control knob
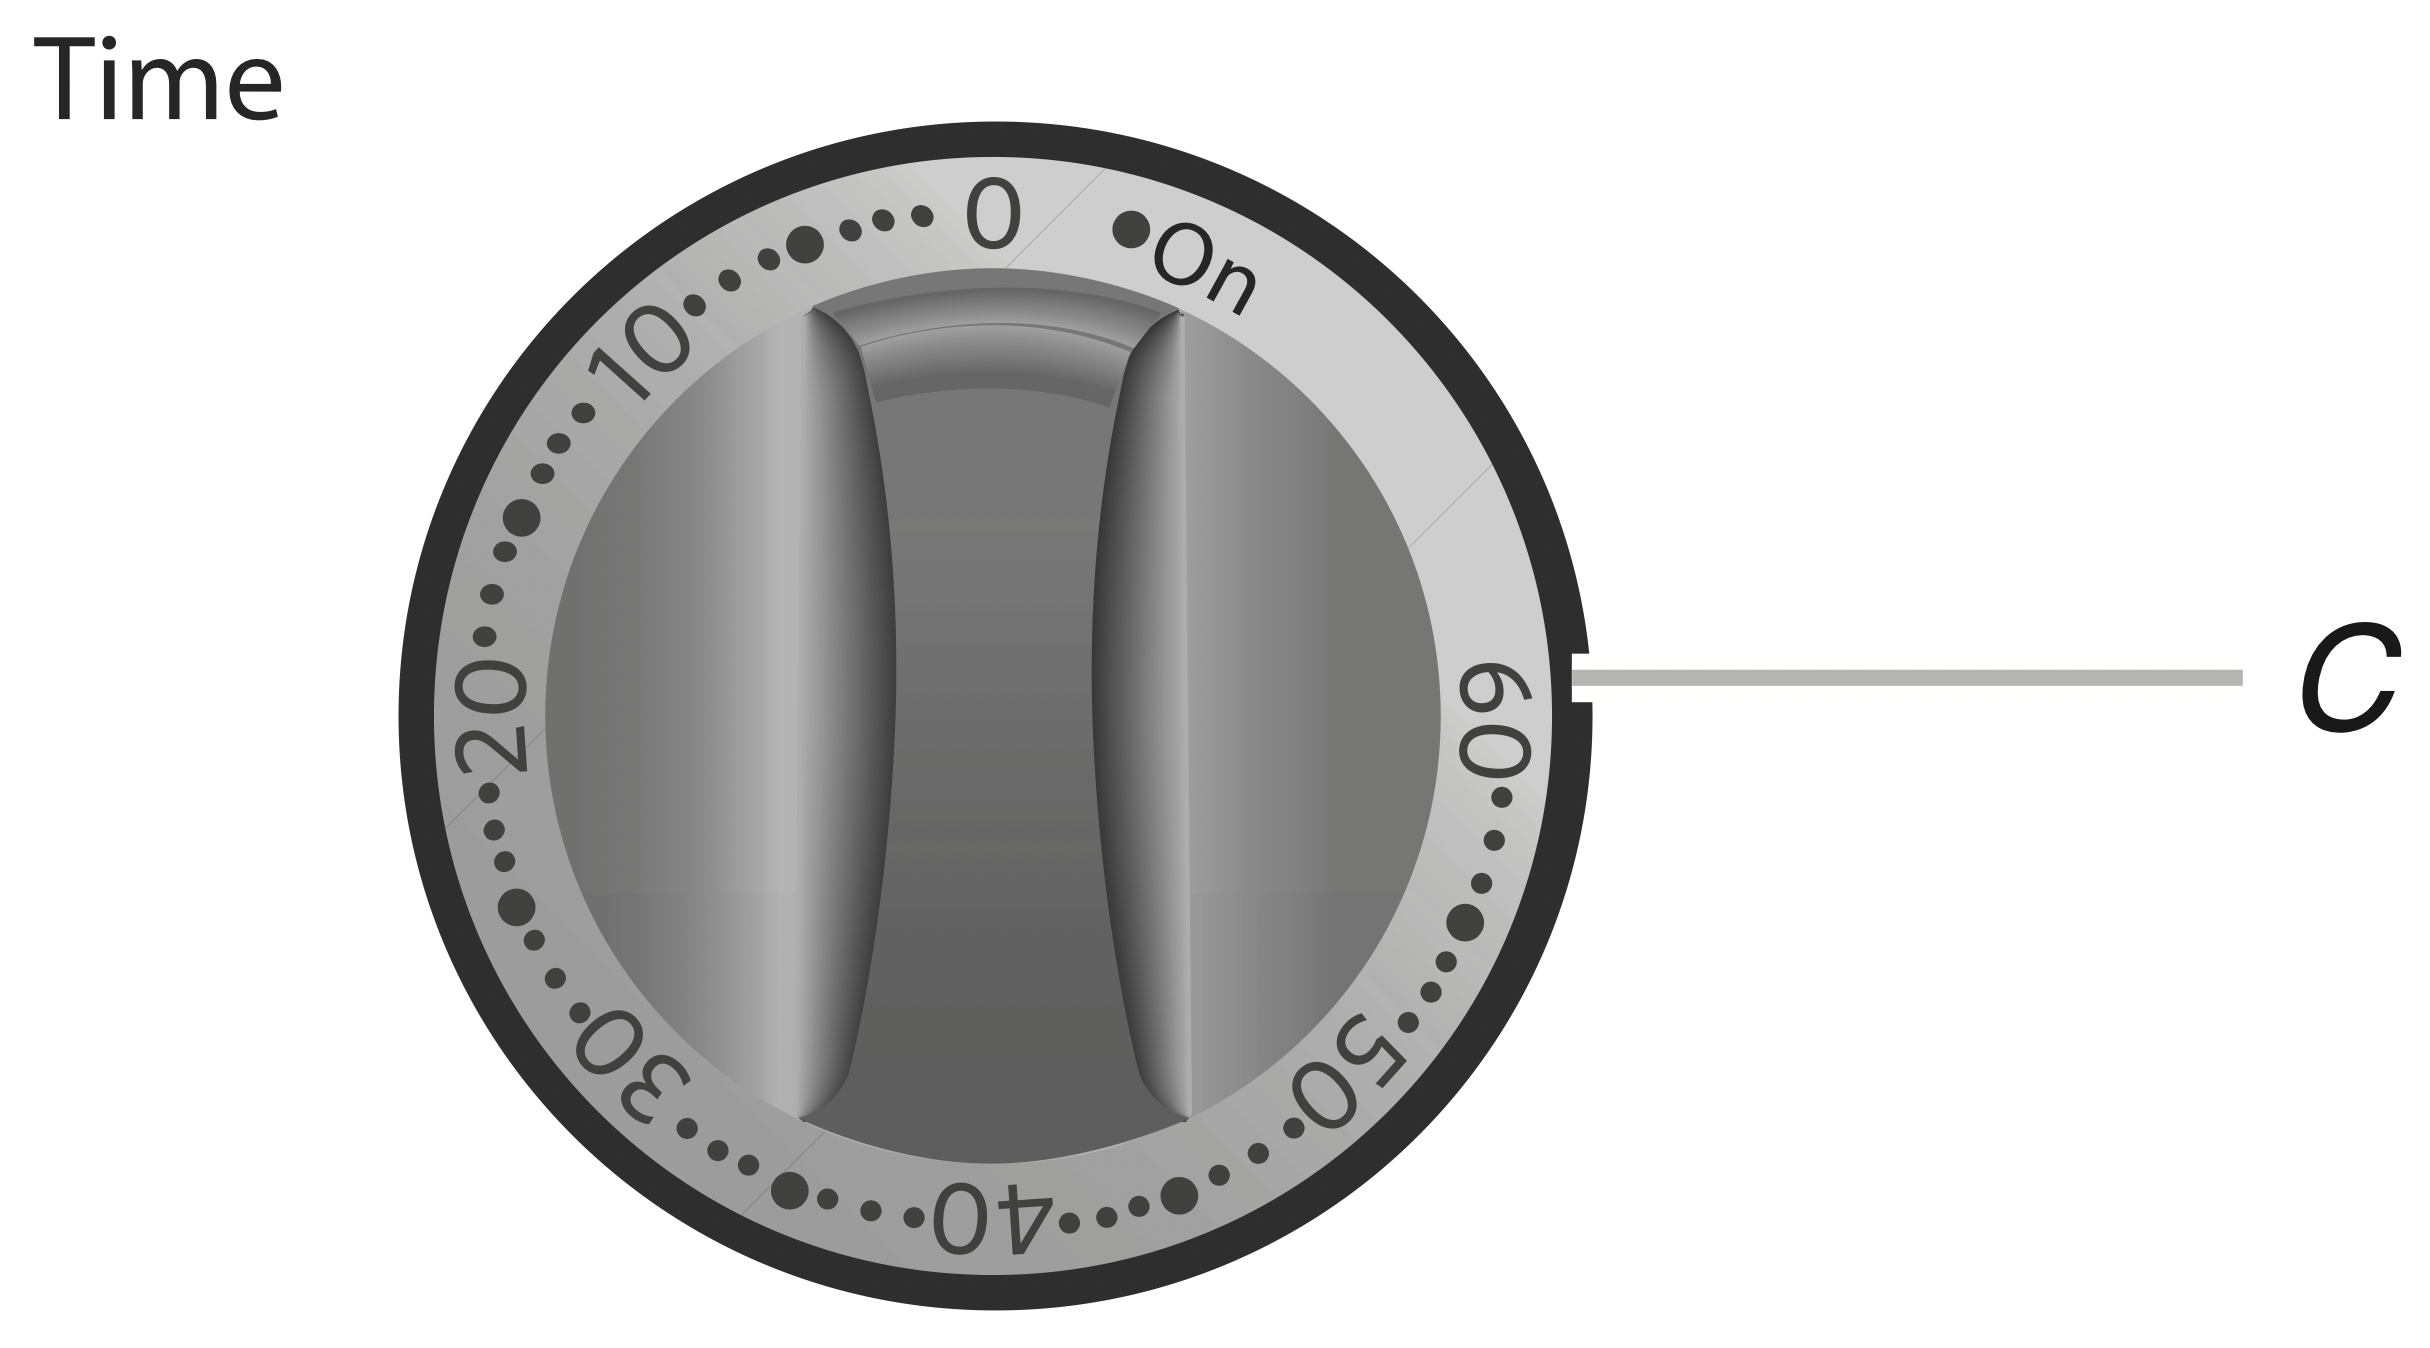
C. Time control knob
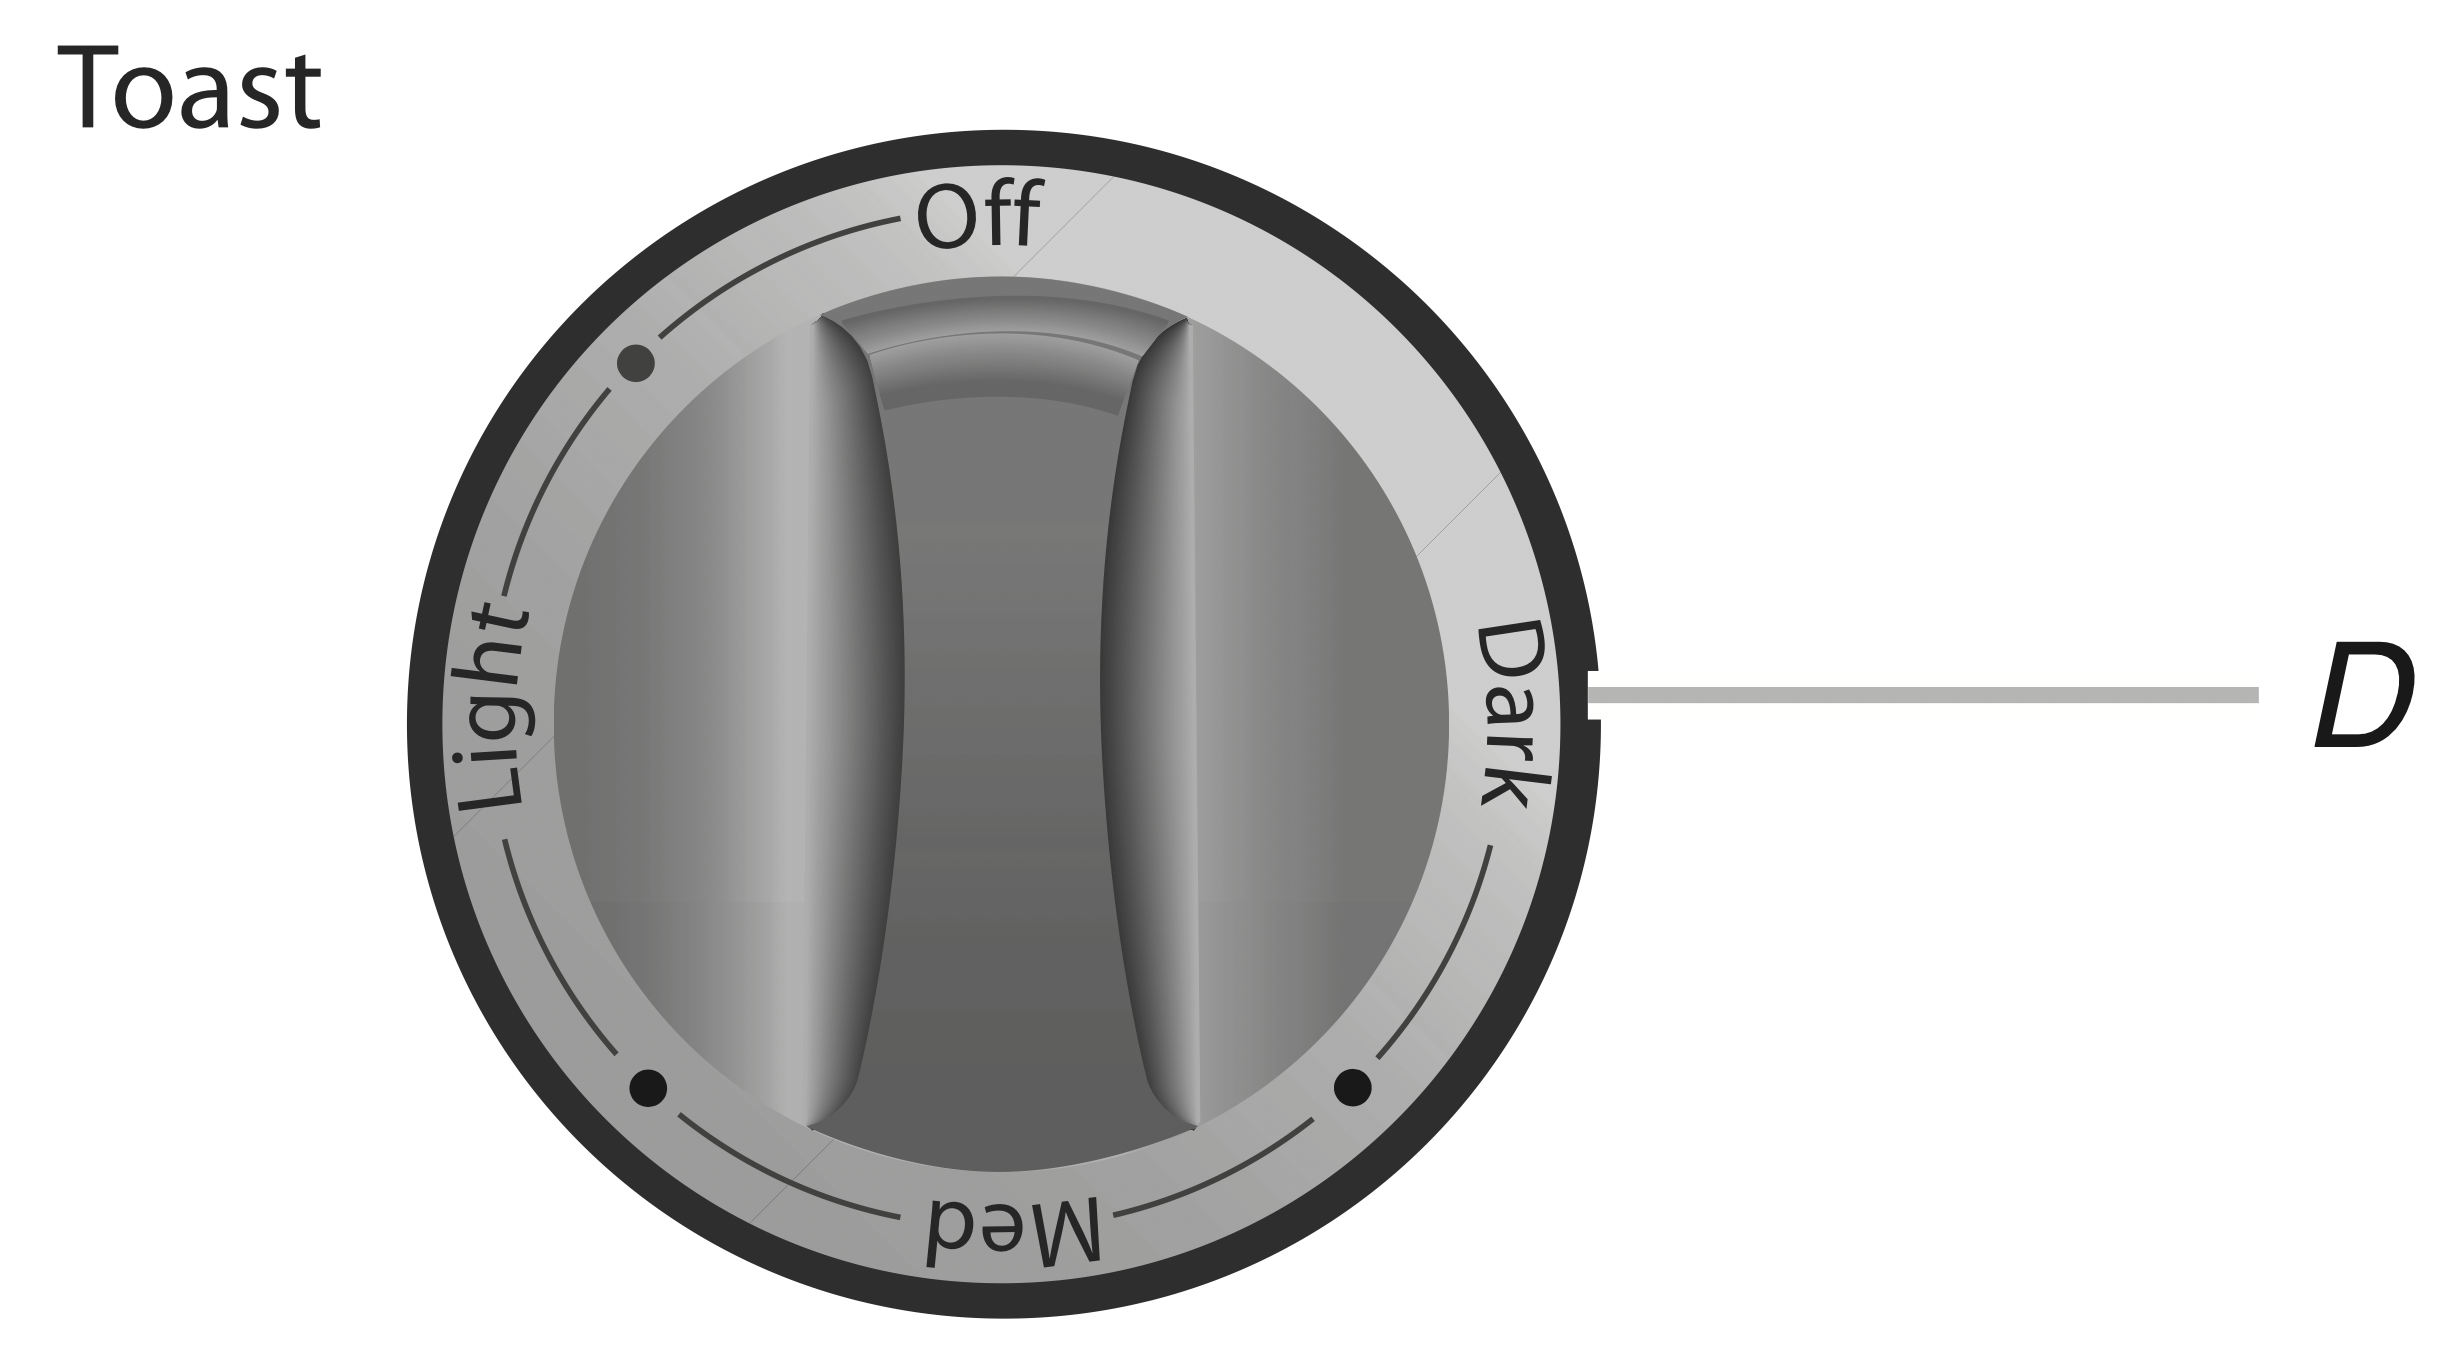
D. Toast control knob
E. Power on indicator light
Countertop Oven Features
This manual covers different models. The appearances of the items shown here may not match those of your model.
Cooking Elements
Four cooking elements produce up to 1440 watts for baking, broiling, toasting, and warming for even heating.
Control Panel
Four large knobs have versatile settings for Function, Temperature, Time and Toast. The Power on indicator light glows blue when the oven is operating.
Broil Pan with Grill
An easy-to-clean broil pan is used with a special grill for baking, broiling, and warming. The broil pan with grill can be placed directly on the oven rack in the desired location for cooking.
Countertop Oven Racks
The 6-slice capacity racks are reversible for optimal cooking positions.
Countertop Oven Cavity
The 12" (30.2 cm) deep, 0.6 cu. ft (0.018 cu. m) oven cavity features a nonstick coating for ease of cleaning.
Toast Timer Control
For more accurate toasting; dark, medium or light. The timer control bell will sound when the desired toasting selection is ready.
Cook Timer
The countertop oven has a cook timer that can be used for up to 60 minutes of continuous cooking.
Constant “On” Feature
The constant “on” feature allows extended cooking time up to 4 hours. Turn the Time control knob to the left to enable the constant “on” feature. The constant “on” feature can be used in combination with the Bake, Broil or Warm functions. Turn the Time control knob to “0” to turn “off” the constant “on” feature.
NOTE: The oven has a 4 hour auto shutoff feature. If the constant “on” feature is being used, the oven will automatically shut off after 4 hours and the power on indicator light will flash rapidly.
Rack-Positioning Slots
Upper, middle and lower slots along the oven sides, combined with the reversible oven rack, can hold the food in up to 6 cooking positions. The middle rack position slot contains a rack stop.
Removable Crumb Tray
The Crumb tray is located inside the oven and can be accessed by opening the oven door for cleaning. Hand washing is recommended.
Countertop Oven Door
The durable metal-framed door has a large stainless steel handle and a see-through, tempered glass window.
Countertop Oven Cabinet
Stylish stainless steel top and control panel are matched to painted side panels.
Convection Bake Feature (model KCO223 only)
An automatic Convection Bake feature on model KCO223 will operate only when the Bake function is selected. The Convection Bake function will continuously circulate heat while baking.
Heated air is generated and circulates heat at the desired temperature by the built-in fan. For better cooking results use the right cooking pan to allow for proper air circulation.
PREPARING THE KITCHENAID ® COUNTERTOP OVEN FOR USE
Before First Use:
- Place the countertop oven on a dry, flat, level surface such as a countertop or table.
- Be sure the sides, back and top of the oven are at least 4" (10.16 cm) away from any walls, cabinets or objects on the counter or table.
- Remove all accessories and wash in hot, sudsy water. Dry thoroughly before placing in the oven.
- Remove all packaging materials and labels, if present.
NOTE: Upon first use, the oven may produce light smoke. This is normal.
Before Each Use:
WARNING - Electrical Shock Hazard
- Plug into a grounded 3 prong outlet.
- Do not remove ground prong.
- Do not use an adapter.
- Do not use an extension cord.
- Failure to follow these instructions can result in death, fire, or electrical shock.
- Remove all items not required for the next cooking procedure.
- Plug into a grounded 3 prong outlet. The countertop oven should be the only appliance operating on the circuit.
- The countertop oven is now ready to use.
COUNTERTOP OVEN USE
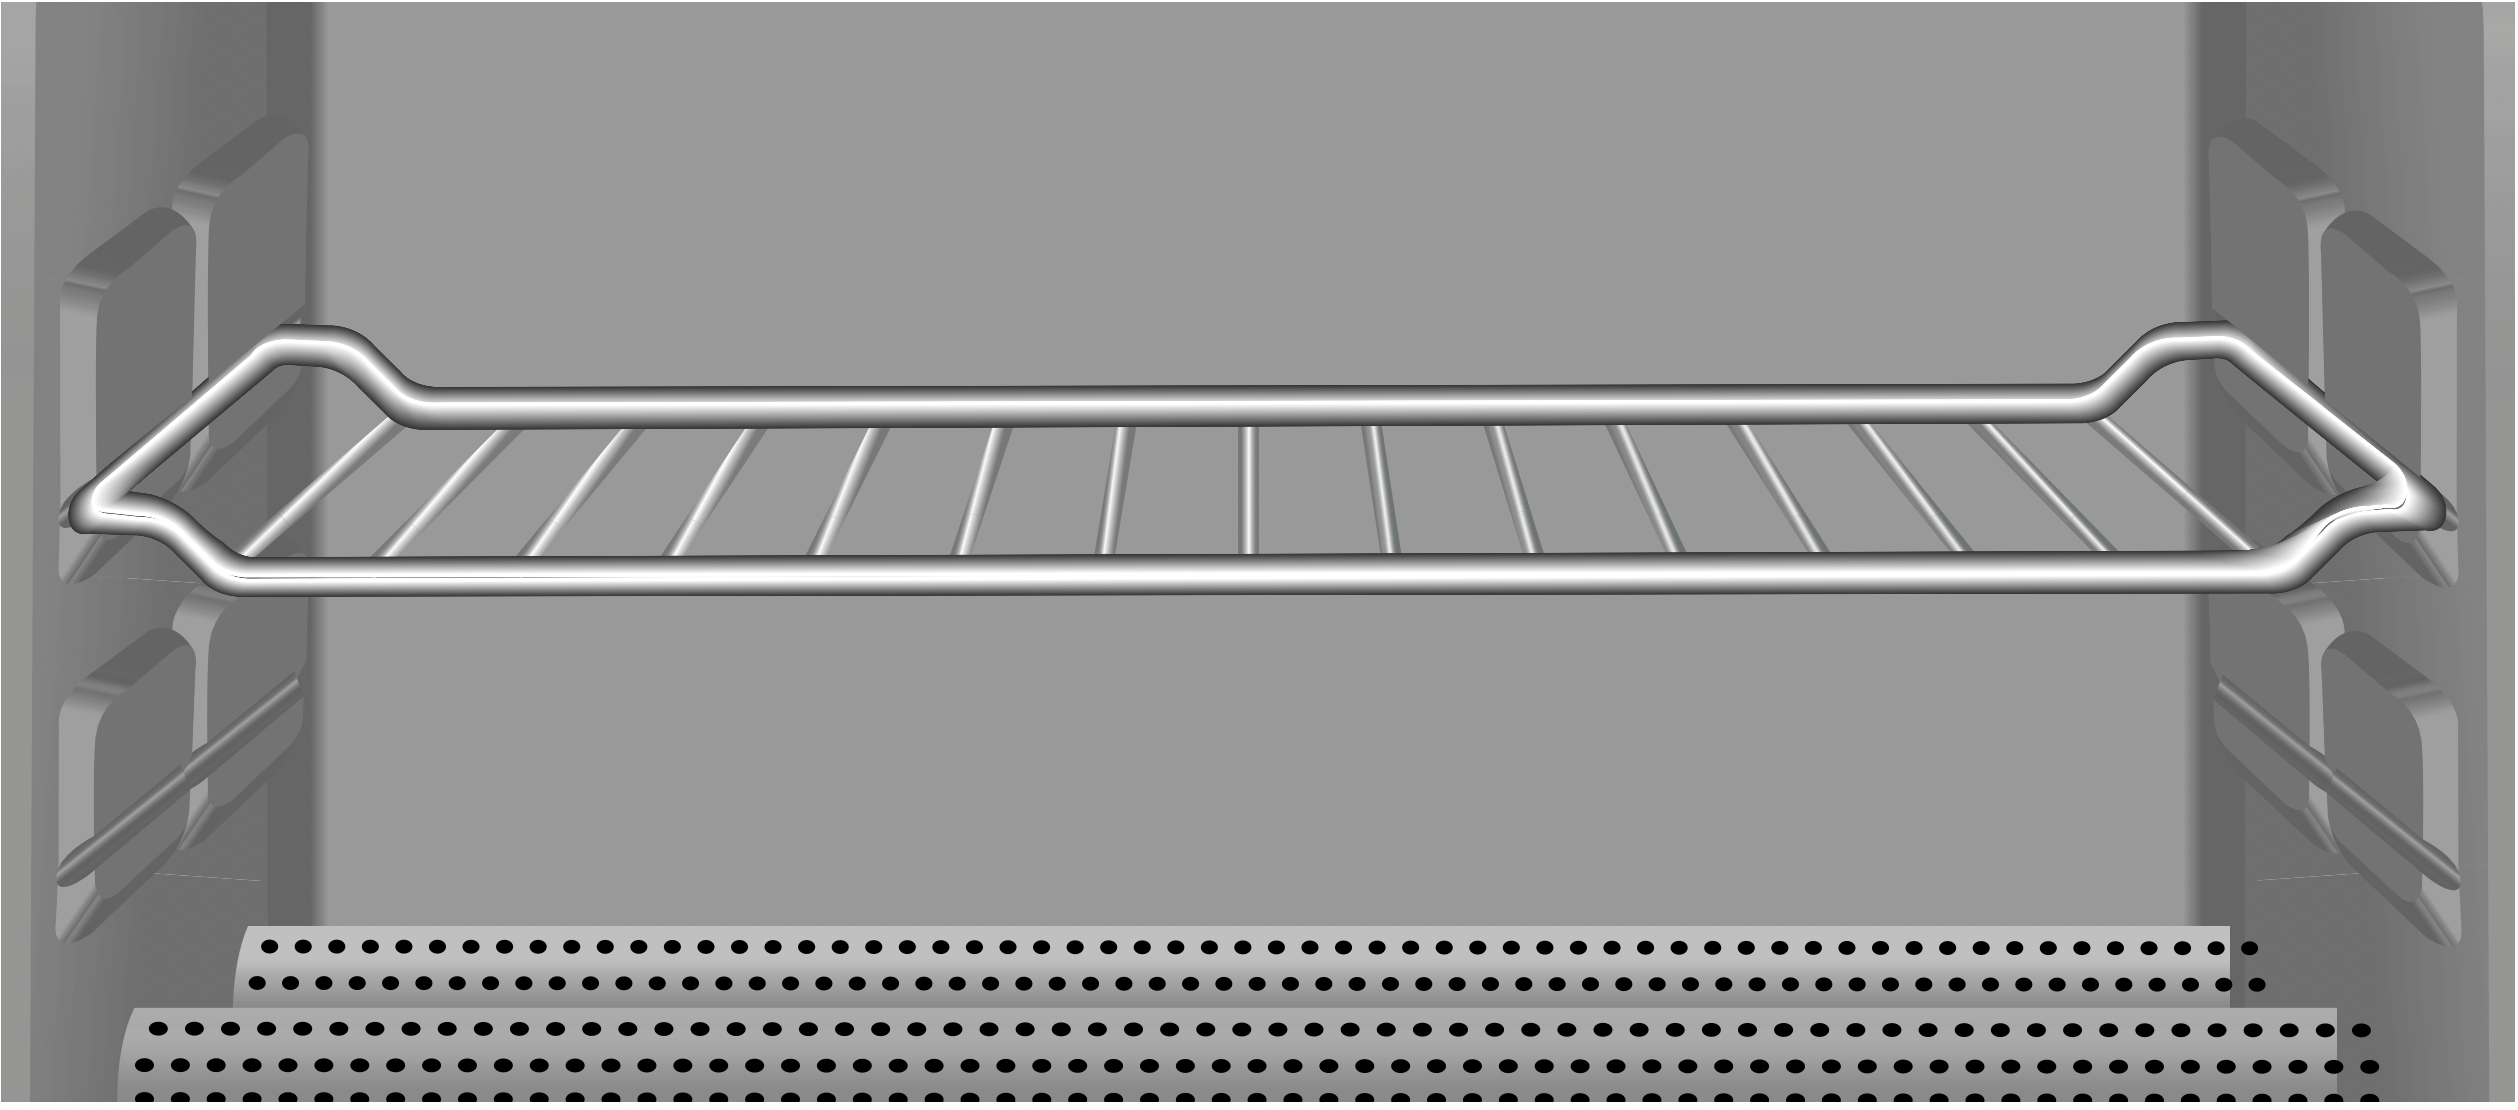
Understanding Positions of the oven rack
Food cooks uniformly as warmed air moves around the oven rack. Up to 6 slices of bread may be placed directly on the rack for toasting. This unique 6-position rack also holds the broil pan with grill, baking pans or dishes, and standard bakeware. Here is a guide to adjusting your oven rack for optimal cooking performance.
Position A
Use the upper slots along countertop oven walls. Slide in the countertop oven rack, using a rack-up orientation.
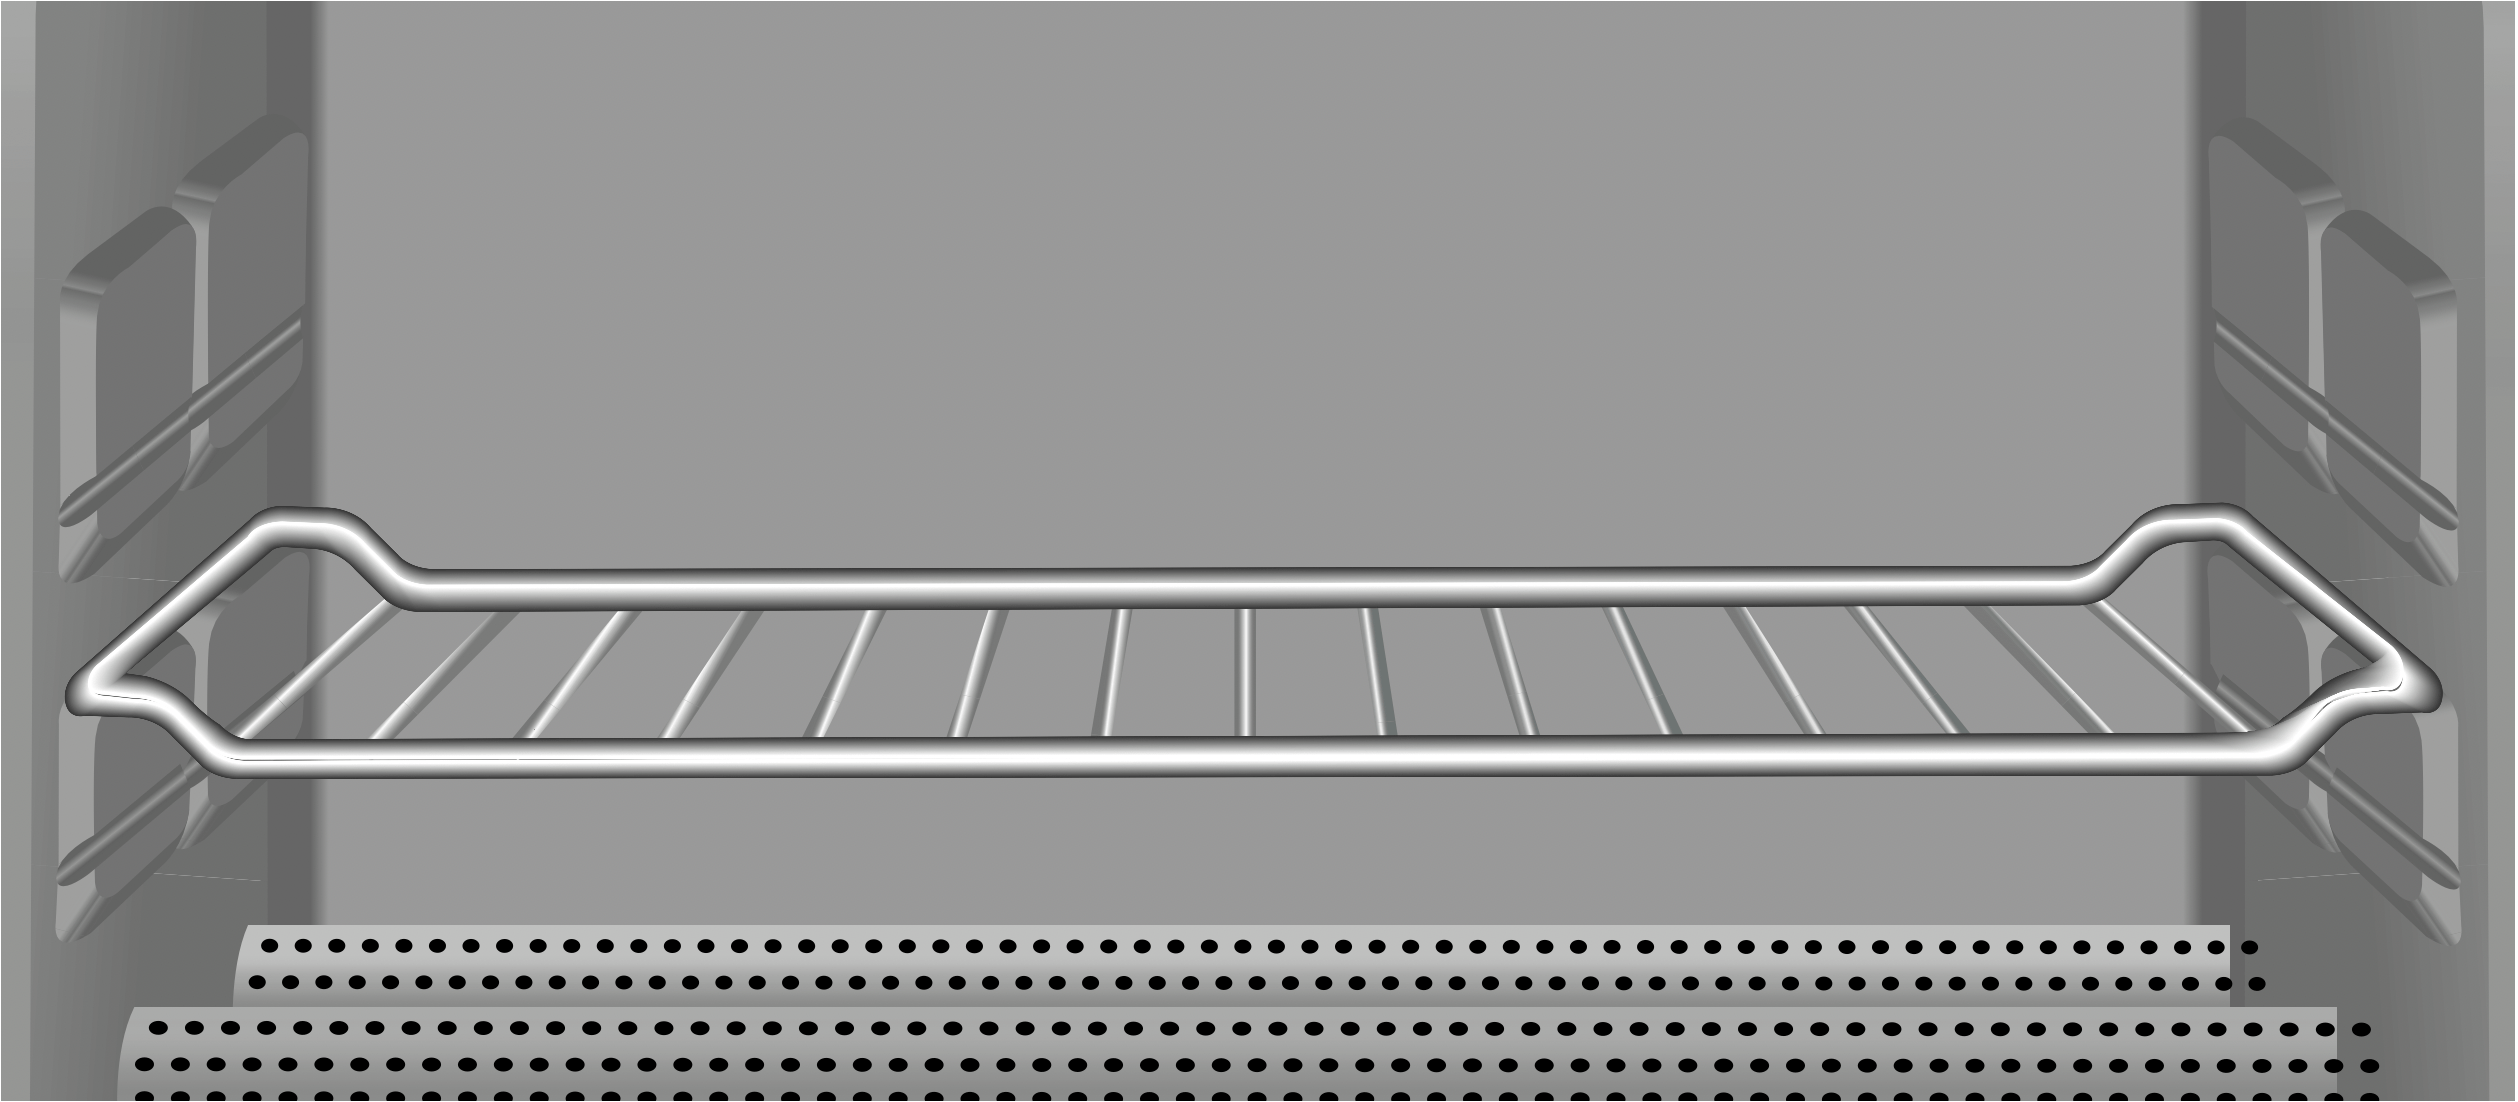
Position B
Use the upper slots along countertop oven walls. Slide in the countertop oven rack, using a rack-down orientation.
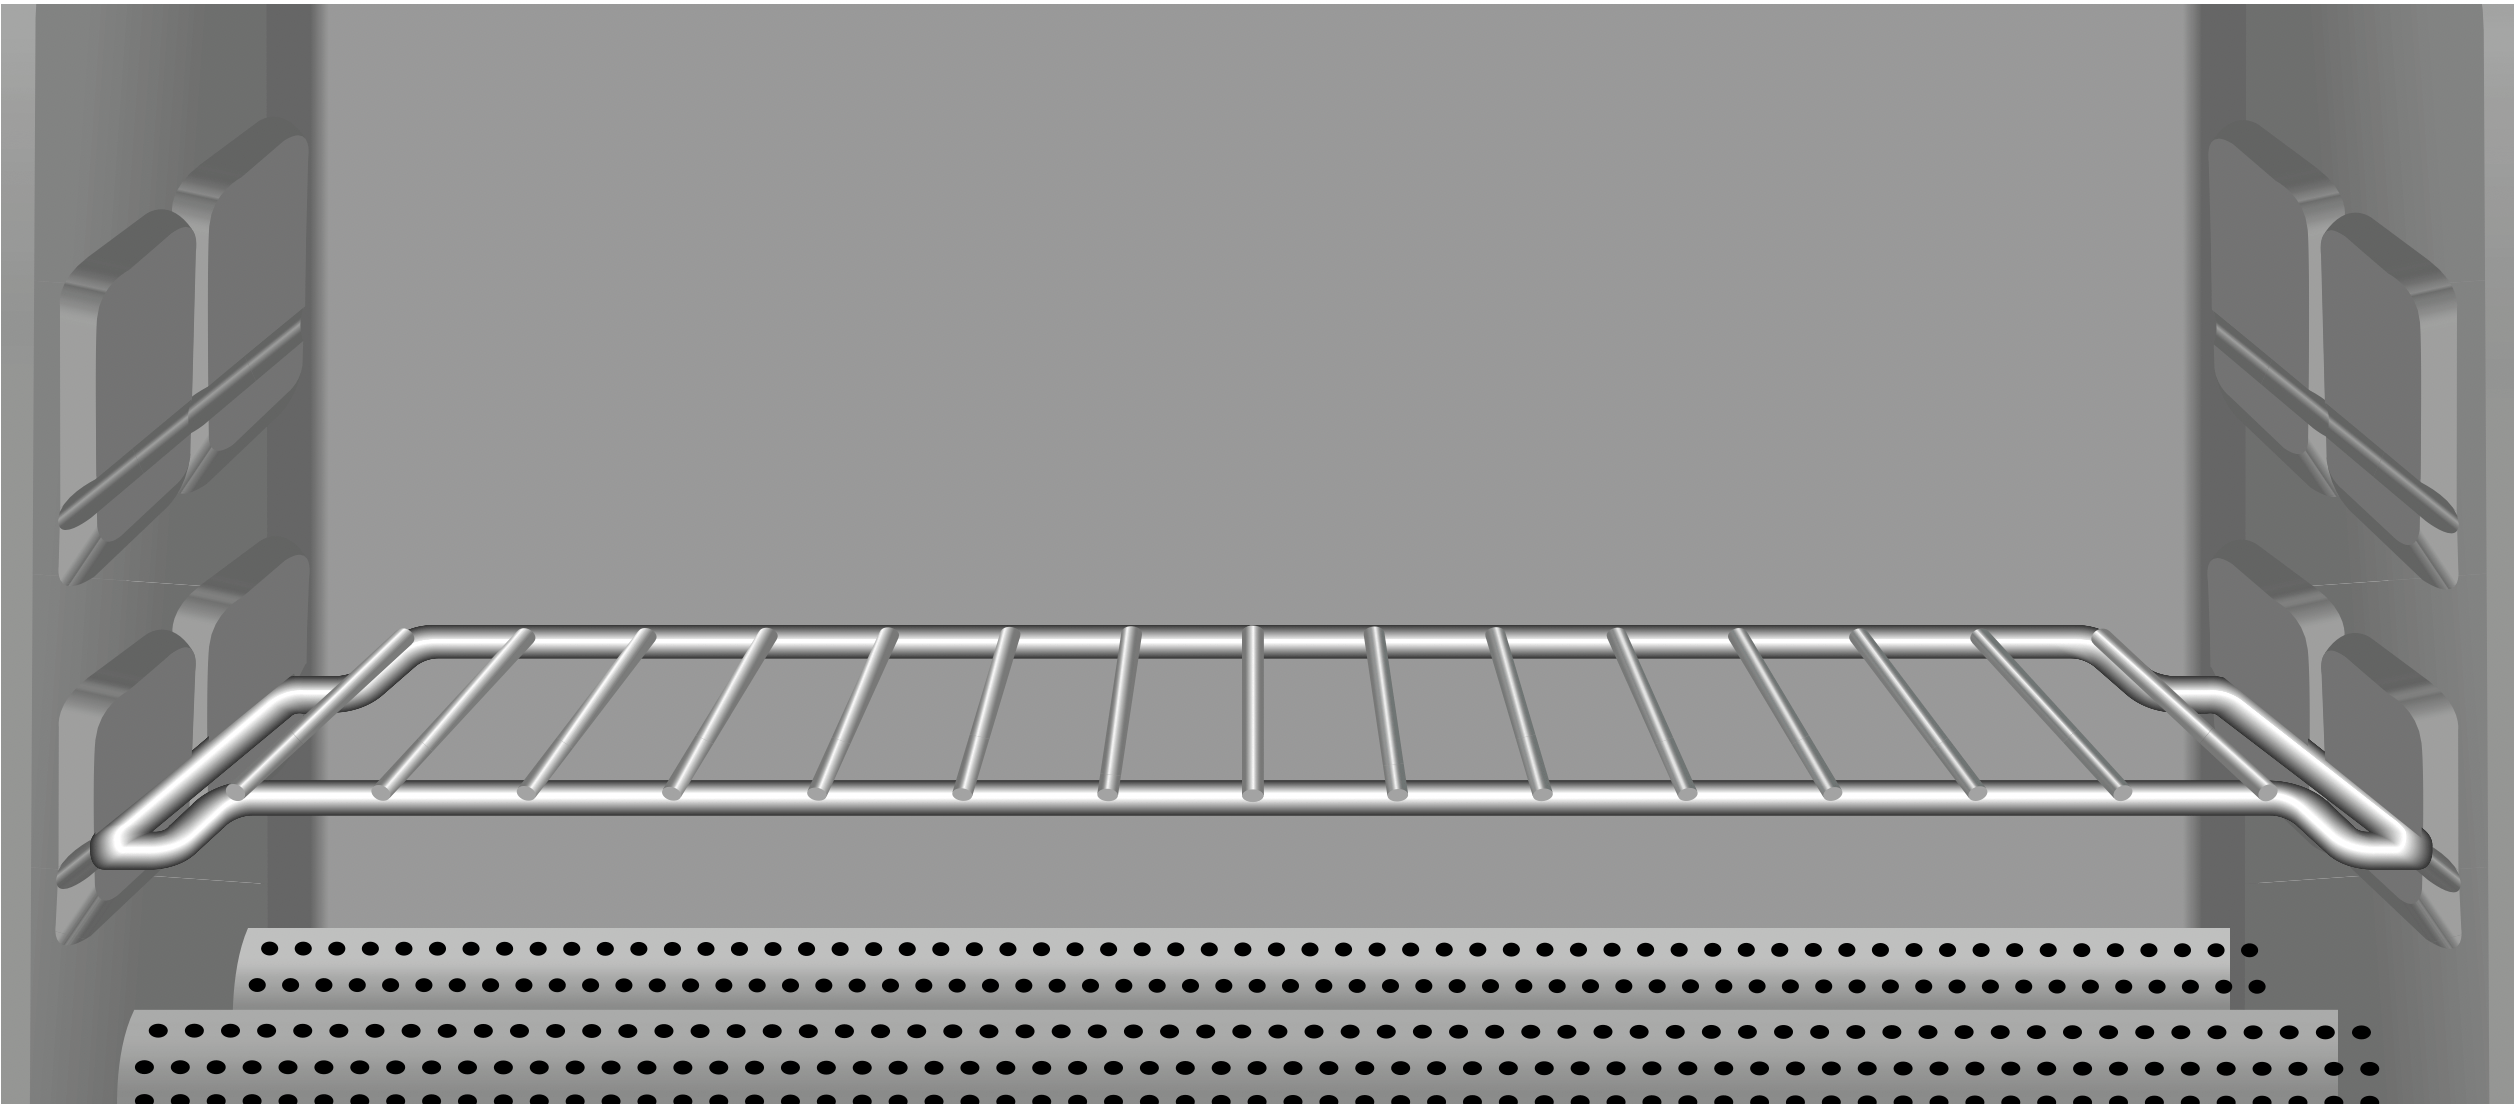
Position C
Use the middle slots along countertop oven walls. Slide in the countertop oven rack, using a rack-up orientation. The middle rack position contains a rack stop.

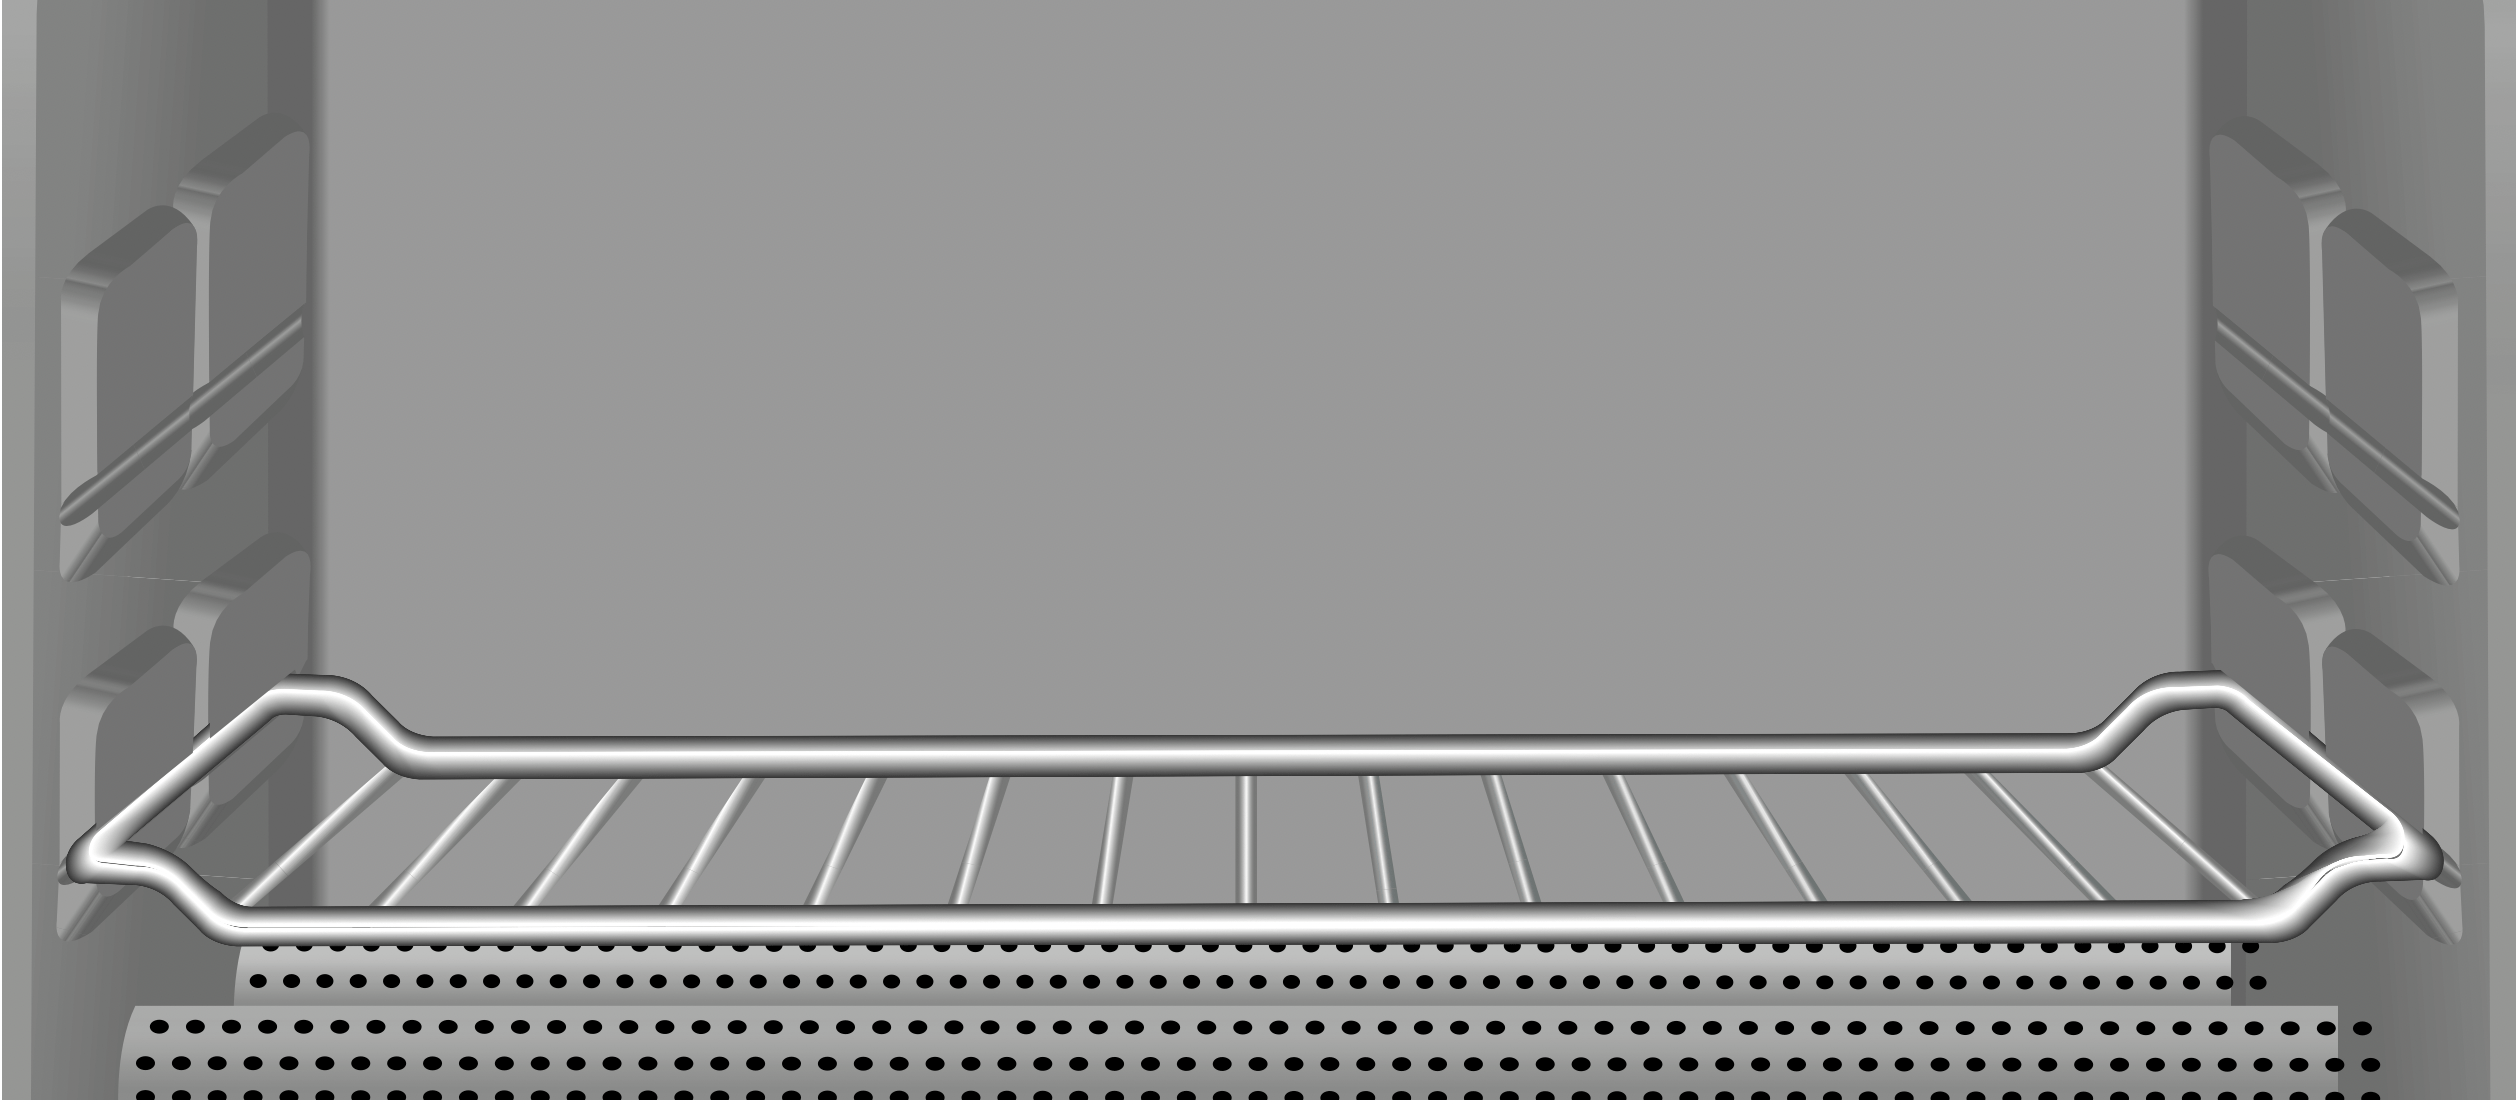
Position D
Use the middle slots along countertop oven walls. Slide in the countertop oven rack, using a rack-down orientation. The middle rack position contains a rack stop.
Position E
Use the lower slots along countertop oven walls. Slide in the countertop oven rack, using a rack-up orientation.
Position F
Use the lower slots along countertop oven walls. Slide in the countertop oven rack, using a rack-down orientation.
Baking (and Reaheating) with the Countertop Oven
Both the top and bottom cooking elements will cycle on and off while baking in order to maintain the desired oven temperature. For Convection Bake model KCO223, the convection fan will only run when the Bake function is selected to circulate heat at the desired oven temperature. The Convection Bake function does what a conventional oven does to bake and roast but generally in a shorter amount of time. For better cooking results use the right cooking pan to allow for proper air circulation. Recipes will vary and cooking time will need to be monitored for desired results.
Recommended Rack Positions: When first using the oven, position the oven rack as shown by Position C (middle slot, rack up) in the “Understanding Positions of the Oven Rack” section. Then, adjust as needed for your cooking situation. Remember to allow space for food to rise.
To Bake:
- Place the rack in a low position so that the food to be baked or heated will be in the center of the oven.
- Close door.
- Turn the Function control knob to BAKE.
- Turn the Temperature control knob to the right to the desired temperature. Bake according to package or recipe instructions (usually 350°F – 425°F [177°C – 218°C]).
- Preheat the oven for 5 minutes for baking (and reheating) by turning the Time control knob to the right past the 10-minute position, then moving it back to the first dot (5-minute position). After 5 minutes, the bell will sound and the oven will automatically shut off.
- Place the food in the center of the rack and close the door.
- Turn the Time control knob to the right to the desired time. When the time has elapsed, the bell will sound and the oven will automatically shut off. Turn the Time control knob to “0” (off) if food is removed before the time has elapsed.
- For cook times longer than 60 minutes, use the Constant “On” feature.
Broiling (and Top Browning) with the Countertop Oven
Only the top cooking elements will heat when this oven function is selected.
Recommended Rack Positions: Use the upper slots along oven walls. Position the oven rack as shown in Position B (top slot, rack down) in the “Understanding Positions of the Oven Rack” section. Place the broil pan with grill (with food) on oven rack.
NOTE: Food to be broiled should be at least 1" (2.5 cm) from the cooking elements on the top of the oven. For delicate foods such as fish or chicken, or for less browning, place the rack in a lower position.
To Broil:
- Place the food to be broiled on the grill with broil pan, and then close the oven door. The countertop oven does not have an open door broil feature. The door must be closed when broiling.
- Set the Function control knob to BROIL.
- Turn the Temperature control knob to the right to BROIL/450°.
- Turn the Time control knob to the right to the desired time.
- Monitor the broiling progress.
- When broiling food on both sides, set the Time control knob for the time desired for one side. When the bell sounds, the oven will automatically shut off. Open the countertop oven door. Use a pot holder to pull the rack and pan about halfway out of the oven. Turn the food, slide the rack and pan back into the countertop oven, and close the door. Turn the Time control knob to a desired time for the other side.
- When the time elapses, a bell will sound and the oven will automatically shut off.
- If food is to be removed before the bell sounds, turn the Time control knob to “0” (off) to shut off the countertop oven. Then, remove the food.
Toasting with the Countertop Oven
Both the top and bottom cooking elements will heat when this function is selected.
Recommended Rack Positions: Use the lower slots along oven walls. Position the oven rack as shown in Position E (bottom slot, rack up) in the “Understanding Positions of the Oven Rack” section.
To Toast:
- For best results, place the bread to be toasted directly on the rack.
- Toast up to six slices of bread. When toasting only one or two slices of bread, center the bread in the oven.
- Close the countertop oven door.
- Turn the Function control knob to the TOAST setting.
- Turn the Temperature control knob to the right to the BROIL/450° setting.
- Turn the Toast control knob to the right to the desired toast color; Dark, Medium or Light. Toast ready bell will not sound unless the control knob is turned past the first dot before turning the control to the LIGHT icon.
TIP: For more consistent results, preheat oven for 5 minutes prior to first batch of toast. First batch of toast is typically lighter than the selected setting on a cold oven. Preheating the countertop oven or adding more time to first batch yields more accurate toasting on first batch.
- The bell will sound and the oven will automatically shut off when the countertop oven has finished toasting.
- Turn the Toast time control knob to “0” (off) if toast is removed before the bell sounds.
- Adjust Time control knob settings as needed to get desired results.
NOTE: It is normal for condensation to form on the door when toasting moist or fresh breads.
IMPORTANT: Countertop oven will operate only if the Toast function is selected and the Toast timer is used to select time. The Time control knob does not work with the Toast function.
Warming (Plus Keeping Warm and Heating) with the Countertop Oven
Only the lower cooking elements will heat when this function is selected.
Recommended Positions: Select the rack-positioning slots, oven rack, and broil pan with grill positions to match the size of food being heated. When first using the oven, position the oven rack as shown in Position E (bottom slot, rack up) in the “Understanding Positions of the Oven Rack” section. Adjust as needed for your cooking situation.
To Warm:
- Turn the Function control knob to the WARM setting.
- Turn the Temperature control knob to a desired setting. Warm is the lowest temperature setting available.
- Turn the Time control knob to a desired setting.
Countertop Oven Use Tips
Setting very short times
When setting timer for 5 minutes or less, turn the Time control knob beyond the 10-minute mark. Then, turn the knob back to the desired time.
Are guesstimates OK?
Experience will teach you how much time to use for toasting various kinds of bread. Frozen, dark or whole-grain breads require a longer time. Fresh, soft or white breads require a shorter time.
For foods that melt
When cooking small pieces of foods or foods that will melt, use the broil pan. This will keep food from falling onto the cooking elements.
To minimize cleanup
Spray the broil pan with nonstick cooking spray for easier cleanup when cooking wet or sticky foods. Wash pan thoroughly after each use to avoid buildup of cooking spray.
Size limits for food
For best results, food and/or oven-safe containers (see “Food Cooking Tips” section) must fit into the countertop oven without touching the cooking elements or inside walls of oven. The door must close completely.
When oven is off
Turn the Temperature control knob to WARM, or minimum setting, when countertop oven is not in use.
For extended use
When cooking for a long time at high temperatures, you may detect a slight odor from the oven insulation materials. This is normal.
Food Cooking Tips
- Check food cooking progress through the clear, tempered glass door window. Your countertop oven wiII be more energy efficient if you open the door less often.
- If top of food item browns too fast, lower the rack position or reduce oven temperature. If bottom of food item browns too fast, raise rack position or reduce oven temperature.
- Be sure all foods and/or containers fit in the countertop oven without touching cooking elements or keeping door from closing.
- Remove all plastic and/or paper wrappers from foods before cooking.
- Use only loosely covered oven-safe containers. Airtight containers may cause food to boil over or splatter.
- Follow package directions when preparing frozen or packaged foods. Preheating the oven is not necessary.
- Oven surfaces can become hot during cooking. Touch only the door handle and knobs during oven operation.
- Do not place items on top or near countertop oven while in use.
- Replace cardboard, glass or plastic lids with aluminum foil for use in the countertop oven.
Choosing Bakeware for Countertop Oven Use:
- The broil pan included with the oven is suitable for items such as cookies, rolls, biscuits, nachos and pork chops.
- A variety of standard baking dishes, such as a 9" (22.9 cm) round or square cake pan, a 6 cup (1.5 L) muffin pan, small baking sheets, and 1 and 2 qt (0.95 mL and 1.9 L) round, square and rectangular casserole dishes, may be used. The oven door must close completely.
- Choose bakeware made of metal, ovensafe glass, ceramic or silicone.
- Use lowest oven rack position when using deep, oven-safe glass or ceramic containers and allow at least 1" (2.5 cm) airspace between the top of the container and the upper cooking elements.
- Do not use glass lids. If a cover is desired, use a loosely fitted sheet of aluminum foil shiny side up or down.
- Many convenience foods are packaged in nonmetallic containers suitable for use in microwave ovens. Check package directions to determine whether the container is suitable for use in a regular oven.
COUNTERTOP OVEN CARE
Cleaning Your Countertop Oven
- Make sure the Time control knob is in the 0 (off) position. Then, unplug from the wall socket before cleaning.
- Allow oven and accessories to cool completely before cleaning.
- Do not use abrasive cleaners or metal scouring pads. They could scratch the surface.
- Wipe the outside of the oven with a clean, damp cloth and dry thoroughly. A nonabrasive liquid cleaner may be used for stubborn stains. Rinse and dry thoroughly.
- Hand washing is recommended for racks and pan. Remove all items from the countertop oven. Wash the rack, broil pan, and grill in hot, sudsy water. Rinse and dry thoroughly. To clean the crumb tray, slide it out of the oven and brush off crumbs. Wipe with a damp cloth and dry thoroughly.
NOTE: The oven rack, broil pan and grill are dishwasher safe, but hand washing is recommended.
- To remove baked-on stains, scrub with a paste made from baking soda and water. Rinse and dry thoroughly.
- The walls on the inside of the oven have a nonstick coating for easy cleaning. Remove heavy spatter after use with a nylon or polyester mesh pad, sponge or cloth dampened with warm water. Dry with a paper towel or soft, dry cloth.
IMPORTANT: Do not use cleaning agents, cleansers or metal scouring pads on the inner oven coating as they may reduce its effectiveness.
TROUBLESHOOTING
WARNING - Electrical Shock Hazard
- Plug into a grounded 3 prong outlet.
- Do not remove ground prong.
- Do not use an adapter.
- Do not use an extension cord.
- Failure to follow these instructions can result in death, fire, or electrical shock.
If your countertop oven should fail to operate, check the following:
Is the countertop oven plugged into a grounded 3 prong outlet?
Is the fuse in the circuit to the countertop oven in working order?
If you have a circuit breaker box, make sure the circuit is closed. Try unplugging the countertop oven, then plug it back in.
Upper cooking elements visibly glow, but bottom cooking elements do not.
The upper cooking elements use higher power for better browning performance. The lower cooking elements are on, but may not visibly glow like the upper cooking elements. This is normal and your countertop oven is working properly.
Power on light is flashing rapidly.
The oven has a 4 hour auto shutoff feature. If the constant on feature is being used, the oven will automatically shut off after 4 hours and the power on indicator light will flash rapidly.
If the problem cannot be corrected:
See the “KitchenAid Warranty and Service” sections. Do not return the countertop oven to the retailer – retailers do not provide service.