Loading ...
Loading ...
Loading ...
- 19 -
USING THE NETWORK SCANNER FUNCTION
2
Sending an image by selecting an e-mail address in an LDAP server
To use an LDAP server, the LDAP server settings must be configured in the Web page.
1
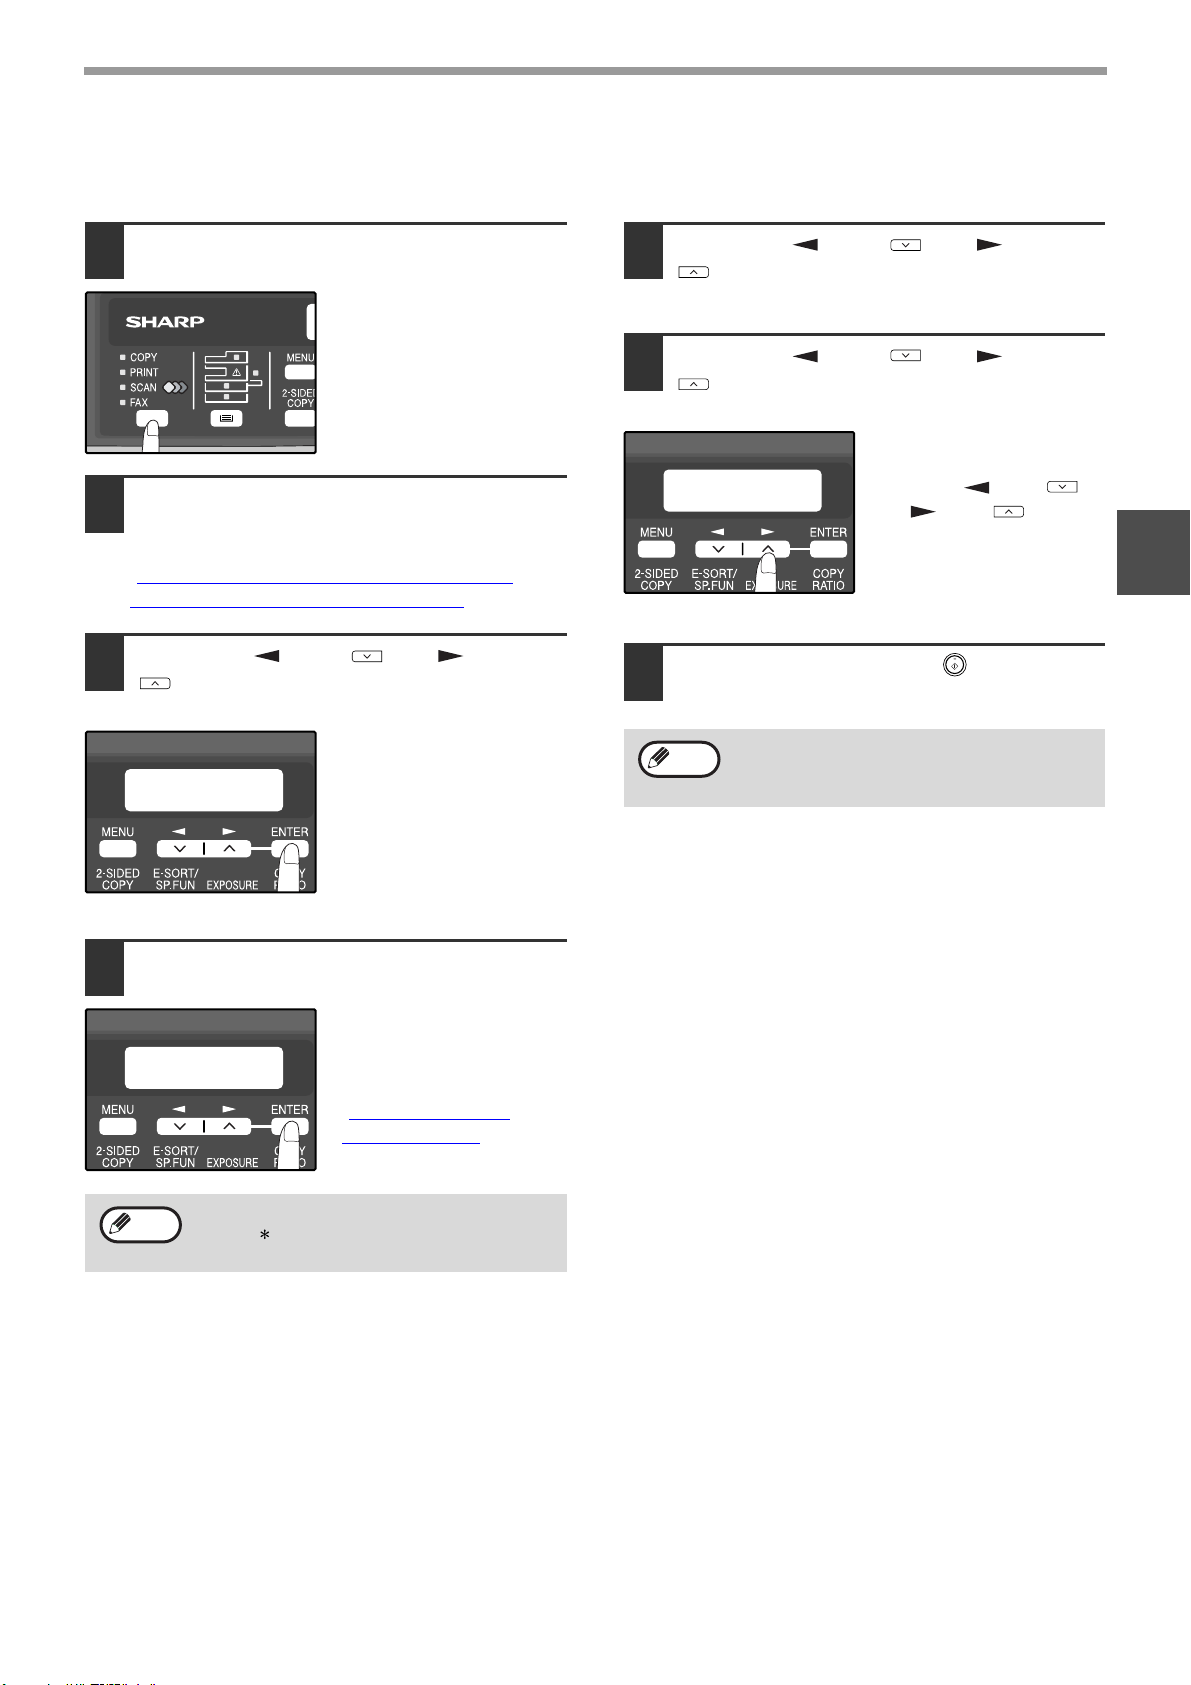
Press the [MODE SELECT] key to
select scanner mode.
The "SCAN" indicator
lights up to indicate that
scanner mode is
selected.
2
Place the original in the document
feeder tray or on the document glass.
For information on how to place the original, see
"IMAGE ORIENTATION AND STANDARD
ORIGINAL LOADING ORIENTATION" (p.20).
3
Press the [ ] key ( ) or [ ] key
( ) to select "GLOBAL ADDRESS"
and then press the [ENTER] key.
4
Enter search characters and press the
[ENTER] key.
Destinations matching
the search characters will
appear.
To enter characters, see
"HOW TO ENTER
CHARACTERS" (p.20).
5
Press the [ ] key ( ) or [ ] key
( ) to select the destination and then
press the [ENTER] key.
6
Press the [ ] key ( ) or [ ] key
( ) to select the original size, and
then press the [ENTER] key.
The original size
changes as follows each
time the [ ] key ( )
or [ ] key ( ) is
pressed:
"8.5x11"→"8.5x5.5"
→"A4"→"B5"→"A5"
→"8.5x14"→"8.5x13".
7
Press the [START] key ( ) to begin
scanning.
If you do not know the exact name, you can
enter " " for characters that you do not
know to conduct a wildcard search.
SCAN USING:
GLOBAL ADDRESS
GLOBAL ADD. SEARCH
S
Note
The original is scanned using the settings of
the scan mode that has the "Default Scan
Mode" checkbox selected.
ORIG. SIZE ENTER
8.5X11
Note
Loading ...
Loading ...
Loading ...