Loading ...
Loading ...
Loading ...
Icemaker Installation
Installing the water line
This water line installation is not warranted by the
refrigerator or icemaker manufacturer. Follow these
instructions carefully to minimize the risk of expensive
water damage.
Water hammer (water banging in the pipes) in house
plumbing can cause damage to refrigerator parts and
lead to water leakage or flooding. Call a qualified
plumber to correct water hammer before installing the
water supply line to the refrigerator.
To prevent burns and product damage, do not hook
up the water line to the hot water line.
If you use your refrigerator before connecting the
water line, make sure the icemaker power switch is in
the O (off) position (on power switch models) or the
feeler arm is in the STOP (up) position (on feeler arm
models).
Do not install the icemaker tubing in areas where
temperatures fall below freezing.
When using any electrical device (such as a power
drill) during installation, be sure the device is double
insulated or grounded in a manner to prevent the
hazard of electric shock, or is battery powered.
All installations must be in accordance with local
plumbing code requirements.
BEFORE YOU BEGIN
WHAT YOU WILL NEED
″
connect the refrigerator to the water supply. If using
copper, be sure both ends of the tubing are cut square.
To determine how much tubing you need: Measure
the distance from the water valve on the back of the
refrigerator to the water supply pipe. Then add 8′
(2.4 m). Be sure there is sufficient extra tubing to
allow the refrigerator to move out from the wall
after installation.
Refrigerator copper tubing 1/4 outer diameter to
•
• A cold water supply. The water pressure must be
between 20 and 120 p.s.i. (1.4–8.1 bar).
Plug in the Icemaker
Holding the icemaker in place, insert the icemaker
power cord plug into the socket on the back wall,
making sure the prongs and holes are matched.
Press the plug firmly into the socket. Lock the plug
in place by clipping the restraints onto each side of
the plug. Make sure the restraints click into place.
Mount the Icemaker
Lift the icemaker so the fill tube extension fits in
the fill cup opening. Hang the icemaker on the
two screws.
Make sure:
The power cord is still firmly in the socket.
The fill tube extension extends into the
fill cup opening at the back of the icemaker.
(Check the rear of the refrigerator to make sure
the fill tube has not been pushed out of the back
of the refrigerator).
The icemaker mounting screws are located in the
uppermost position of the mounting slots.
Then securely tighten the icemaker
mounting screws.
Fill tube
extension
Fill cup
opening
Install the Ice Bucket
Place the ice bucket under the icemaker.
Make sure the icemaker power switch is in the
O (off) position.
Ice bucket
ST
O
P
ST
OP
Water Valve Installed
After water line installation is completed, set the
icemaket power switch to I (on).
The icemaking cycle will not begin until the icemaker
and freezer compartment reach operating temperature.
19 32
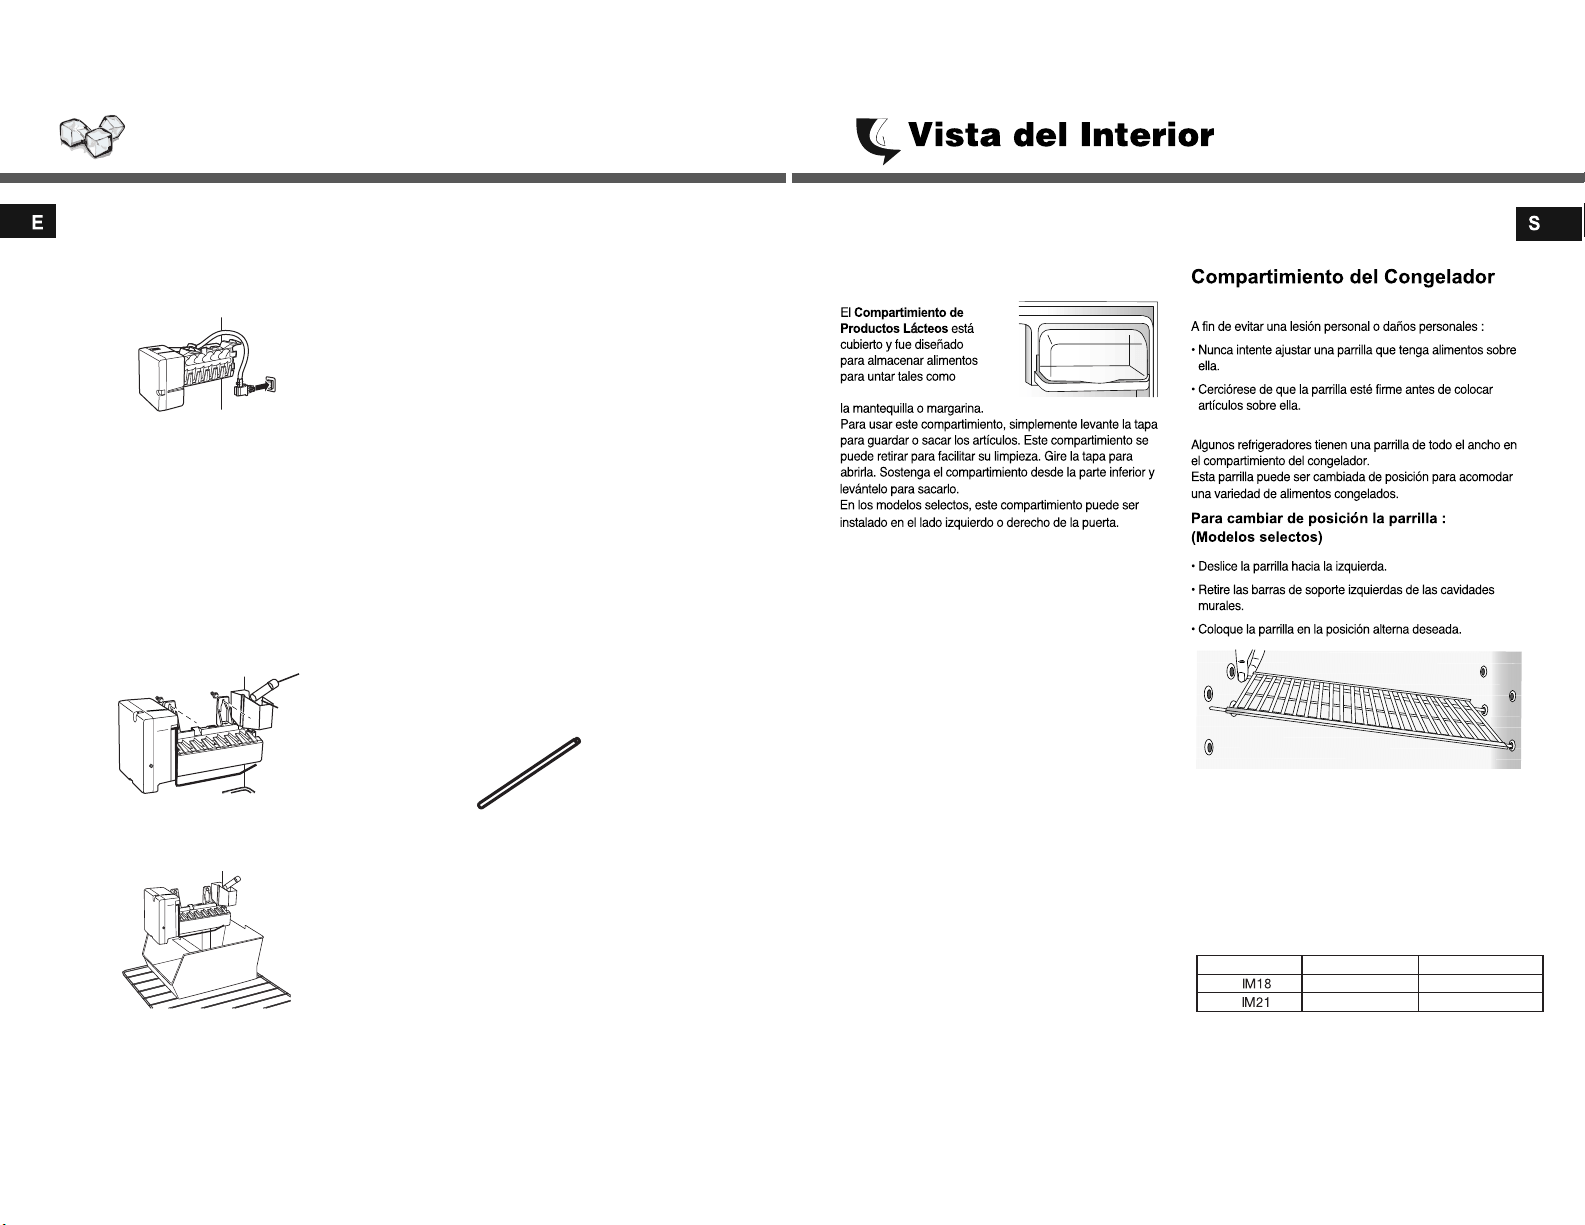
Compartimiento de productos Lácteos
PRECAUCIÓN
Este refrigerador está diseñado para usar una máquina de
hielo. No incluido en la nevera. Puede solicitar la venta e
instalación al centro de servicio llamando al call center.
Los diferentes modelos tienen diferentes máquinas de
hielo que se pueden instalar, así que verifique si la
máquina de hielo que compró es la correcta para su
refrigerador.
Ice Maker Model
RTE18*****
RTE21*****
Refrigerator Model
30111-0058700-00
Code IM Model
30111-0058800-00
Kit Ice Maker Model
Ice Maker (venta por separado)
Loading ...
Loading ...
Loading ...