Loading ...
Loading ...
Loading ...
17
The machine is now reprogrammed with the new quantity.
Please note!
• Tocancelprogramming,pressthe EXIT PROG icon.
Steam delivery
1. Check that the hot water spout is attached correctly.
2. Fill a container with the liquid to be heated or frothed and
immerse the steam spout in the liquid.
3 Press the icon (g. 37). After a few seconds, the steam
to heat the liquid comes out of the cappuccino maker;
4. When the required temperature is obtained, interrupt
steam delivery by pressing the STOP icon. (You should
not discharge steam for more than 3 minutes at a time).
Important!
Always stop steam delivery before extracting the container
containing the liquid to avoid burns from splashes.
Tips for using steam to froth milk
• Whenchoosingthesizeofthecontainer,bearinmindthat
the liquid doubles or triples in volume.
• For a richer denser froth, use skimmed or partially
skimmed milk at refrigerator temperature (about 5°C).
• For a creamier froth, rotate the container with slow
movements in an upward direction.
• To avoid milk with poor froth or large bubbles, always
clean the spout as described in the following section.
Clean the steam/hot water spout after use
Always clean the spout after use to avoid the build-up of milk
residues and prevent the spout from clogging.
1. Place a container under the cappuccino maker and deliver
a little water by pressing the icon (g. 34). Stop
delivery of hot water by pressing the STOP icon again.
2. Wait a few minutes for the cappuccino maker to cool
down, then extract the hot water spout (g. 38) by
pressing the button. Hold the spout with one hand and
with the other, turn the cappuccino maker and pull it
downwards (g. 39).
3. Also remove the steam nozzle by pulling it downwards
(g. 40).
4. Check the hole in the nozzle shown by the arrow in g. 41
is not blocked. If necessary, clean using a toothpick.
5. Wash all parts of the spout thoroughly with a sponge and
warm water.
6. Insert the nozzle and cappuccino maker on the nozzle
by pushing it upwards and turning it clockwise until it is
attached.
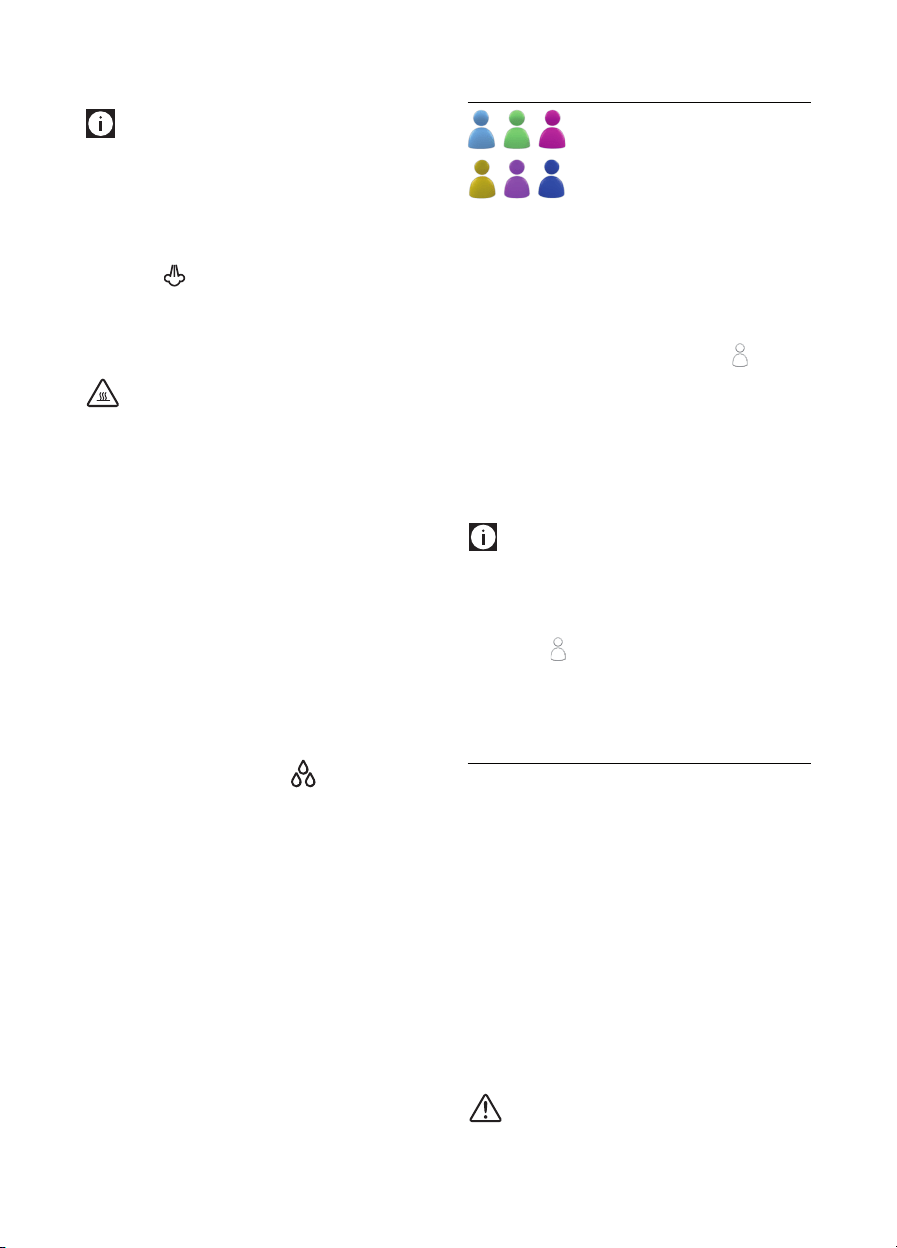
MEMORISING YOUR PERSONAL PROFILE
With this appliance, you can memorise six
dierent proles, each associated with a
dierent colour.
In each prole you can customise:
- the quantities of espresso and long “My coee”;
- the quantities for all milk drinks;
- the quantity of hot water;
- the preferred background (from the menu);
- the coee temperature (from the menu).
To use the function, proceed as follows:
1. Enter the “Proles” section by pressing the icon;
2. Choose your colour by pressing the CHANGE icon and
then press the OK icon to conrm. The chosen colour
appears at the bottom left of the display to indicate you
are operating with that prole;
3. Proceed to programme the drinks which can be memorised
as described above. Each time you access the prole, the
machine uses the programmed settings.
Please note!
To change the prole, access prole selection by pressing the
icon at the bottom left corresponding to the colour in use:
• PresstheCHANGE icon to enter another prole and OK to
conrm;
• Pressthe icon to exit all proles.
• When operating in the menu, the selected prole is
displayed to the right (for selecting background and
temperature).
CLEANING
Cleaning the machine
The following parts of the machine must be cleaned regularly:
- coee grounds container (A14),
- drip tray (A9),
- the inside of the machine, accessible after opening the
service door (A11),
- water tank (A13),
- coee spouts (A7) and hot water nozzle (A6),
- pre-ground coee funnel (A3),
- infuser (A12),
- touch screen (B)
- milk container (C)
- hot chocolate carafe (D)
- hot water/steam spout (E)
Important!
• Do not use solvents, abrasive detergents or alcohol to
clean the appliance. With De’Longhi superautomatic
Loading ...
Loading ...
Loading ...