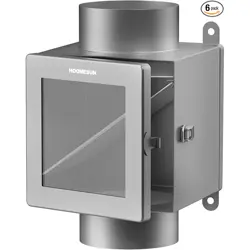
User Manual Dryer Side-venting Kit
CHECKING THE INSTALLATION PARTS
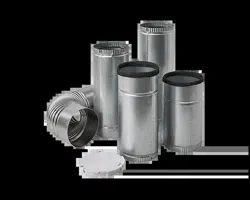
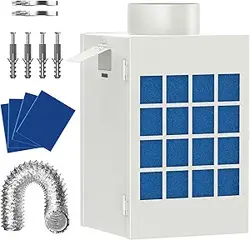
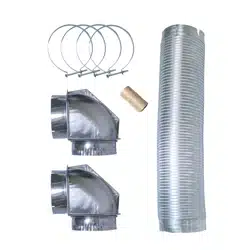
Side Vent Kit Includes:

* Attached label help you recognize each duct.
Warning : To avoid risk of electrical shock, personal injury or death; disconnect electrical power before servicing
Caution : Wear eye protection before performing this installation
PROCEDURE
The following instruction covers exhausting a dryer either through the left or right side of the cabinet, or through the base. It is recommended a qualified Service Technician do the installation of this kit and dryer.
INSTALLING THE SIDE VENT KIT
1. For easier installation, removing the front assembly, tumbler and drive belt is recommended. * Refer to service manual for disassembly and reassembly of dryer
2. Remove the knockout from either of the left or right side panel, or base. Strike it with a hammer and chisel very close to the seam. One to three sharp blows will remove it. Do not strike the middle of the knockout.
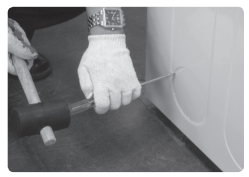
WARNING: Wear safety glasses.
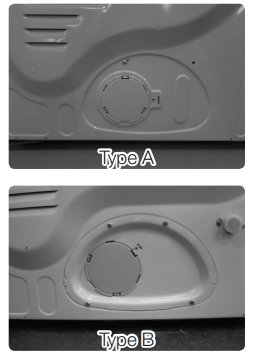
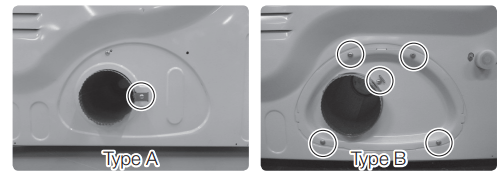
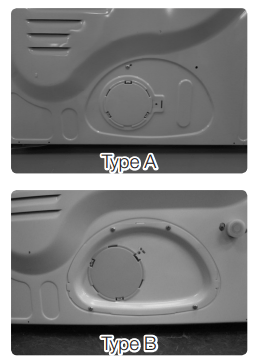
3. Remove the exhaust duct cover. (Type B only)
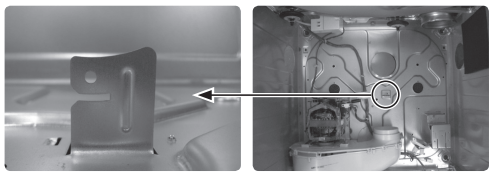
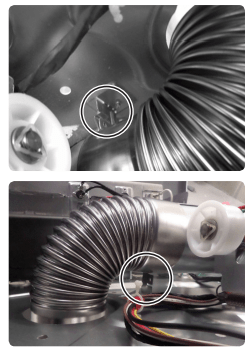
4. Remove the old exhaust duct from blower housing

5. Raise guide plate to about 90 degree, using a flat-blade screwdriver. The guide plate will support the exhaust duct(f).
 FOR LEFT AND RIGHT SIDE
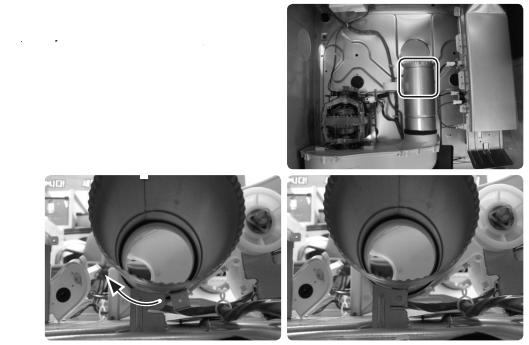
6. Insert new exhaust Duct Front supplied with kit into blower housing. Rotate the duct to engage duct clip into tab extending up from base frame.
7. Insert the elbow supplied in the kit into exhaust duct (F) and through the left or the right (Electric models only) toward the outlet hole depending on which direction to be exhausted

8. For side venting (left or right) insert the Exhaust Duct Back into the elbow and out cabinet side.
*For left side venting use “Duct Back-Left”, for right side venting use “Duct Back-Right” separately.
*For these models DV56H9000E*, DV56H9100E*, use the “DuctBack Left” (BACK-LEFT) instead of “Duct-Back Right” for RIGHT SIDE VENTING.
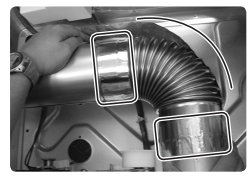
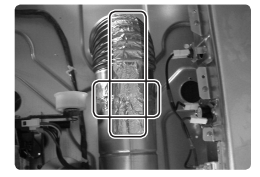
9. Tape each joint with the duct tape
Caution: Internal duct joints must be secured with tape; otherwise, they may separate and cause a safety hazard
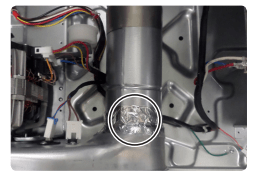
10. Drill a 1/8˝ hole using a hand drill in the frame and fix the bracket of the duct by fastening the screw.
*The screw is not supplied with the kit. You may use the screw that you remove in the step 3.
11. Reinstall the exhaust duct cover on rear of cabinet.
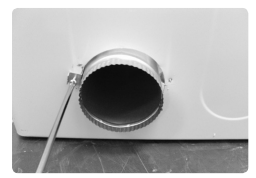
12. Insert the vent cap supplied with the kit into rear exhaust hole left by old duct.
FOR BOTTOM PLATE
6. Assemble The Duct Front-Bottom and The Elbow.
7. Insert the assembled elbow and duct into the hole at the bottom as shown by the figure.

8. Pull the Duct Front-Bottom forwards to insert it into the Fan Housing.

9. Put the duct over on the tab extended from the base frame
10. Wrap up the joint with duct tap
11. Tape on the joint between the elbow and internal duct.
12. Reinstall the exhaust duct cover on rear of cabinet.
13. Insert the vent pipe cap supplied with the kit into rear exhaust hole left by old duct