Loading ...
Loading ...
Loading ...
6
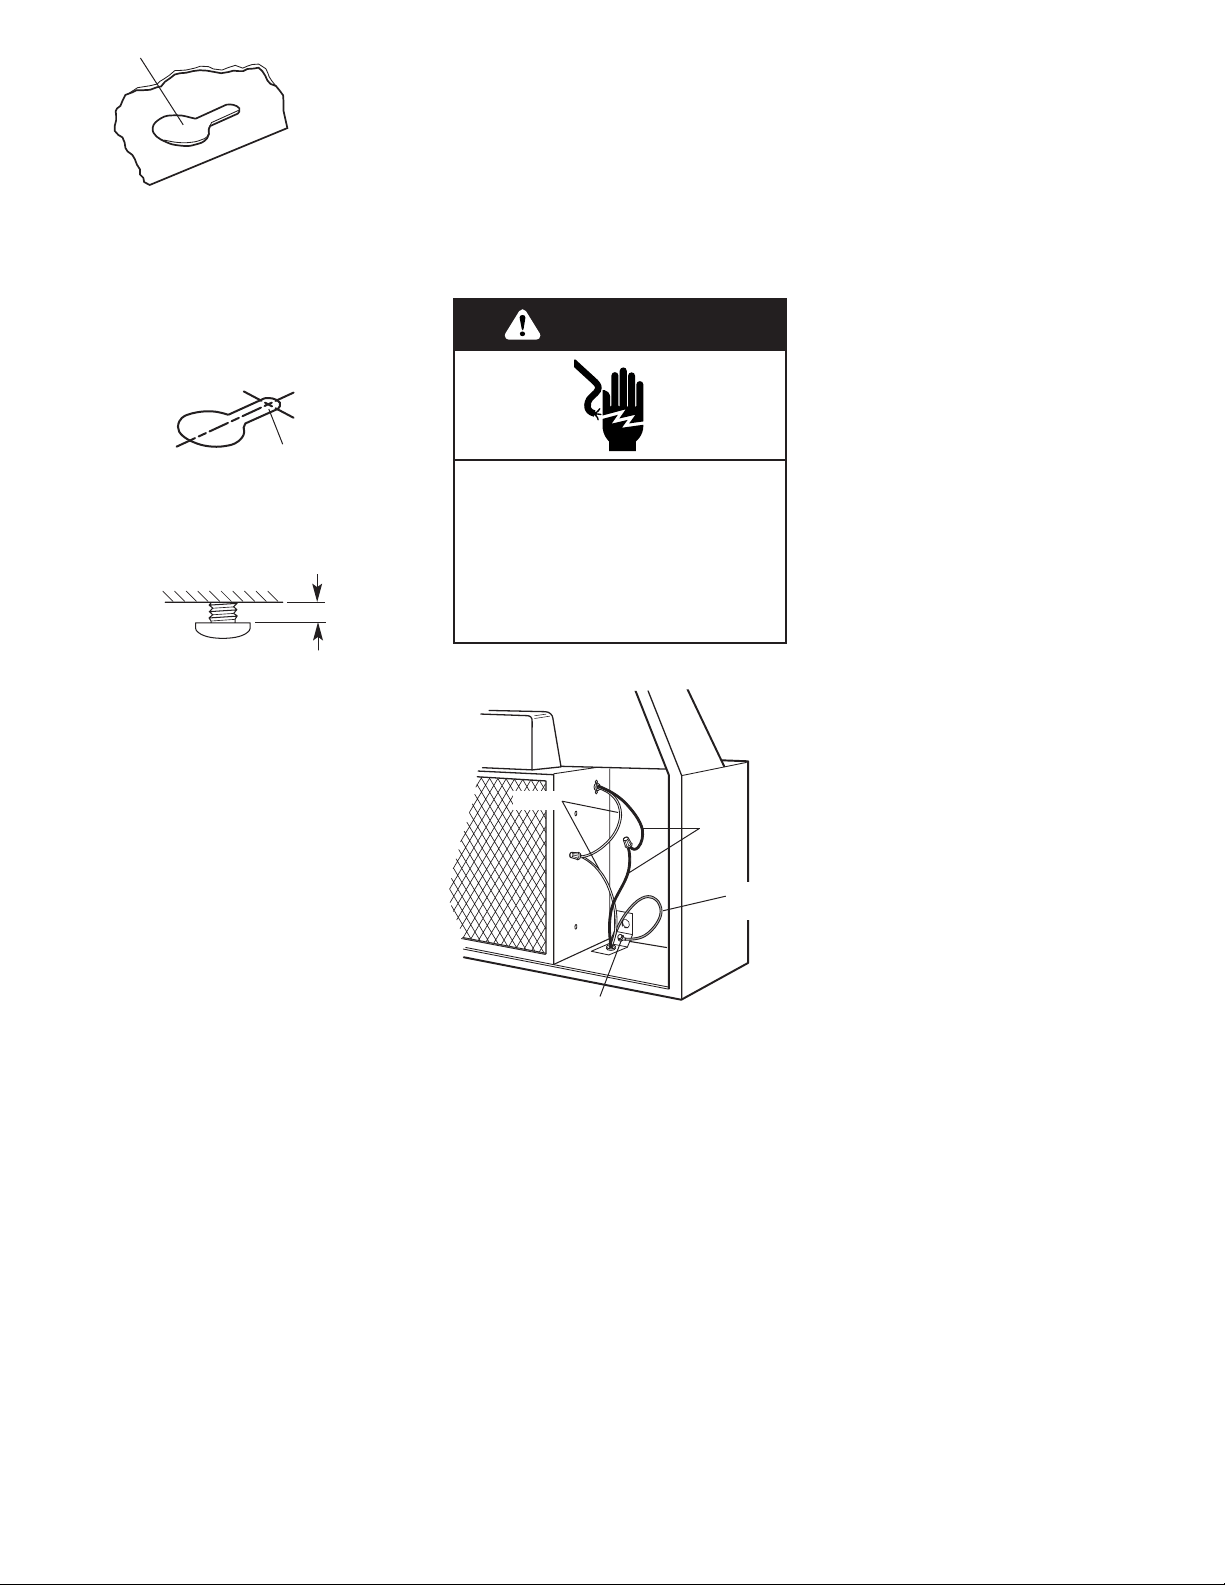
Make electrical
connection
Electrical Shock Hazard
Disconnect power before making
electrical connections.
Connect ground wire to green
ground screw in terminal box.
Failure to do so can result in
death or electrical shock.
WARNING
15.
Depress both sides of the
light lens until tabs disengage
from slots in hood and remove
lens.
Install two 40 watt (maximum)
type A-15 appliance bulbs.
Reinstall light lens. Depress both
sides of lens, insert tabs into slots
and release.
16.
For non-vented
installations: Grasp tab at front
center of filter. Push toward back
to release filter from spring clips
at front. Pull down then froward
to remove aluminum mesh filter.
Install non-vented filter
(purchased separately) by
inserting into channel at back of
compartment. Grasp tab and pull
forward so that filter snaps under
spring clips at front.
14.
Direct wiring:
Connect the white and black wires
of the power supply cable to the
white and black leads in the hood
with twist-on connectors.
Connect the power supply ground
wire to the green ground screw
inside the terminal box.
Use caulking to seal wire opening.
Replace terminal box cover.
Using a U.L.-listed power
supply cord-connection kit
(U.S. only):
Follow Power Cord Kit instructions for
connecting wiring.
To get the most efficient
use from your new range
hood, read the “Use and
Care Information” section.
Keep your Whirlpool
Installation Instructions and
Use and Care Guide close
to range hood for easy
reference.
white
green ground
screw
ground
wire
black
8.
Lift the range hood up under
cabinet and determine final
position. Mark on the underside
of cabinet the location of the four
keyhole mounting slots. Set
range hood aside on a protected
surface.
keyhole slot
front
of hood
9.
Use 1/8" (or 3 mm) drill bit
and drill 4 pilot holes as shown.
drill pilot hole
10. Remove the 4 hood
mounting screws from the parts bag
and install
in pilot holes. Leave
screw heads away from shim
strips about 1/4" (6.4 cm)
11. If using direct wiring, make
sure power is disconnected, and pull
about 12" (30 cm) of wire through
wall or cabinet and into opening.
12. Lift range hood into final
position, feeding electrical wire
through wiring opening. Position the
range hood so that the large end of
the keyhole slots are over the
screws. Then push the hood toward
the wall so that the screws are in the
neck of the slots. Tighten mounting
screws to cabinet, making sure
mounting screws are in narrow neck
of slots. Make sure that damper
blade, if used, rotates up and down
freely.
13. Connect ventwork to hood.
Seal joints with duct tape to make
the secure and air tight.
Note: Damper/vent connector and
round vent plate can be installed
up to 1/2" (12.7 mm) on either
side of hood center if ventwork is
off-center. In extreme off-center
1/4"
(6.4 mm)
installations, one end of the vent
connector may need to be
trimmed to clear the electrical
strain relief.
Loading ...
Loading ...
Loading ...