Loading ...
Loading ...
Loading ...
Safety Instructions
Operating Instructions
Safety Instructions
Operating Instructions Care and Cleaning
Troubleshooting Tips
Consumer Support
Using the proofing and warming features. ge.com
The proofing feature maintains a warm environment useful for rising yeast-leavened products.
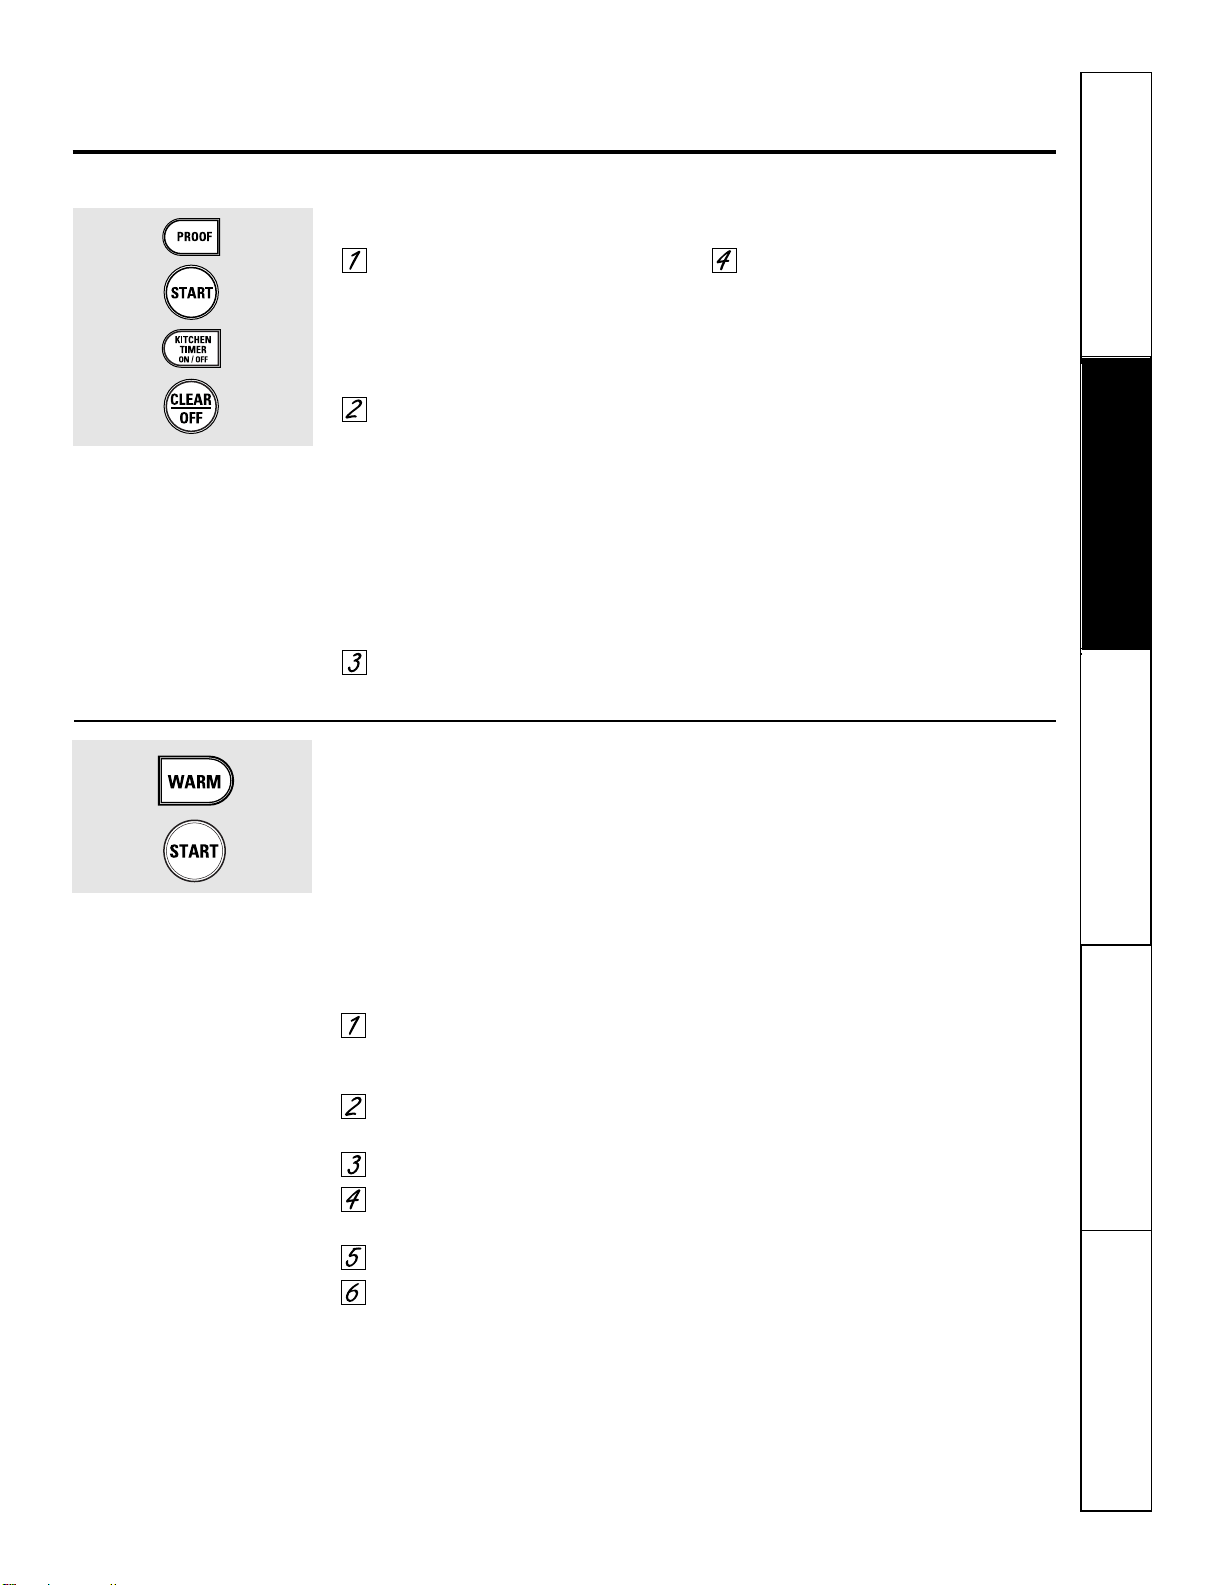
How to Set the Oven For Proofing (on some models)
Place the covered dough in a dish in
the oven on shelf B or C.
NOTE: For best results, cover the dough with a
cloth or with greased plastic wrap (the plastic
may need to be anchored underneath the
container so the oven fan will not blow it off).
Touch the PROOF pad and then the
START pad.
The display will read PrF (proof).
The oven interior light turns on and
remains on during proofing.
The proofing feature automatically
provides the optimum temperature for
the proofing process, and therefore does
not have a temperature adjustment.
Set the KITCHEN TIMER ON/OFF for
the minimum proof time.
When proofing is finished, touch
the CLEAR/OFF pad.
■ To avoid lowering the oven temperature
and lengthening proofing time, do not
open the oven door unnecessarily.
■ Check bread products early to avoid
over-proofing.
NOTE:
■ Do not use the proofing mode for warming
food or keeping food hot. The proofing oven
temperature is not hot enough to hold foods
at safe temperatures. Use the WARM or the
Cook and Hold feature (depending on model) to
keep food warm.
■ Proofing will not operate when oven is above
125°F. “HOT” will show in the display.
How to Set the Oven For Warming (on some models)
The WARM feature keeps cooked
foods hot.
This feature is not designed to reheat
cold food.
To use the WARM feature, touch the
WARM pad and then the START pad.
To use the WARM feature after Timed
Baking or Roasting, follow these steps:
Touch the mode of cooking that
you want to use (BAKE, CONVECTION
BAKE, or CONVECTION ROAST).
Touch the number pads to set the
oven temperature.
Touch the COOK TIME pad.
Touch the number pads to set the
desired length of cooking time.
Touch the WARM pad.
Touch the START pad.
To Crisp Stale Items
■ Place food in low-sided dishes or pans.
■ For best results, place the food items in
a single layer. Do not stack.
■ Leave them uncovered.
■ Check crispness after 20–30 minutes.
Add time as needed.
IMPORTANT NOTES:
■ Food should be kept hot in its cooking
container or transferred to a heat-safe
serving dish.
■ For moist foods, cover them with an oven-safe
lid or aluminum foil.
■ Fried or crisp foods do not need to be covered,
but can become too dry if warmed for too long.
■ Repeated opening of the door allows the hot
air to escape and the food to cool.
■ Allow extra time for the temperature inside the
oven to stabilize after adding items.
■ With large loads it may be necessary to cover
some of the cooked food items.
■ Remove serving spoons, etc., before placing
containers in the oven.
■ Do not use plastic containers, lids or plastic
wrap.
CAUTION:Plastic containers, lids
or plastic wrap will melt if placed in the oven.
Melted plastic may not be removable and is not
covered under your warranty.
23
Loading ...
Loading ...
Loading ...