Loading ...
Loading ...
Loading ...
3-3
CHAPTER3
5
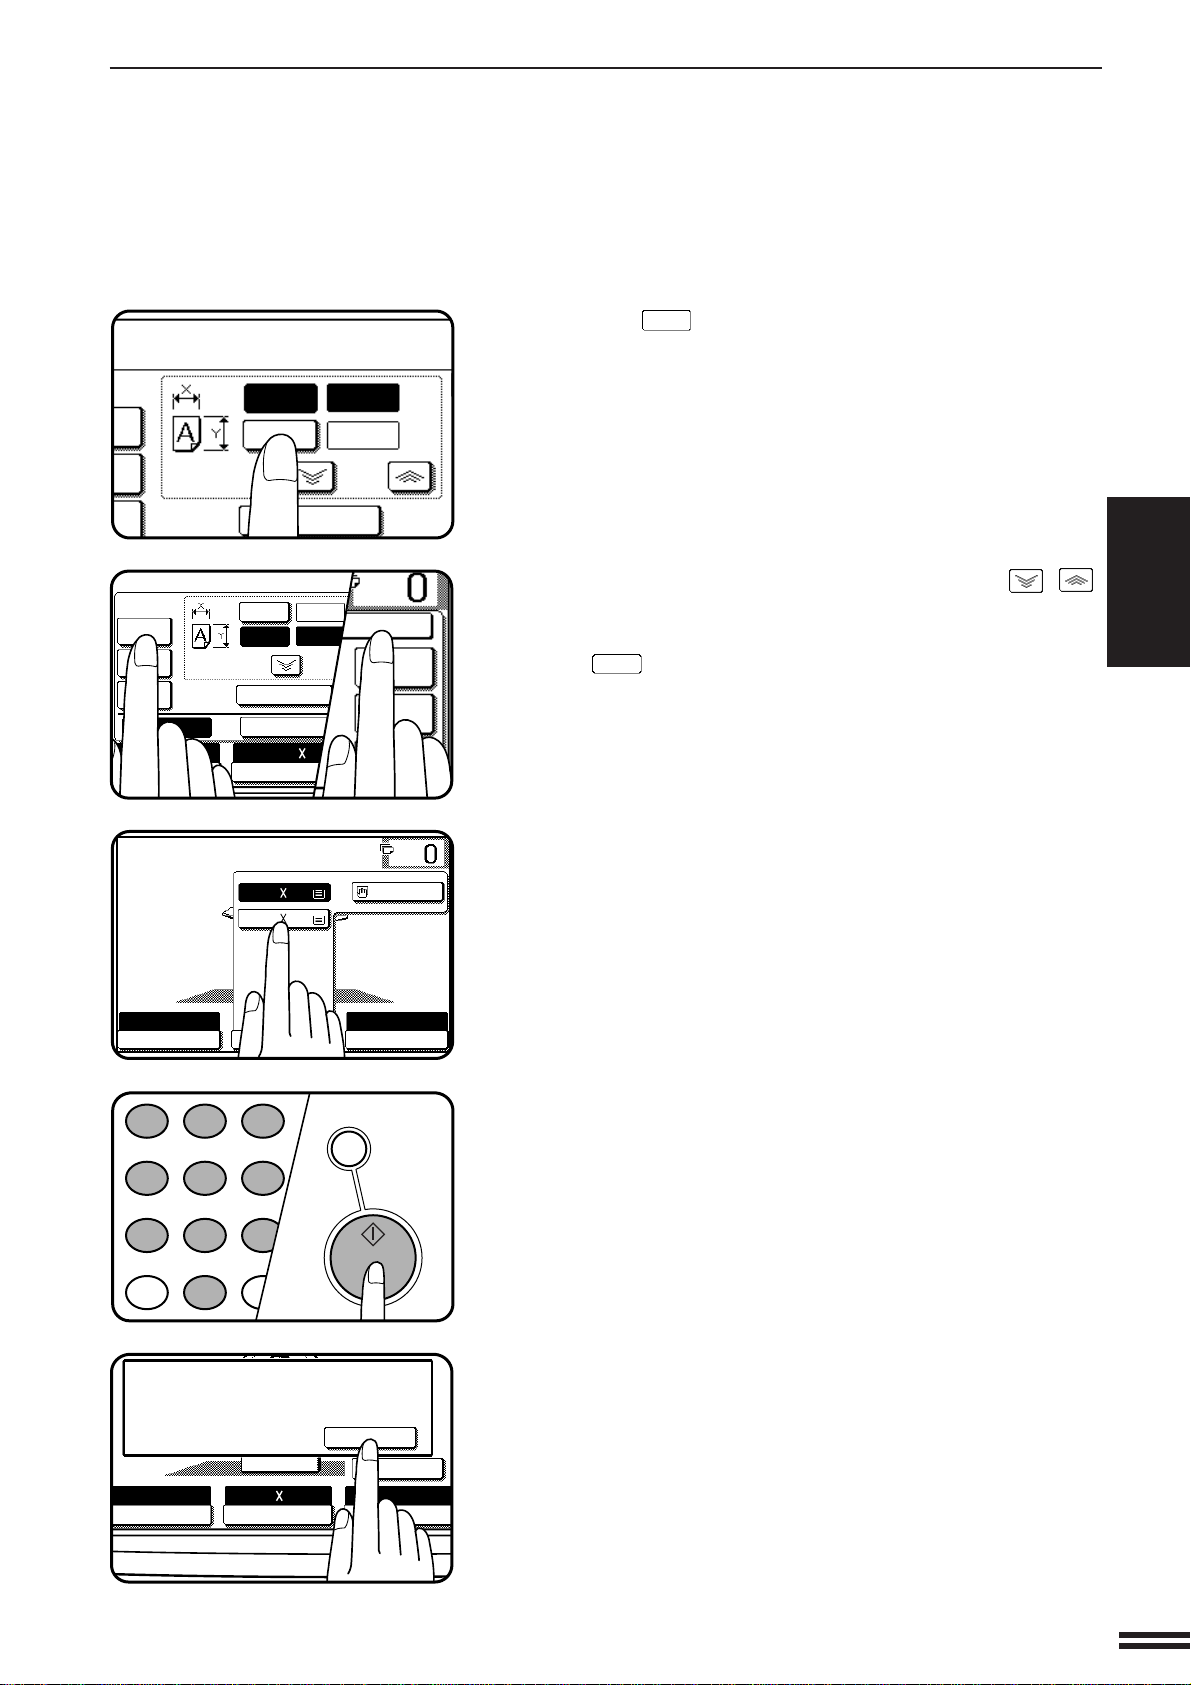
Press the
Y
key.
●
The copy ratio in the vertical (Y) direction will be highlighted.
6
Use the reduction, enlargement, and ZOOM ( , )
keys to change the copy ratio in the vertical (Y) direction.
●
To change the copy ratio in the horizontal direction again, press
the
X
key.
●
The message “IMAGE IS LARGER THAN THE COPY PAPER.”
may appear, indicating that the selected copy ratio is too large
for the copy paper size. However, if you press the START key,
a copy will be made.
7
Press the “OK” key.
8
Press the “PAPER SELECT” key and select the paper
tray with the desired paper size.
●
If the AUTO PAPER SELECT mode is on, the appropriate copy
paper size will have been automatically selected based on the
original size and selected copy ratios.
9
Enter the desired number of copies.
10
Press the START key.
●
If the document feeder is used, scanning of originals and copying
will start.
●
If the document glass is used in the SORT mode, proceed to the
next step.
11
Replace the finished original with the next original after
the START key indicator lights up, and then press the
START key. Repeat this step until all originals have been
scanned. Then, press the “READ-END” key on the touch
panel.
●
Copying will start at this time.
●
Up to 120 sheets of 8-1/2" x 11" originals or up to 60 sheets of
originals larger than 8-1/2" x 11" can be scanned.
●
To cancel this function, press the “CANCEL” key or the “XY
ZOOM” key again as in step 3.
SPECIAL FUNCTIONS XY zoom
TO COPY.
X
Y
100%
ZOOM
%
%
50
100
%
%
%
READY TO COPY.
AUTO
EXPOSURE
PAPER SELECT
XÑ50% YÑ70%
COPY RATIO
AUTO 8/ 11
1
2
1.8/ 11
2.11 17
1
2
1
2 3
4 5 6
7
8
9
0
P
PROGRAM
AUDIT CLEAR
INT
CA
CLEAR ALL
START
XY ZOOM
READY TO COPY.
AUTO
XY ZOOM
X
Y
ZOOM
50
100
77
%
64
%
50
%
EXPOSURE PAPER SELECT
AUTO 8/ 11
1
2
%
%
100%
CANCEL
OK
141
%
200
%
400
%
AUTO
EXPOSURE PAPER SELECT
X—50% Y—70%
COPY RATIO
AUTO IMAGE
READ-END
PLACE NEXT ORIGINAL. PRESS [START].
WHEN FINISHED, PRESS [READ-END].
8/ 11
1
2
Loading ...
Loading ...
Loading ...