Loading ...
Loading ...
Loading ...
English 17
Setting a surface burner
1. Place cooking utensil on center of surface burner grate.
Make sure the cooking untensil is centered and stable
on the grate.
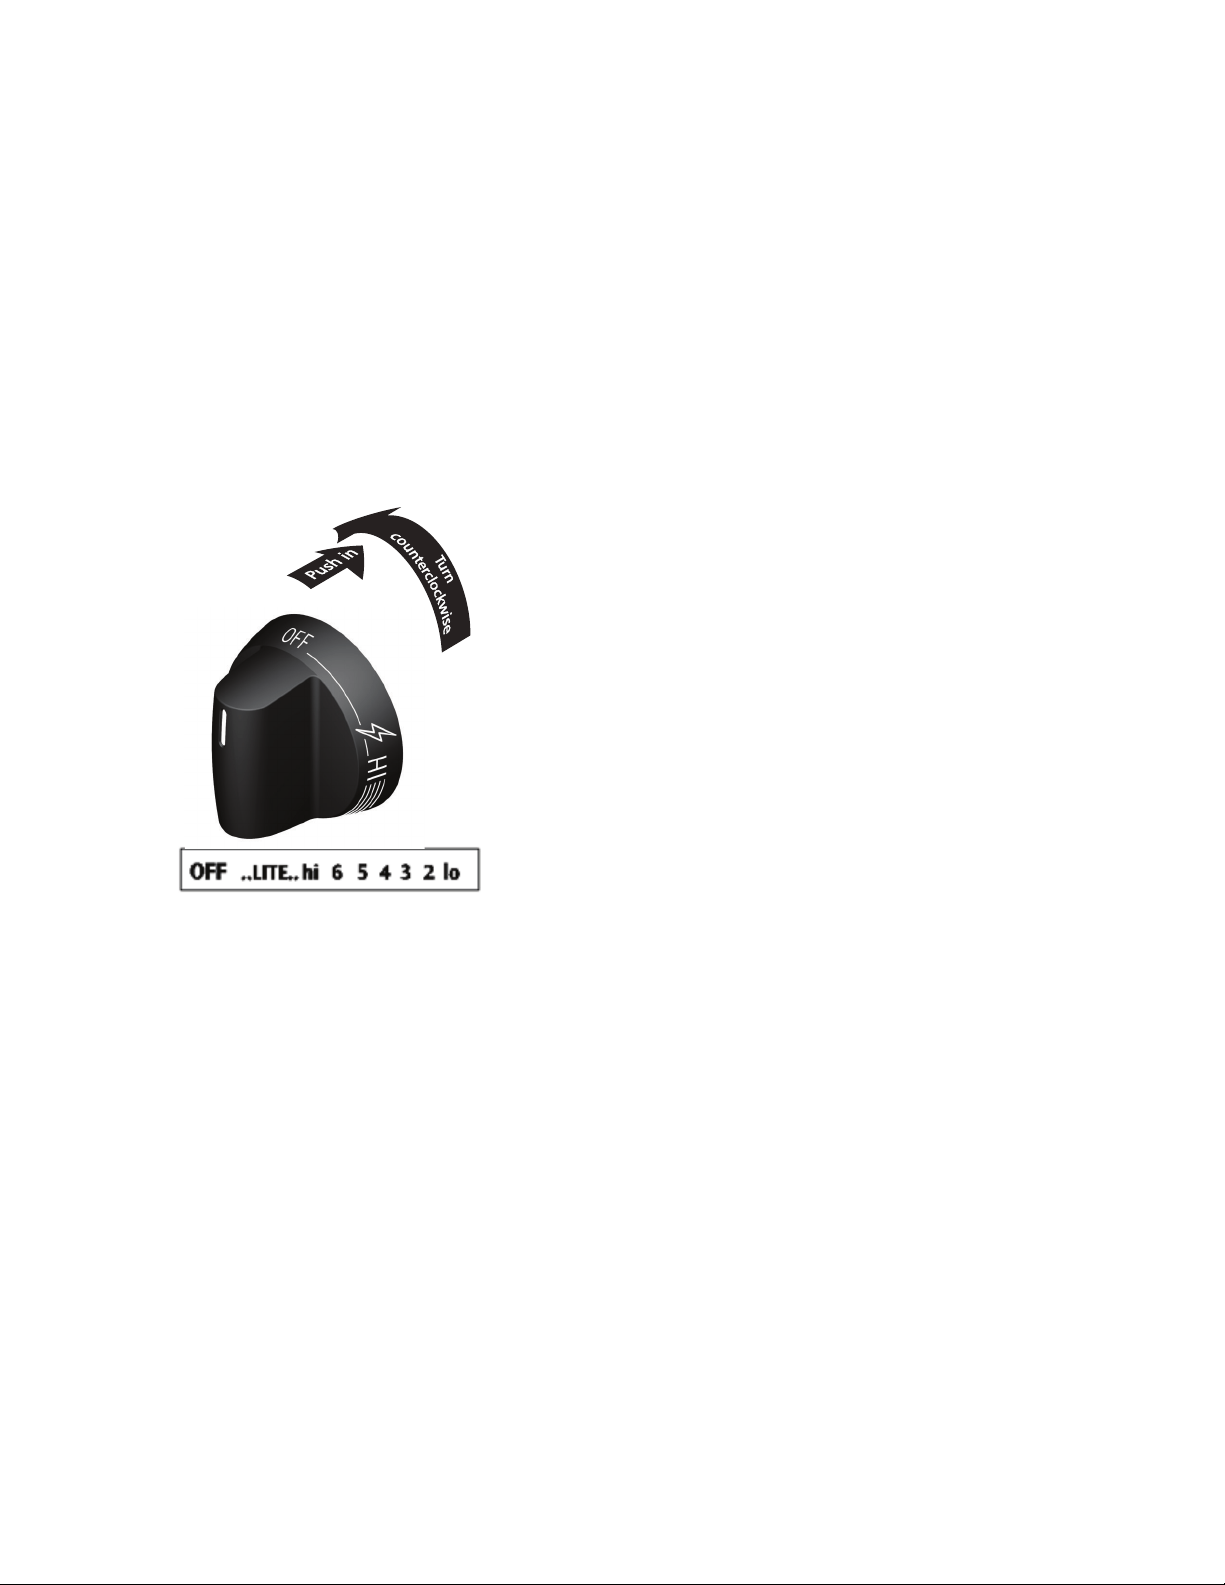
2. Push the desired surface control knob in and turn
counterclockwise out of the OFF position (see Fig.1).
3. Release the knob and rotate to the LITE position.
4. Visually check that the gas burner has lit.
5. Push the control knob in and turn counterclockwise to
the desired flame size. The control knobs do not have
to be set at a particular setting. Use the control knob
markings and adjust the flame as needed..
Notes:
• DO NOT cook with the surface control knob left in the
LITE position. The electronic ignitor will continue to
spark if the control knob is left in the LITE position.
• When setting any surface control knob to the LITE
position, all electronic surface ignitors will spark at the
same time. However, only the surface burner you are
setting will ignite.
• In the event of an electrical power outage, the surface
burners can be lit manually. To light a surface burner,
hold a lit match to the burner head, then slowly turn the
surface control knob to LITE. After burner lights push in
and turn knob to desired setting. Use caution when
lighting surface burners manually.
Settings
Setting the Clock
When the appliance is first plugged in, or when the power
supply to the appliance has been interrupted, the display
will flash "12:00".
To set the analog clock:
1. Press "CLOCK" once (do not hold pad down).
2. Within 5 seconds, press and hold "+" or “-” until the
desired time of day appears in the display.
Note: The clock cannot be changed during any timed bake
or self-clean cycle.
Changing between continuous bake
setting or 12-Hour Energy Saving feature
The oven control has a built-in 12-Hour Energy Saving
feature that will shut off the oven if the control is left on for
more than 11 hours and 59 minutes. The oven can be
programmed to override this feature for continuous baking.
Changing to continuous bake setting:
1. Press and hold “TIMER On/Off” down for 5 seconds
until tone is heard, " — — hr" will appear in display for
continuous cooking. The current time of day will return
to the display.
2. To cancel the continuous bake setting, press and hold
for 5 seconds until tone is heard. "12hr" will appear in
display indicating that the control has returned to the
12-Hour Energy Saving feature.
Temperature conversion
The electronic oven control is set to operate in °F
(Fahrenheit) when shipped from the factory. The oven can
be programmed for any temperature from 170°F to 550°F
(77°C to 287°C).
To change the temperature to °C (Celsius) or from °C to
°F (control should not be in a Bake or Clean mode):
1. Press “BROIL” . "— —" appears in the display.
2. Press and hold “+” the until "HI" appears in the display.
3. Press and hold “BROIL” until °F or °C appears in the
display.
4. Press the “+” or “-” to change °F to °C or °C to °F.
5. Press any control pad to return to normal operating
mode.
Fig. 1
Push Knob In
Then Turn Counterclockwise
Loading ...
Loading ...
Loading ...