Loading ...
Loading ...
Loading ...
12 INSTALLATION
INSTALLING YOUR NEW
APPLIANCE
5. If you find your refrigerator rocks from corner to
corner, it means your floor is uneven. Find a piece
of plastic or hardboard etc. and pack it firmly under
the roller.
6. You may now need to fine-tune the installation by
repeating steps 3, 4 and 5.
7. When you have the appliance in its final position, it
needs to be stabilised. Wind the stability foot under
the door hinge down to the floor until it just makes
contact with the floor. Lift the front of the appliance
to take the weight off the stability foot, then turn
it half a turn further to ensure firm contact with
the floor. Wind the large height adjusting nut back
up to ensure all the weight is now on the front
stability foot. Wind the large height adjusting nut
back up to ensure all the weight is now on the front
stability foot.
8. Repeat step 7 for the stability foot on the handle side.
Whenever you need to move the appliance, be sure
to wind the feet back up so that the appliance can
roll freely and be sure to reset it when reinstalling.
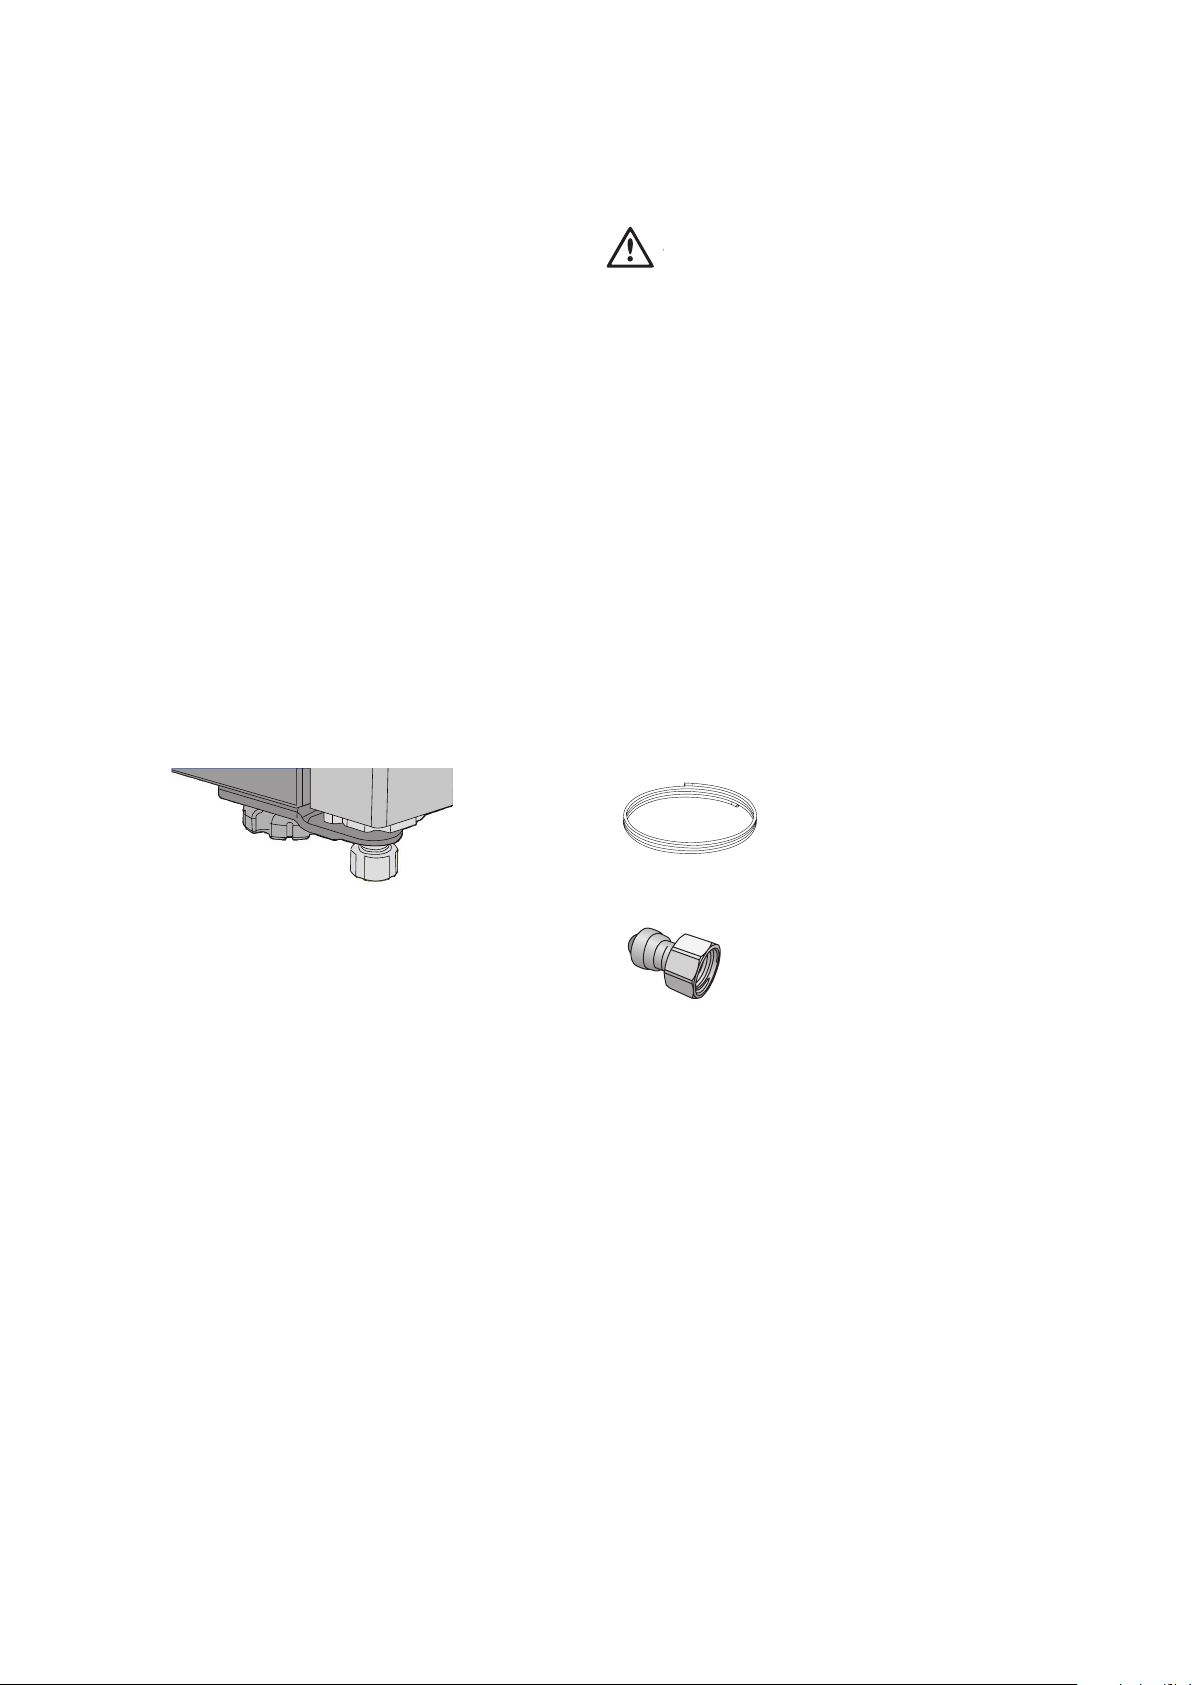
stability foot
wound down
front view
9. Plug your refrigerator straight into its own power
point and never use a double adapter. If you need to
roll the refrigerator to get to the plug, remember to
raise the stability foot first.
10. Before you put any food in your refrigerator, it’s
recommended you leave it on for 2 or 3 hours to
check it is running properly.
Fitting the handles
For models with ‘Pole’ handles, the handles are supplied
prepackaged inside your refrigerator and will require
fitting. Refer to the instructions provided in the pack.
Congratulations! You have successfully installed your
new refrigerator.
WARNING
WARNING
Connect to potable water supply only. If using tank or
bore water it is recommended to also use an external
filter (not supplied).
The new hose-sets supplied with the appliances must be
used and old hose-sets should not be reused.
Never connect the appliance to a hot water supply.
Water Filter
It should not be used on water that is micro biologically
unsafe or with water of unknown quality. The service life
of the filter may be reduced in water supplies that contain
an excess of particles or other impurities. Reduced flow
rate is an indication that a new filter is required. Failure to
replace the filter when required can affect the function of
the ice maker. Service calls caused by a failure to replace
the filter are not covered by warranty. Replacement
water filters are available from Electrolux Home Products
Spare Parts Centres and can be posted to you for your
convenience (refer to spare parts contact numbers on the
warranty page).
Contents of installation kit
4 metres of water tubing
DATE FITTED___/___/___
1 x 1/2” tap fitting
Water supply and plumbing
A drinkable water supply to suit a 1/2” tap fitting is
required adjacent to the refrigerator. It is recommended
that a licensed plumber install a new water supply outlet
nearer to the appliance should the tubing supplied not be
long enough. It is not recommended that the tubing be
extended as this could adversely affect the flow of water
to the ice maker or water dispenser. The water dispenser
and automatic ice maker require a drinkable water supply
with a pressure range of between 206kPa and 689kPa
(30PSI and 100PSI). If the water supply is above 100psi a
pressure limiting valve should be installed.
It is recommended that a noise reduction valve also be
fitted in the water supply line. This will reduce water
hammer and its effects from quick action household taps
and fast acting valves on appliances.
The refrigerator water valve is pre-fitted with a push-fit
connector for inserting the water tube. When the tap
connection is other than 1/2”, adapters can be purchased
from plumbing supply stores or good hardware stores.
ICE AND WATER INSTALLATION
Loading ...
Loading ...
Loading ...