Loading ...
Loading ...
Loading ...
10
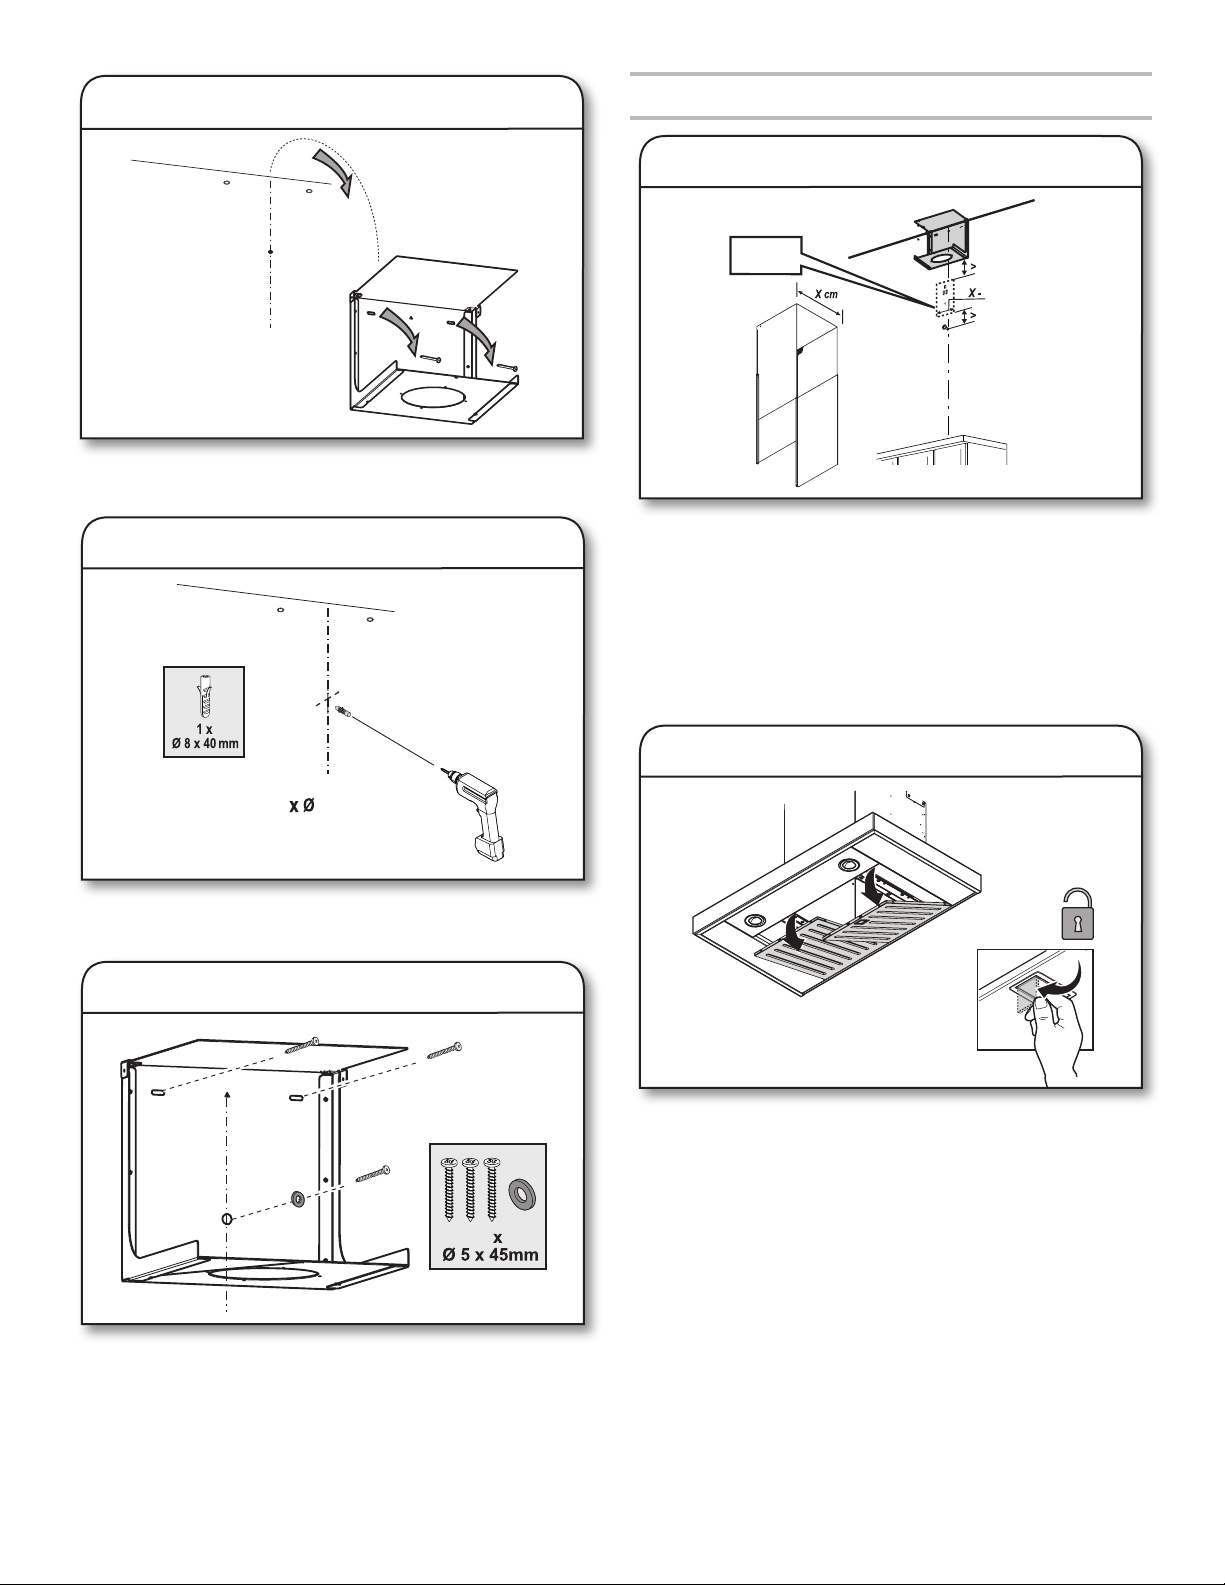
■ Place the charcoal lter bracket back into position so that all
the holes are aligned with the anchors.
■ Secure 2 screws on the upper bracket slots and one screw
with a at washer on the lower bracket slot, to secure the
bracket in position.
3
7. Mount charcoal lter bracket
Prepare for Installation
120 V, 60 Hz
3/8" (1 cm)
13/16" (2 cm)
1 " (3 cm)
3
16
/
1. Verify electrical outlet location
■ Ensure grounded 3 prong outlet capable of 120 V, 60 Hz is
available before proceeding.
■ Ensure at least 3/8" (1 cm) gap between bottom of the
charcoal lter bracket to top of the grounded 3 prong outlet.
■ Ensure at least 1
3
/16" (3 cm) gap between anchor screw and
the bottom of the grounded 3 prong outlet.
■ Ground 3 prong outlet must be 13/16" (2 cm) shorter in width
than the chimney width.
2. Remove grease lter
■ Remove grease lters before proceeding.
5/16" (8 mm)
1
6. Drill center hole
■ Drill a 5/16" (8 mm) hole where the center hole is marked and
insert 1-5/16" (8 mm) anchor.
5. Remove bracket
■ Remove the screws (not the anchors) in order to remove the
bracket.
Loading ...
Loading ...
Loading ...