Loading ...
Loading ...
Loading ...
6_ installing the dishwasher
installing the dishwasher
Be sure that you or your installer follow these instructions closely so that the new
dishwasher works properly and that you are not at risk of injury when washing dishes.
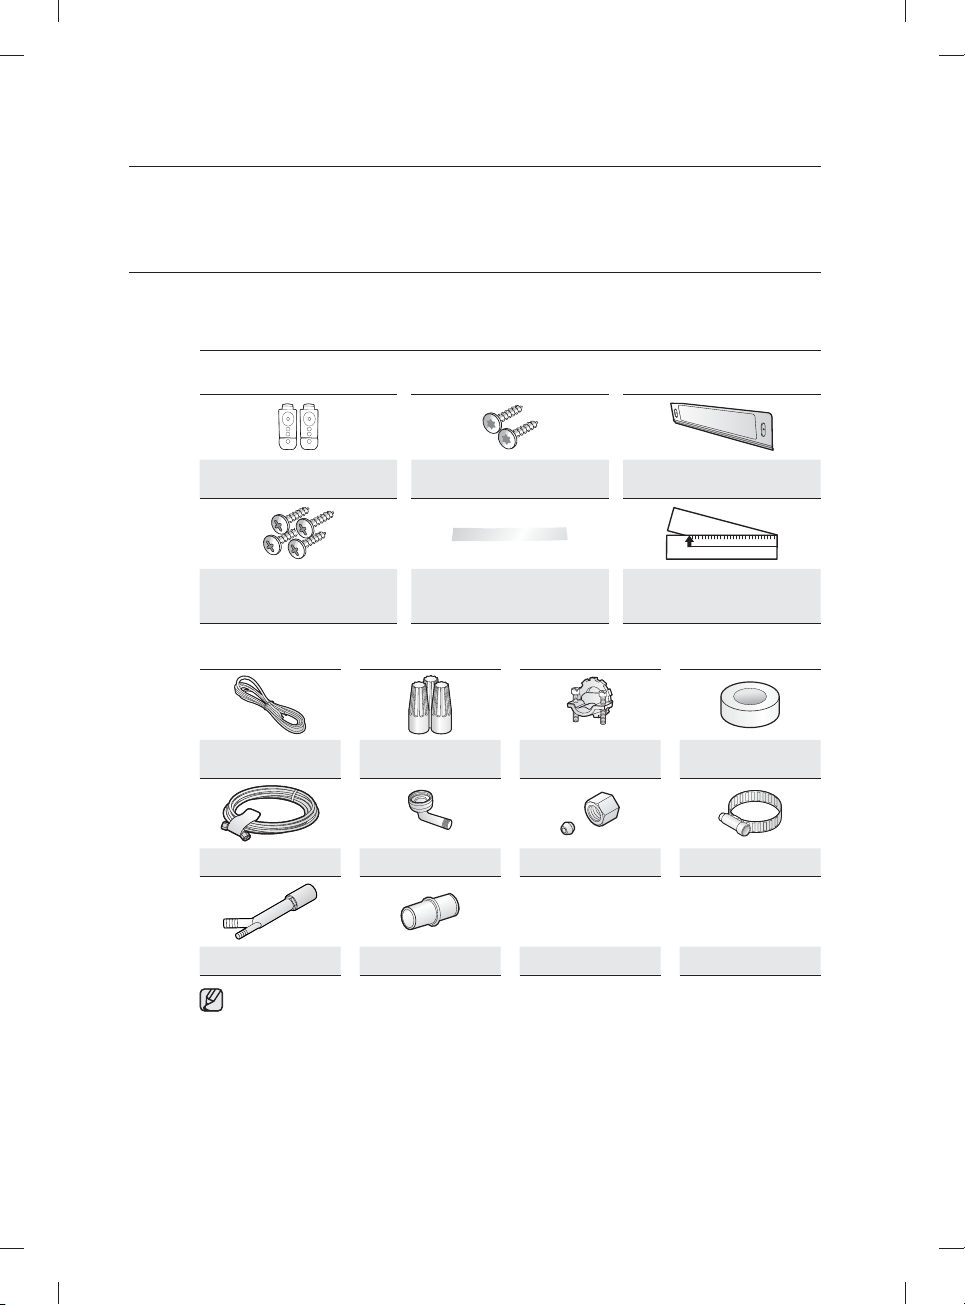
STEP 1 CHECK THE PARTS AND TOOLS
Before starting on the installation, prepare all the necessary tools and parts required to install the
dishwasher. This will save installation time and simplify the installation process.
Parts required
Provided with the dishwasher. Check when you unbox the dishwasher in Step 5.
2 Installation brackets
2 Screws
(for Top Bracket Installation)
Kick Plate
4 Screws
(for the Kick plate &
SideBracketInstallation)
Protective sticker Paper ruler
Not provided
Power cable
Twist on wire
connector
Strain relief
Electrical tape &
Standard duct tape
Hot water supply line
90° Fitting
(¾")
Tube fi ttings Hose clamp
Air gap Rubber connector
For the hot water supply line – We strongly recommend using ⅜" minimum O.D. copper tubing with a
compression fi tting or a fl exible stainless steel braided hot water supply line.
[Warning: Do not use plastic tubing. Plastic tubing can deteriorate over time and cause a leak inside
the tube fi tting.]
You also need a 90° Fitting with
¾
" N.P.T. external pipe threads on one end and a fi tting sized to fi t
your hot water supply line (copper tubing/compression fi tting or braided hose) on the other.
For the power cable, we recommend a jacketed 12-2 cable with ground. Note that some local codes
may require the cable to have a BX style metal jacket.
DW9900M-00183A-01_EN.indd Sec3:6DW9900M-00183A-01_EN.indd Sec3:6 1/2/2017 12:41:05 PM1/2/2017 12:41:05 PM
Loading ...
Loading ...
Loading ...