Loading ...
Loading ...
Loading ...
18 49-80804 Rev. 1
Be sure all controls are off and all surfaces are cool before cleaning any part of the range. The interior of your new
oven can be cleaned manually or by using Steam Clean or Self Clean modes.
Spillage of marinades, fruit juices, tomato sauces and basting liquids containing acids may cause discoloration and
should be wiped up immediately. Let hot surfaces cool, then clean and rinse.
Manual Cleaning
'RQRWXVHRYHQFOHDQHUVDEUDVLYHFOHDQHUVVWURQJ
liquid cleansers, steel wool, scouring pads, or cleaning
powders on the interior of the oven. Clean with a mild
soap and water or vinegar and water solution. Rinse with
clean water and dry with a soft cloth. When cleaning
surfaces, make sure that they are at room temperature.
Self Clean Mode
Read Self-Cleaning Oven Safety Instructions at the
beginning of this manual before using Self Clean Mode.
Self clean uses very high temperatures to clean the oven
interior. The oven door will lock when using this feature.
Before operating the self-clean cycle, wipe up grease
and soils from the oven. Remove all items from the oven
other than enameled (dark color) racks. Shiny or silver
racks, the meat probe, and any cookware or other items
should all be removed from the oven before initiating a
self-clean cycle. Close the door. Press the Self Clean
pad and a default self-clean time is displayed. The clean
time can be changed to any time between 3:00 and
5:00 hours by using the number pads to enter a different
time and pressing Start. For heavily soiled ovens, the
maximum 5 hour clean time is recommended. If you wish
to use the default time, press the Start pad immediately
after pressing the Clean pad. The oven will turn off
automatically when the self-clean cycle is complete. The
door will stay locked until the oven has cooled down. After
the oven has cooled down wipe any ash out of the oven.
We recommend venting your kitchen with an open
window or using a ventilation fan or hood during the first
self-clean cycle.
Soil on the front frame of the range and outside the
gasket on the door will need to be cleaned by hand.
Clean these areas with hot water, soap-filled steel-wool
pads or cleansers such as Soft Scrub
®
. Rinse well with
clean water and dry.
'RQRWFOHDQWKHJDVNHW7KHILEHUJODVVPDWHULDORI
the oven door gasket cannot withstand abrasion. It is
essential for the gasket to remain intact. If you notice it
becoming worn or frayed, replace it.
Make sure the oven light bulb cover is in place and the
oven light is off.
IMPORTANT: The health of some birds is extremely
sensitive to the fumes given off during the self-cleaning cycle
of any range. Move birds to another well-ventilated room.
On Some Models:
The surface units are automatically disabled during the
self-clean cycle. Make sure that all surface unit controls
are turned off at all times during the self-clean cycle.
Any surface unit that is set to an “on” position while the
self-clean cycle is operating will automatically come on
after the self-clean cycle is finished, and could result in
an “on” unattended surface unit. Wait until the self-clean
cycle is finished to set and use the surface units.
Cleaning the Range – Interior
Racks
All racks can be washed with warm, soapy water.
Enameled (not shiny) racks can be left in the cavity
during self clean.
Racks may be more difficult to slide, especially after
a self-clean. Put some vegetable oil on a soft cloth or
paper towel and rub onto the left and right edges.
Oven Heating Elements
'RQRWFOHDQWKHEDNHHOHPHQWRUWKHEURLOHOHPHQW$Q\
soil will burn off when the elements are heated.
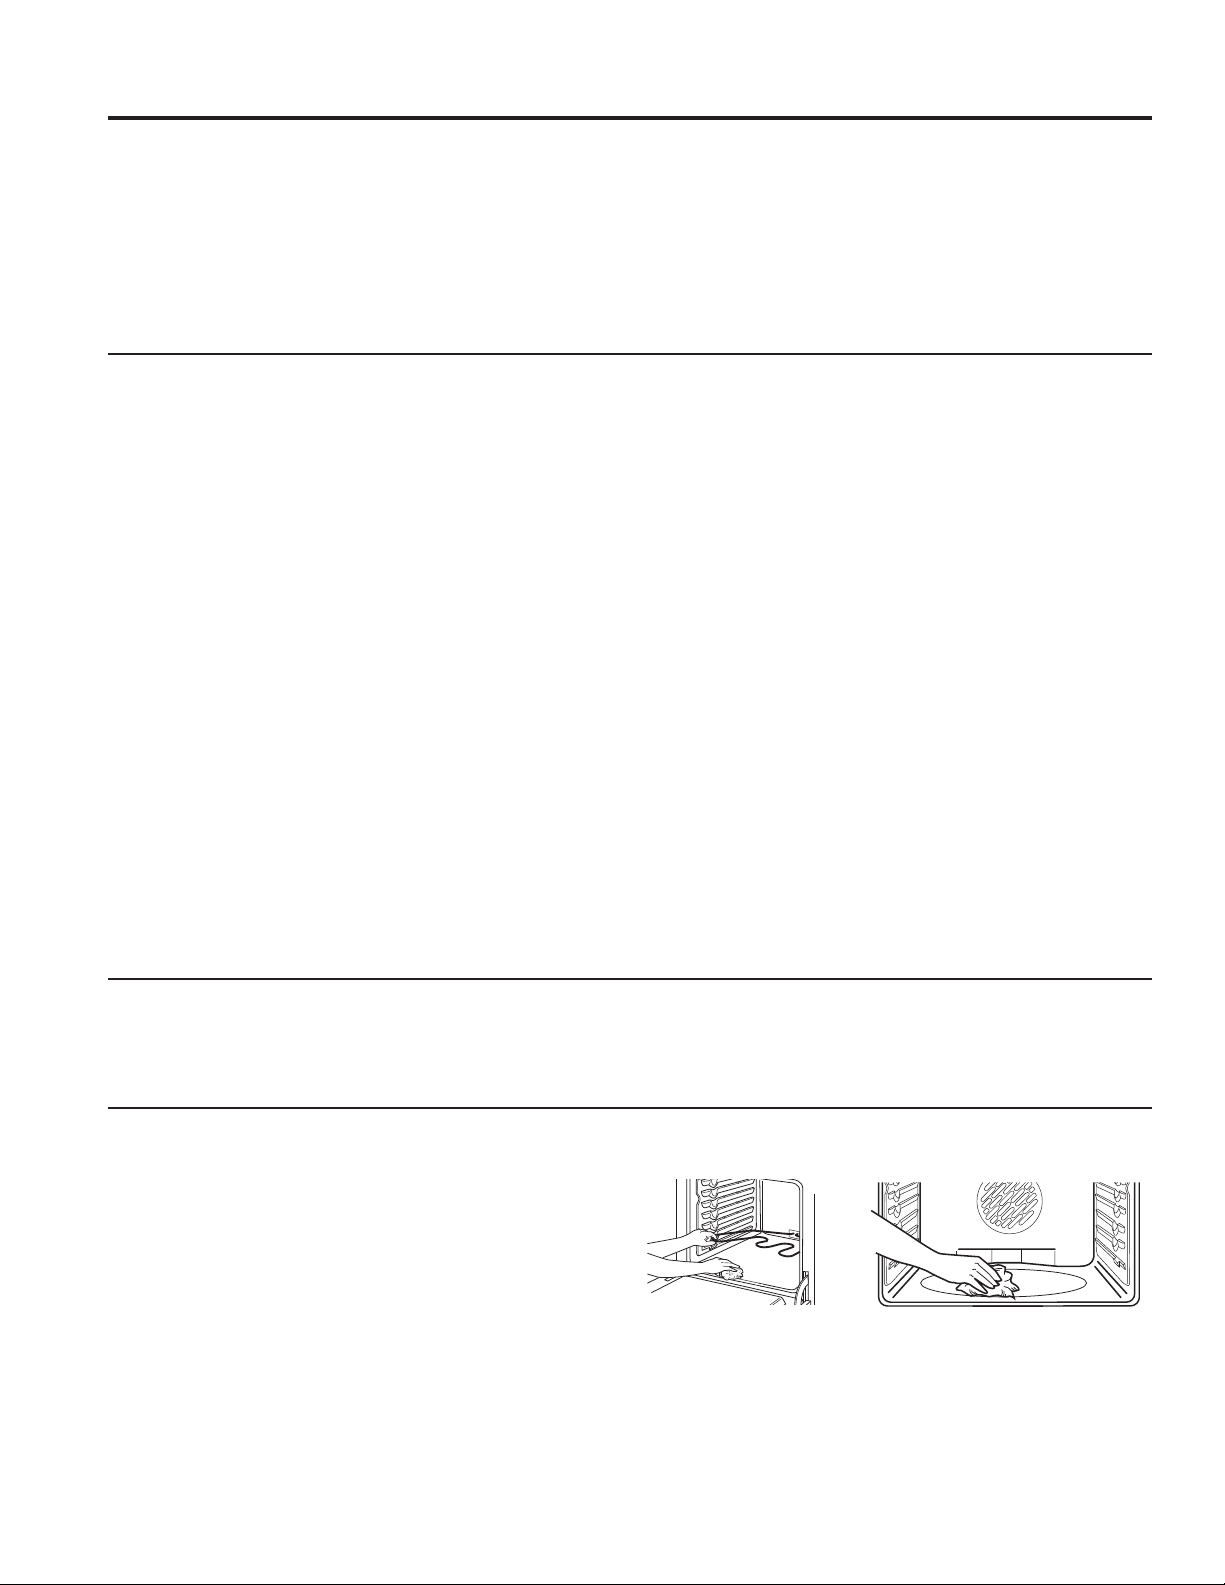
To clean the oven floor when the bake element is
exposed, gently lift the bake element. On some models,
the bake element is not exposed and is under the oven
floor. Clean the oven floor with warm, soapy water.
Wipe up heavy soil on the oven bottom.
Gently lift the bake element
CARE AND CLEANING: Cleaning the Range – Interior
Loading ...
Loading ...
Loading ...