Loading ...
Loading ...
Loading ...
26
The Ice Dispenser
IMPORTANT:
■ If the ice cubes are hollow or have an irregular shape, it could
be because of low water pressure. See the “Water Supply
Requirements” section.
■ Ice travels from the ice storage bin through the dispenser
chute to the dispenser. To turn off the ice maker, see the
“Ice Maker and Storage Bin” section.
■ The dispenser may continue to make noise and ice may
continue to dispense for several seconds after releasing
the dispenser button or paddle.
To Clean the Ice Dispenser Chute:
Humidity causes ice to naturally clump together. Ice particles can
build up until the ice dispenser chute becomes blocked.
If ice is not dispensed regularly, it may be necessary to empty the
ice storage bin and clean the ice delivery chute, the ice storage
bin, and the area beneath the storage bin every two weeks.
■ If necessary, remove the ice clogging the storage bin and
delivery chute using a plastic utensil.
■ Clean the ice delivery chute and the bottom of the ice storage
bin using a warm, damp cloth, and then dry thoroughly.
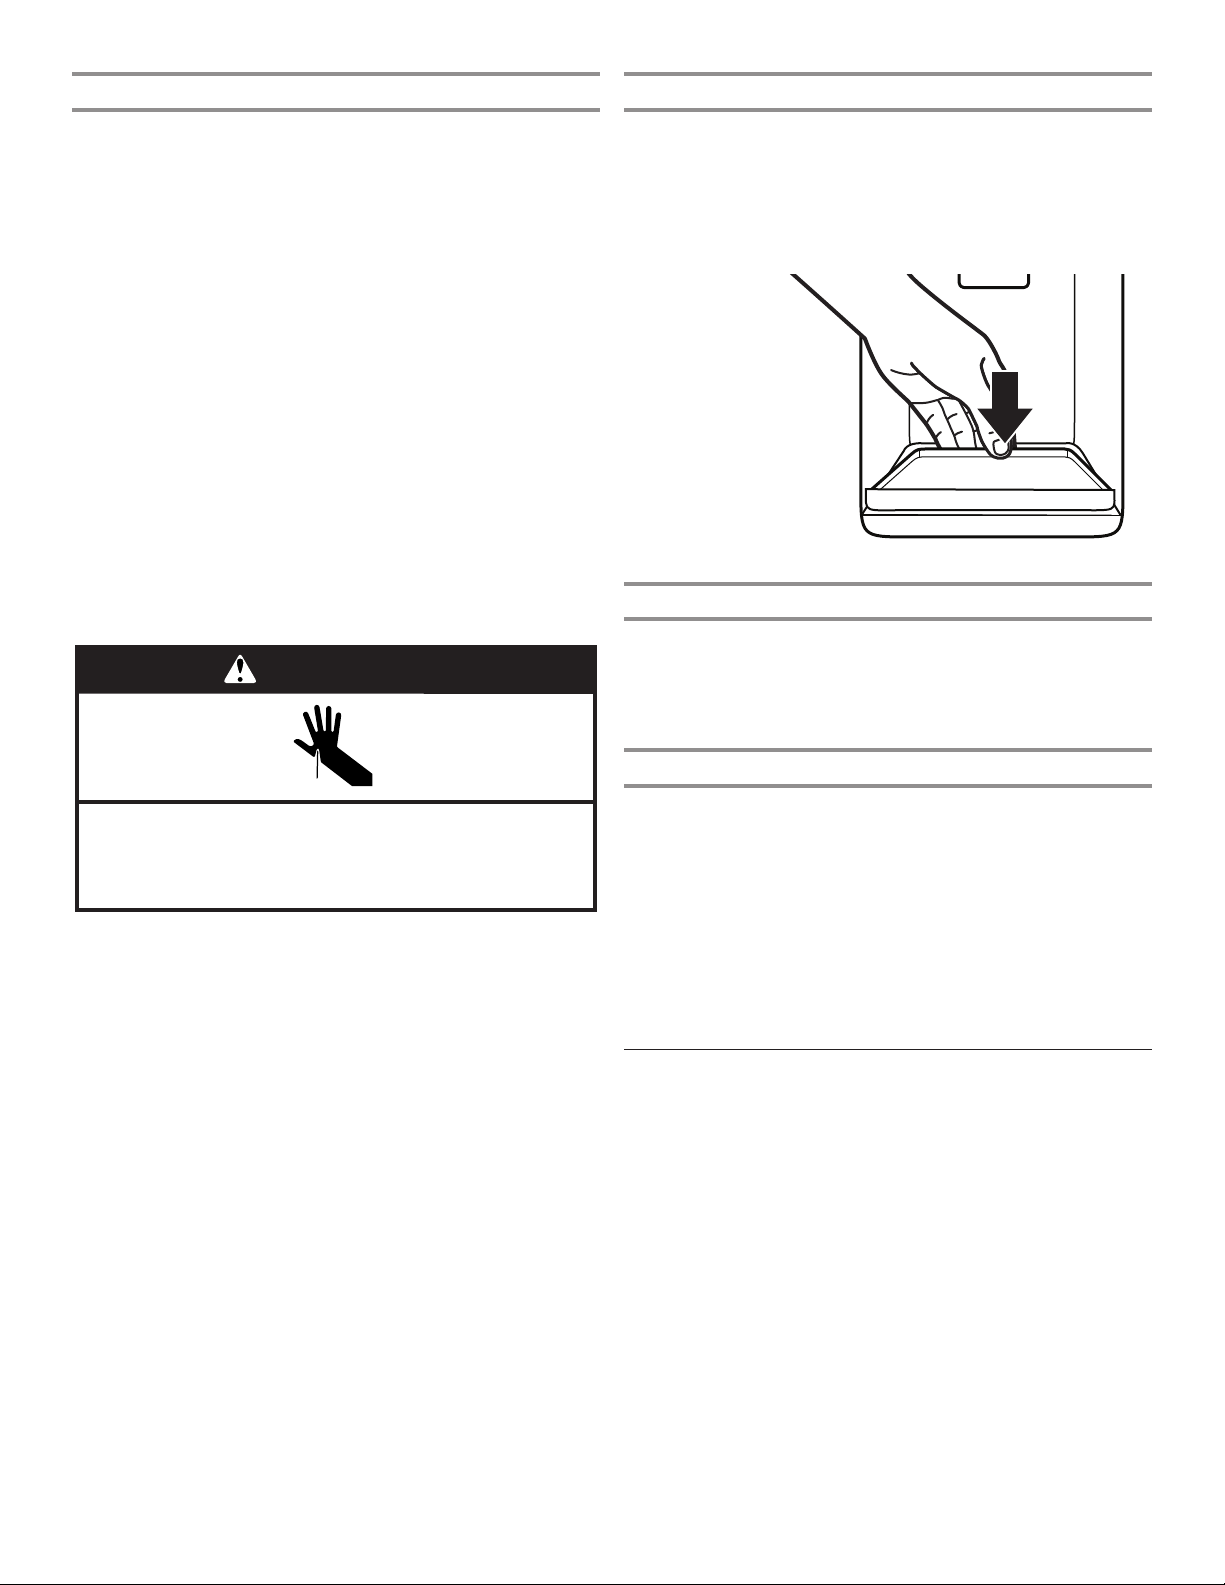
To Dispense Ice: Paddle Dispensing
1. Select the desired type of ice by pressing CUBED ICE or
CRUSHED ICE.
Cut Hazard
Use a sturdy glass when dispensing ice.
Failure to do so can result in cuts.
WARNING
2. Press a sturdy glass against the dispenser paddle. Hold the
glass close to the dispenser opening, so ice does not fall
outside of the glass.
IMPORTANT: You do not need to apply a lot of pressure to
the paddle to activate the ice dispenser. Pressing hard will not
make the ice dispense faster or in greater quantities.
3. Remove the glass to stop dispensing.
NOTE: Ice may continue to dispense for several seconds after
removing the glass from the dispenser paddle. The dispenser
may continue to make noise for a few seconds after dispensing.
The Dispenser Drip Tray
The drip tray can be removed to carry to the sink to empty
or clean.
■ Lift up on the front edge of the tray and pull forward to
remove.
■ The drip tray can also slide out to assist in Measured/
Favorite Fill.
!
Calibration
!
Door
Ajar
!
Replace
Filter
!
"#$#!
!
%&#'#(')!"#$#!
!
Order Filter
!
a1 oz = b1 L
!
a2 oz = b2 L
!
a3 oz = b3 L
!
Dispense
!
The Dispenser Light
1. When you use the dispenser, the light will automatically
turn on.
2. The dispenser light also serves as an automatic night light.
Once the ambient light in the room is reduced, the auto
sensor will cause the dispenser light to illuminate.
The Dispenser Lock
The dispenser can be locked for easy cleaning or to avoid
unintentional dispensing by small children and pets.
NOTE: The lock feature does not shut off power to the
refrigerator or the dispenser light. It simply deactivates the
controls and dispenser levers. To turn off the ice maker, see the
“Ice Maker and Storage Bin” section.
■ Touch and hold CUBED ICE for 3 seconds to lock the
dispenser.
■ Touch and hold CUBED ICE for 3 seconds to unlock the
dispenser.
■ The display screen indicates when the dispenser is locked.
Ice Maker and Storage Bin
IMPORTANT: To avoid low ice production and poor quality ice,
ush the water system before turning on the ice maker. See the
“Water and Ice Dispensers” section.
■ Following installation, allow 24 hours to produce the rst
batch of ice. Discard the rst three batches of ice produced.
Allow 2 to 3 days to ll the ice storage bin.
■ The quality of your ice will be only as good as the quality
of the water supplied to your ice maker. Avoid connecting
the ice maker to a softened water supply. Water softener
chemicals (such as salt) can damage parts of the ice maker
and lead to poor quality ice. If a softened water supply
cannot be avoided, make sure the water softener is operating
properly and is well-maintained.
Loading ...
Loading ...
Loading ...