Loading ...
Loading ...
Loading ...
12
Installation
This extractor hood is intended to be
mounted onto the kitchen wall.
1. Von der Decke bis zur Unterkante der
Dunstabzugshaube eine Mittellinie an
die Wand anzeichnen.
Ensure that the minimum distance bet-
ween the hob and the extractor hood is
maintained – 550 mm for an electric hob
and 650 mm for a gas hob. The bottom
edge of the template equates to the lower
edge of the extractor hood.
2. Using the template, mark positions for
the screws on the wall and mark the
outline of the attachment area. Fig. 5.
3. Drill 4 holes (l 8 mm) for the wall holder
of the extractor hood and press in
wall plugs flush with the wall. Fig. 5.
4. Screw the attachment frame to the wall
and align it vertically. Fig. 6.
5. Connect the pipes.
6. Connect the power.
7. Attach the extractor hood to the wall
holder and screw into place. Tighten the
screws. Fig. 6.
Changing over from exhaust-
air to recirculating mode
Changing the electronic control system
to recirculating mode:
❑
The standard factory setting is for
operation in exhaust-air mode.
❑
To change the mode, the extractor hood
must have been connected up and
should be switched off.
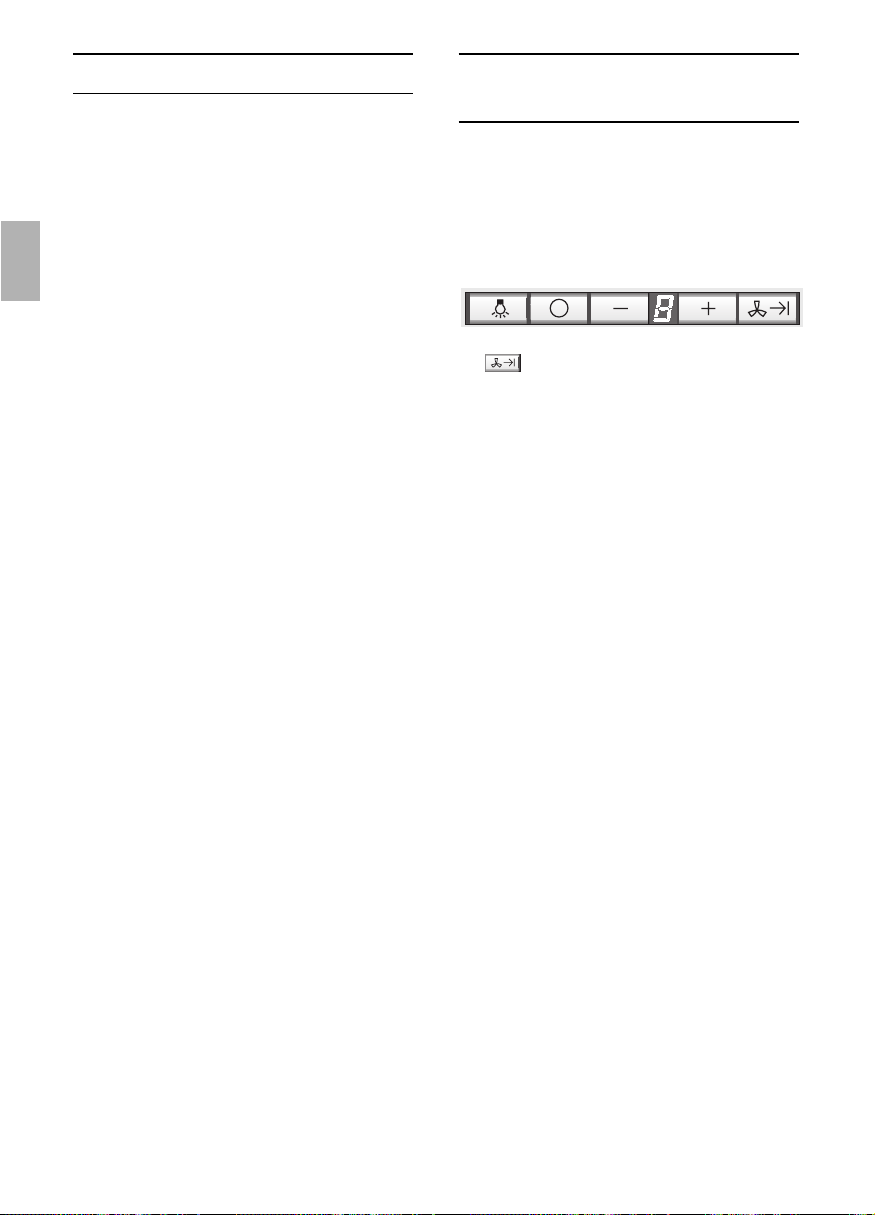
❑
Simultaneously press buttons 0 and
until
ã comes on. Then release the
buttons.
❑
ã goes out shortly afterwards.
The electronic control system will then
have been set to recirculating mode.
❑
By repeating steps 1 and 2, you can
change the electronic control system
back to exhaust-air mode (
# in display).
Loading ...
Loading ...
Loading ...