Loading ...
Loading ...
Loading ...
WARNING: Toreducetheriskofnre,electricshock,orinjurytopersons,readandfallowthis
enflre Use & Care Guide, including the important Safety Jnsfrucflons, before aperaflng this washer.
* Unplug the washer before cleaning to avoid the risk of elecfrlc shock. Failure to follow this warning can
cause serious injury, fire, electric shock, or death.
* Never use harsh chemlcals, abrasive cleaners, or solvents to clean the washer. They will damage the finish.
REGULAR CLEANING
Cleaning the Exterior
Proper care of your washer can extend its life. The outside of
the machine can be cleaned with warm water and a mild,
nonabrasive household detergent.
Immediately wipe off any spills with a soft, damp cloth.
IMPORTANT: Do not use solvents, cleaning alcohols, or
similar products. Never use steel wool or abrasive cleaners
because they can damage the surface.
Care and Cleaning of the Interior
Use a towel or soft cloth to wipe around the washer door
opening, door seal, and door glass. These areas should be
kept clean to ensure a watertight seat. Be sure to wipe
under the inside rubber seat to remove any moisture or soil.
Always remove items from the washer as soon as the cycle
is complete. Leaving damp items in the washer can cause
wrinkling, color transfer, and odor. Runthe CLEAN WASHER
cycle once a month, or more often if needed, to remove
detergent buildup and other residue.
Clean Washer
O Remove any clothing in the drum.
O Open the dispenser drawer.
O Add liquid chlorine bleach or another drum cleaner
designed specifically for cleaning front load
washers.
- If using liquid chlorine bleach
Add liquid chlorine bleach to the bleach
compartment of the drawer. (NOTE : Do not
exceed the maximum fill line and do not pour
undiluted liquid bleach directly into the wash
drum.)
- If using powder cleaner
Remove the liquid detergent cup and add powder
cleaner to the main wash compartment of the
dispenser drawer.
- if using tablet cleaner
Add tablet cleaner directly to the wash drum.
NOTE:
* Do not add tablet cleaner to the dispenser drawer.
° Do not add any laundry detergent or fabric softener to the
drawer when usingCLEAN WASHER.
O Turn ON the washer and press and hold the
EXTRA RINSE button for five seconds, and the LED
will blink. Selecting any other cycle after Clean Washer
has been selected will cancel the Ctean Washer cycle.
Door Seal and Glass Cleaning
Door Seal and Glass Cleaning
Due to the location and nature of the door seal, some
detergent and soil residue may build up on the door glass
and seal. Periodic cleaning with a bleach solution can help
remove buildup and stains, and can help sanitize the seal to
prevent odors.
NOTE: Wear rubber gloves and eye protection while
performing the following procedure:
Dilute 3¼cup (177 ml) liquid chlorine bleach in 1
gallon (3.8 L) of warm/hot water.
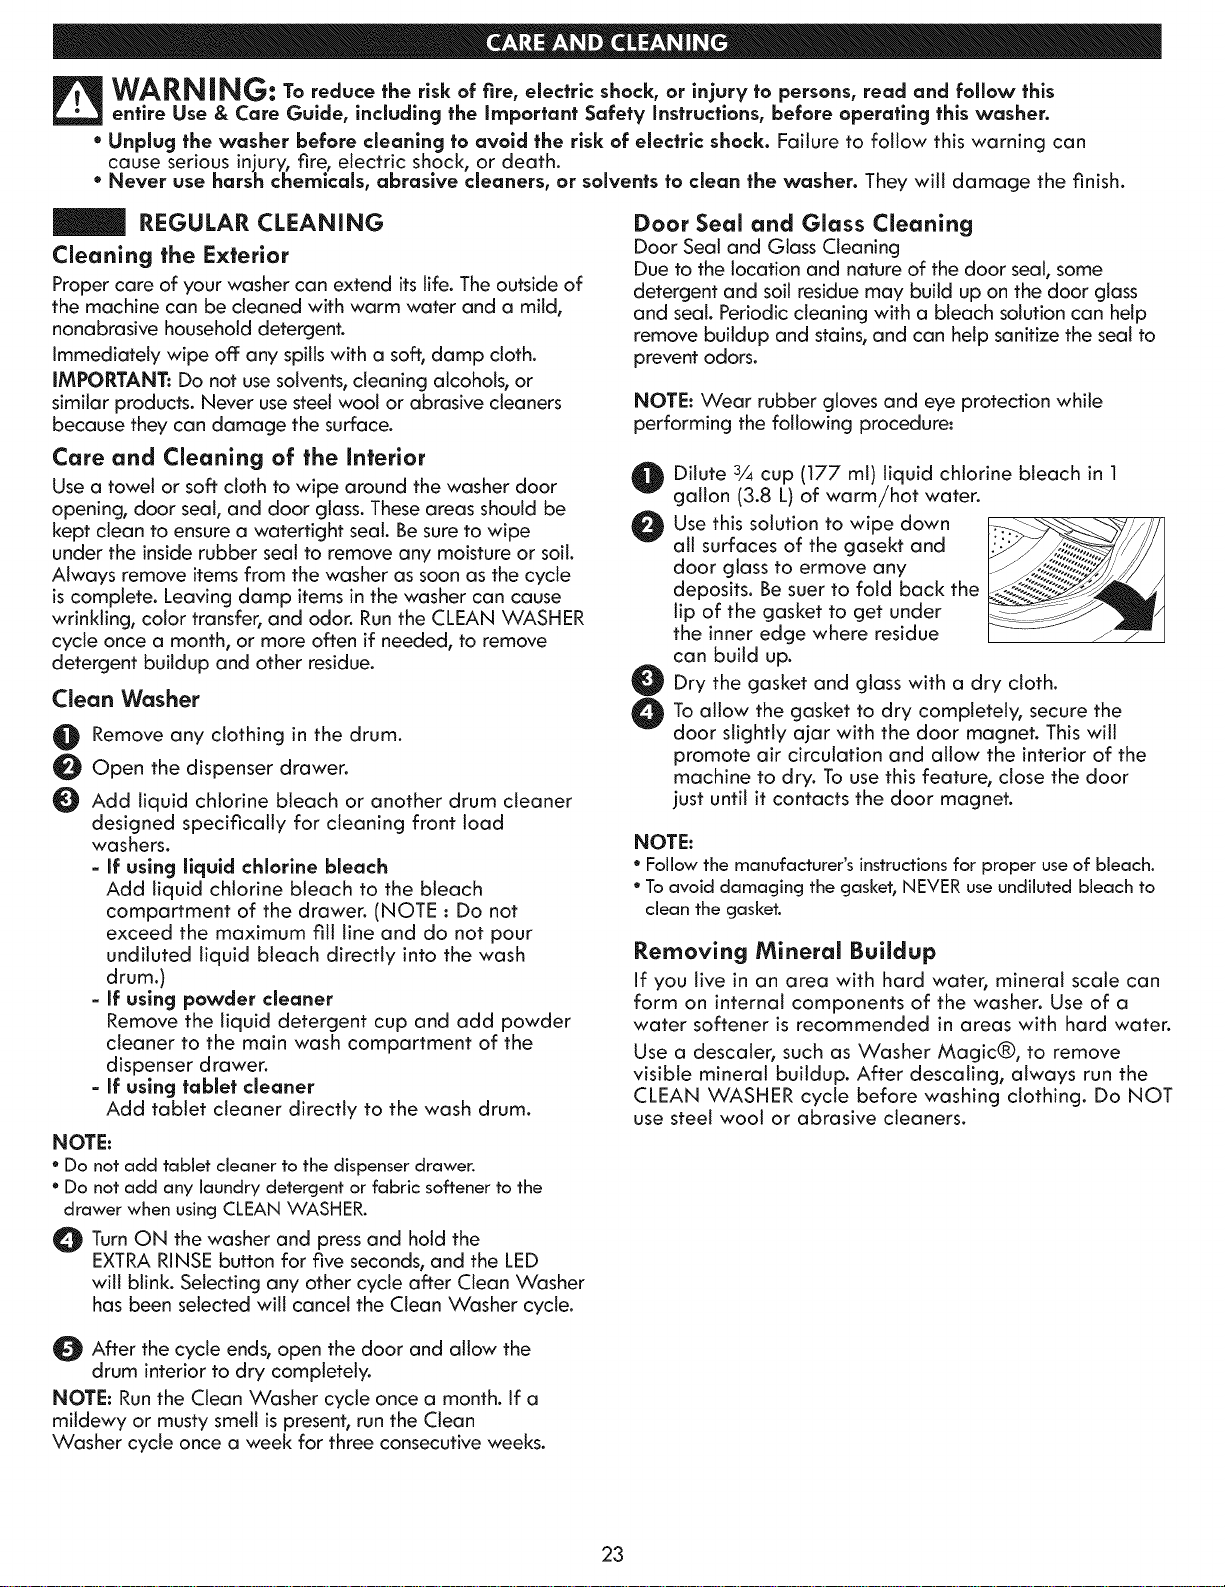
Use this solution to wipe down
all surfaces of the gasekt and
door glass to ermove any
deposits. Be suer to fold back the
lip of the gasket to get under
the inner edge where residue
can build up.
Dry the gasket and glass with a dry cloth.
To allow the gasket to dry completely, secure the
door slightly ajar with the door magnet. This will
promote air circulation and allow the interior of the
machine to dry. To use this feature, close the door
just until it contacts the door magnet.
NOTE:
° Follow the manufacturer's instructions for proper use of bleach.
° Toavoid damaging the gasket, NEVERuseundiluted bleach to
clean the gasket.
Removing Mineral Buildup
If you tive in an area with hard water, mineral scale can
form on internal components of the washer. Use of a
water softener is recommended in areas with hard water.
Use a descaler, such as Washer Magic®, to remove
visible mineral buildup. After descating, always run the
CLEAN WASHER cycie before washing clothing. Do NOT
use steel wool or abrasive cleaners.
After the cycle ends, open the door and allow the
drum interior to dry completely.
NOTE: Runthe Ctean Washer cycle once a month. If a
mildewy or musty smelt ispresent, run the Clean
Washer cycle once a week for three consecutive weeks.
23
Loading ...
Loading ...
Loading ...