Loading ...
Loading ...
Loading ...
13
Care & Cleaning
4. Remove the juicing screw, strainer and
rotation wiper unit from the juicing bowl.
Clean with provided brush.
NOTE
Immediately clean the juicer after each use. If
remaining residue in the juicer dries up, it can
make disassembling and clean-up difficult. The
excess build up can cause poor performance in
future uses.
For easier disassembly, place the top-set in the
sink and run the water through from the top of
the top-set.
We do not recommend to wash any parts of the
juicer in the dishwasher. Washing parts in the
dishwasher can cause damage to them due to
prolonged exposure to harsh detergents, hot
water and pressure.
Extract all the remaining pulp in the juicing
bowl before stopping the juicer.
For easier clean up, operate the juicer for
an additional 30 seconds after the juice is
extracted. Then fill the juicing bowl with water
and run the juicer before opening the drum lid.
When the drum lid is stuck, press the
REVERSE – OFF – FORWARD button in this
order, switching back and forth 2 to 3 times to
dislodge. Then place both hands on the drum
lid and firmly press down while simultaneously
turning the drum lid to open.
CLEANING THE JUICER
1. Switch OFF and unplug the power cord
from the wall outlet.
2. Turn the drum lid counter clockwise to
open.
WARNING
When moving the appliance, do not lift by
grabbing the feeding tube. Always lift the
appliance by grabbing the body or handle.
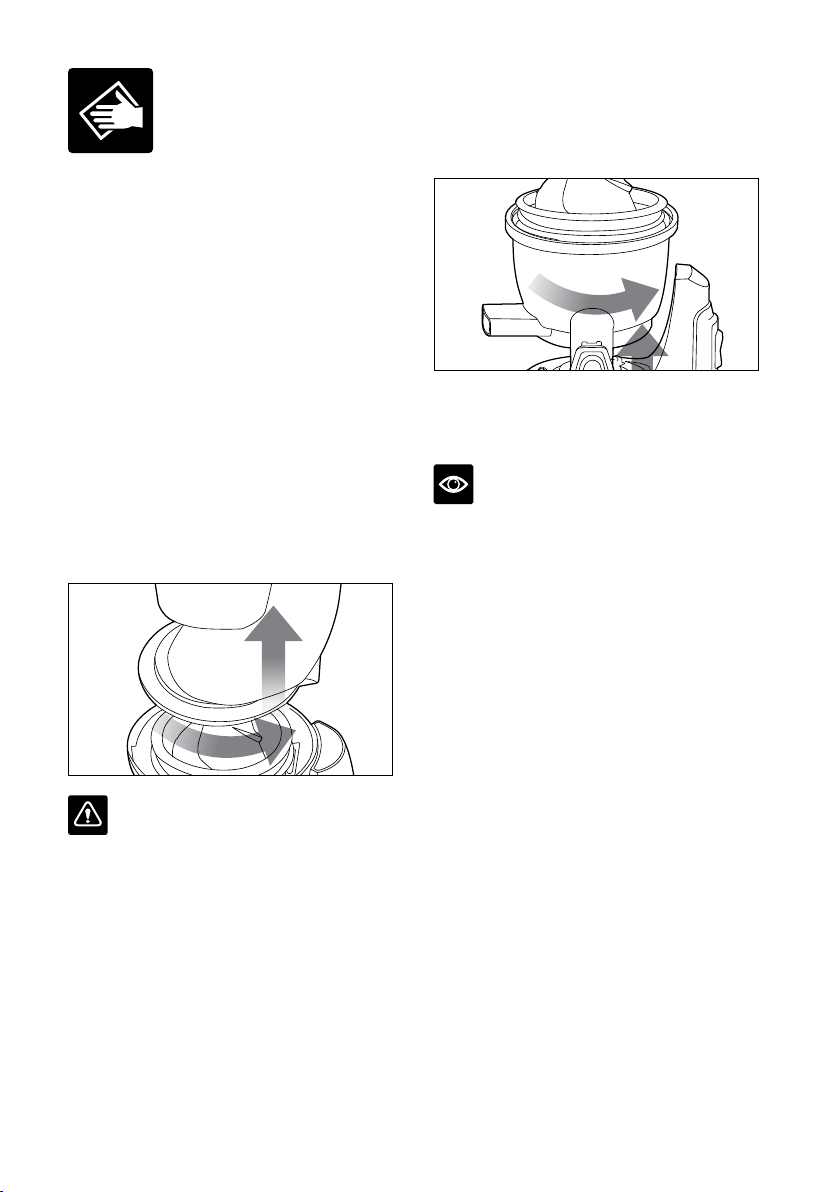
3. Turn the top-set counter clockwise and lift
off the body.
Loading ...
Loading ...
Loading ...