Loading ...
Loading ...
Loading ...
www.oster.com
www.oster.com
6 7
PREPARING YOUR ROASTER OVEN
FOR USE
1. Remove all packaging materials.
2. Wash the REMOVABLE ROASTING PAN, ROASTING RACK and
LID in hot, soapy water using a sponge or wash cloth. Rinse
and dry thoroughly.
NOTE: Do not use abrasive cleaners.
3. The outside of the ROASTER OVEN BODY may be cleaned with a
soft cloth and warm soapy water.
CAUTION: Do not immerse the ROASTER OVEN BODY in water.
IMPORTANT HELPFUL TIPS
• Always use pot holders or oven mitts when placing or
removing food, a baking pan or casserole in the preheated
roaster.
CAUTION: Always lift the lid away from your body to avoid
any escaping steam from the roaster.
• Signicant amounts of heat escape whenever the LID is removed;
therefore the cooking time must be extended. Avoid frequent
removal of the LID for checking cooking progress or stirring.
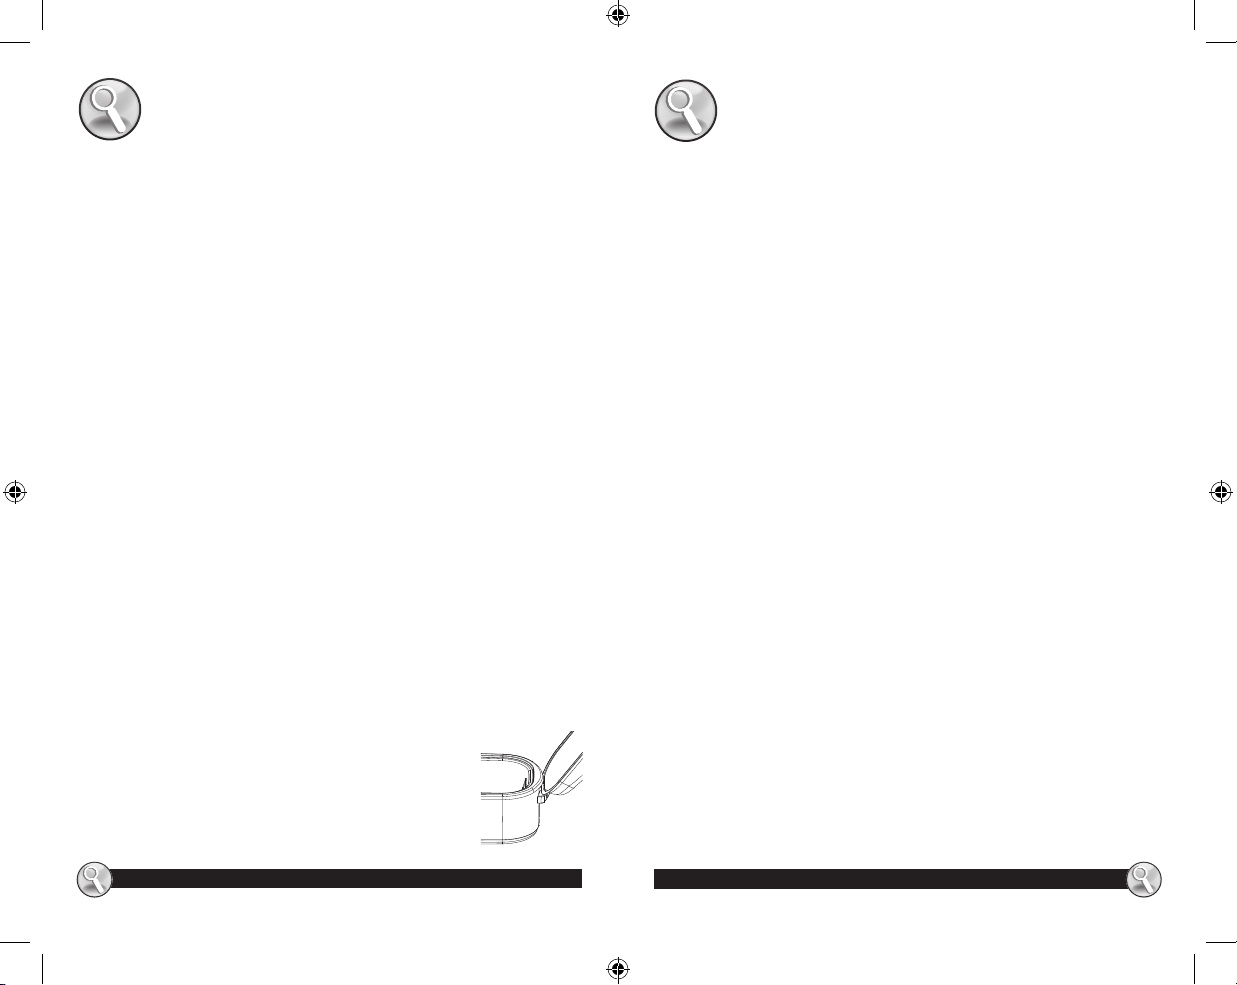
• To use the LID REST feature, hold the LID upright by the
HANDLE and place the edge of the LID under the metal tabs
just above either side HANDLE.
• The LID is designed with a glass viewing window that allows
you to monitor cooking progress with ease. High-moisture
foods such as turkey and roasts may cause condensation to
form on the glass as the cooking cycle starts. This is
temporary and the condensation will dissipate during the
cooking process, providing a clear view of your food.
• Convenience foods can be baked in the roaster oven. Place
container on ROASTING RACK. Follow package directions.
• Meats roasted in your Roaster Oven will be moist and tender.
For additional browning, brush oil or butter over the meat
before cooking.
• To create a darker roasted, crispier skin poultry,
remove your poultry from the roaster oven at
the last 30 minutes of roasting time and place
in your oven at 425⁰ F for the last 30 minutes to
complete the roasting process.
HOW TO
USING YOUR ROASTER OVEN
1. Place the REMOVABLE ROASTING PAN into the ROASTER
OVEN BODY.
CAUTION: Do not cook food in the roaster without using the
removable roasting pan.
2. Place the lid on the roaster.
3. Make sure that the TEMPERATURE CONTROL is in the OFF
position, then plug cord into a 120 volt AC outlet.
4. Turn the roaster on by turning the TEMPERATURE CONTROL
to the desired temperature.
5. Preheat for 15 to 20 minutes. Light will turn OFF once the set
temperature is reached.
6. Place ROASTING RACK into the REMOVABLE ROASTING PAN,
put food on the RACK, and place the LID on the roaster oven.
NOTE: Some foods or recipes do not require the ROASTING
RACK to be used.
7. When nished, turn the TEMPERATURE CONTROL to the OFF
position and unplug roaster oven from outlet.
8. Remove LID and using oven mitts, remove the ROASTING
RACK with food and serve.
USING THE DEFROST SETTING
Your Oster® Roaster features a unique Defrost setting. The
Defrost setting is convenient for when you have forgotten to
defrost your frozen turkey ahead of time or did not allow
yourself enough time to fully defrost it in time to roast it. With
this unique and innovative Defrost setting, you can to take your
turkey from frozen to roasted in hours – not days!
NOTE: In order to plan your day accordingly, when roasting a
turkey from frozen you can estimate it will take around twice
the time it would normally take to roast an already defrosted
turkey in your roaster.
It’s easy to use; just follow these few simple steps:
1. Turn temperature knob to “DEFROST.” Preheat roaster for
about 15-20 minutes.
Loading ...
Loading ...
Loading ...