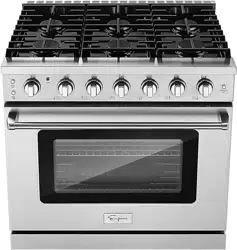
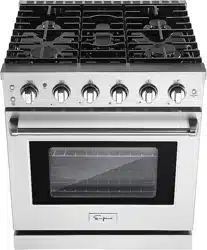
Owner's Guide Ovens
INSTRUCTIONS FOR THE USER
THE FIRST TIME YOU USE THE OVEN
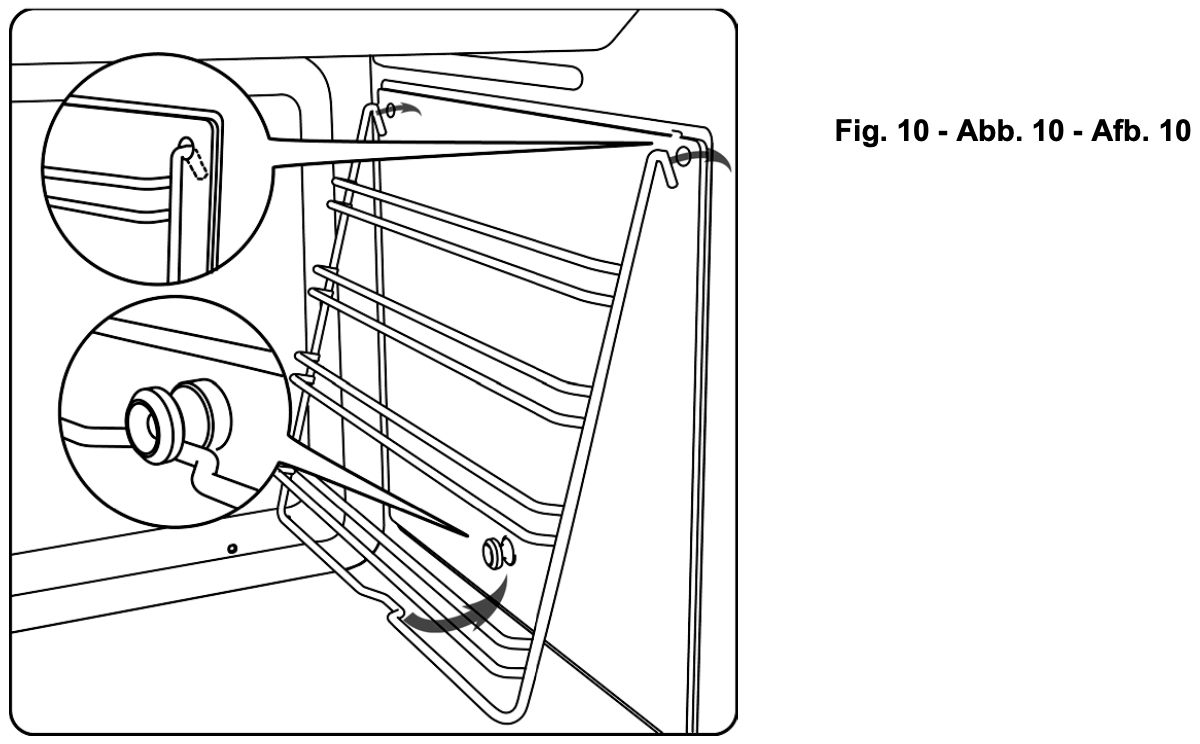
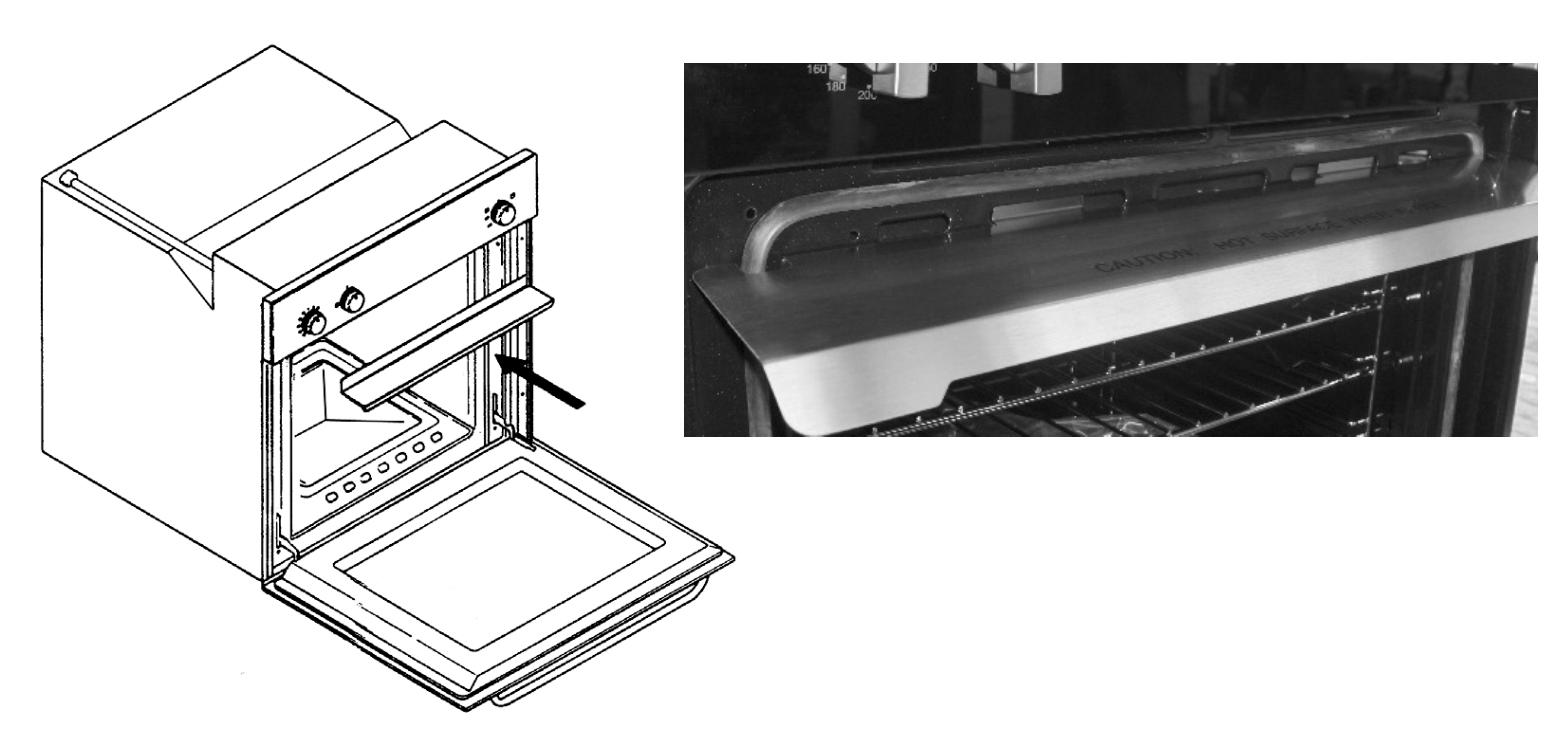
Clean the oven thoroughly with soapy water and rinse well. To remove the lateral frames from smooth-walled ovens, proceed as shown in the figure.
Operate the oven for about 20 minutes at maximum temperature to burn off all traces of grease which might otherwise create unpleasant smells when cooking.
Important: As a safety precaution, before cleaning the oven, always disconnect the plug from the power socket or the power cable from the oven. Do not use acid or alkaline substances to clean the oven (lemon juice, vinegar, salt, tomatoes etc.). Do not use chlorine based products, acids or abrasive products to clean the painted surfaces of the oven.
SELF-CLEANING CATALYTIC PANELS
Our smooth walled ovens can be fitted with self-cleaning panels to cover the inside walls. These special panels are simply hooked on to the walls before the side frames are fitted. They are coated in a special, micro-porous catalytic enamel which oxidises and gradually vaporises splashes of grease and oil at cooking temperatures above 200° C.
If the oven is not clean after cooking fatty foods, operate the empty oven for 60 minutes (max.) at maximum temperature.
Never wash or clean self-cleaning panels with abrasive, acid, or alkaline products.

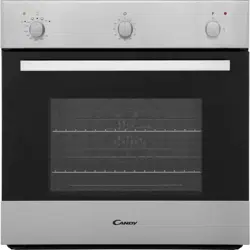
DESCRIPTION OF THE FRONT CONTROL PANEL
GAS OVEN WITH ELECTRIC GRILL
CONTROLS (Fig. 12)
- Gas oven temperature control
- Grill, spit roaster and oven light knob
- Gas oven indicator light
- Mechanical timer
- Grill indicator light
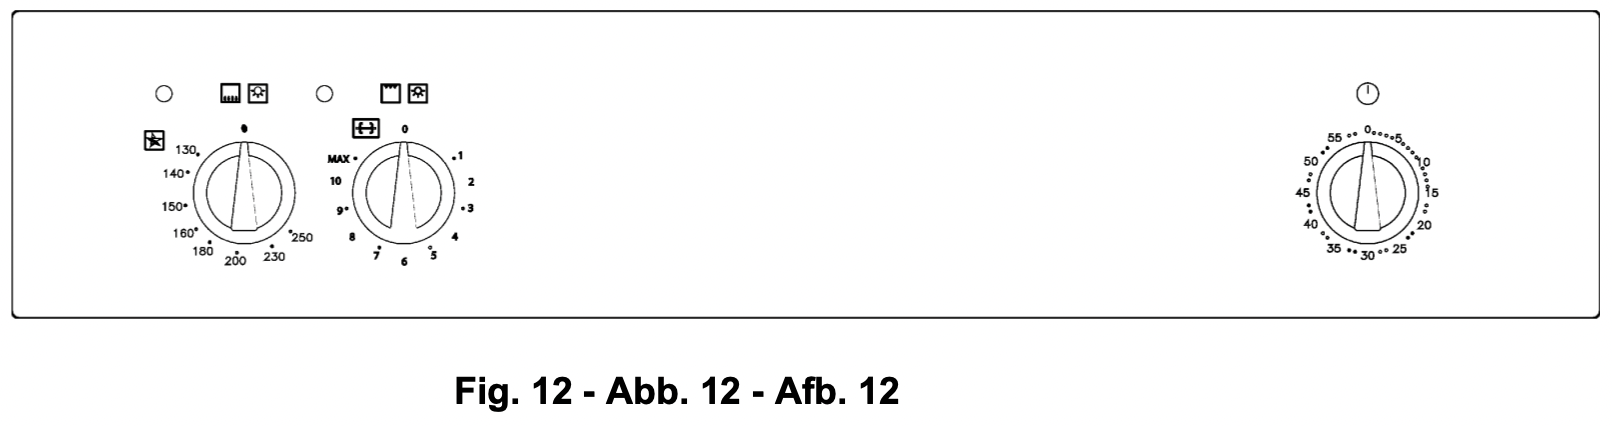
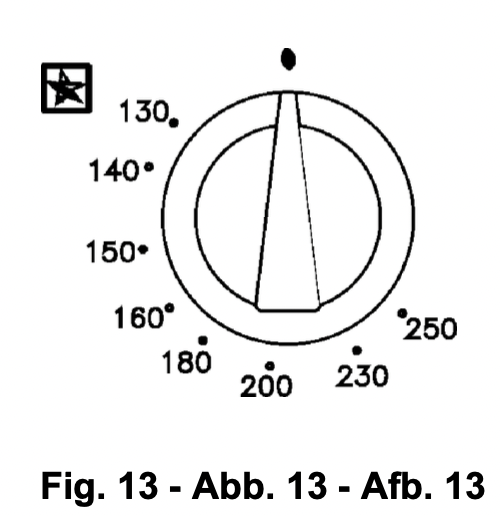
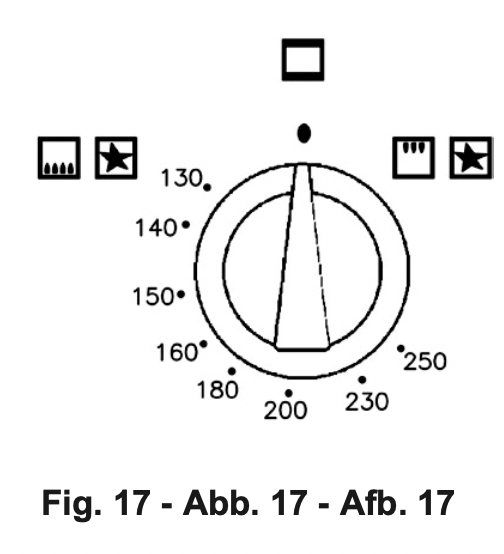
OVEN TEMPERATURE CONTROL
The temperature control knob serves to set the desired oven temperature and is equipped with a safety valve. When the oven is in operation the green light is illuminated.
The minimum position corresponds to an oven temperature of 130°C. The control knob has stop in the minimum position.
The “max” position corresponds to an oven temperature of 250°C, and is obtained when the knob is turned fully anticlockwise. To light the burner, push in the temperature control knob and turn it anticlockwise to the desired temperature.
Hold the knob pressed in for 5-10 seconds. The burner will be ignited electrically, and the safety valve temperature
sensor will heat up thereby allowing gas to continue to flow to the burner.
Do not operate the ignition for longer than 15 seconds. If the burner fails to ignite, leave the door open for at least one minute, then try again.
If the electrical ignition fails to produce a spark, hold a lit taper or match near the burner inspection hole and press and hold the temperature control knob in the ''max'' position for 5 to 10 seconds.
WARNING: If you notice that the thermostat is behaving abnormally when you turn the knob, close the tap that sends gas to the oven and call the nearest service centre.
ELECTRIC GRILL
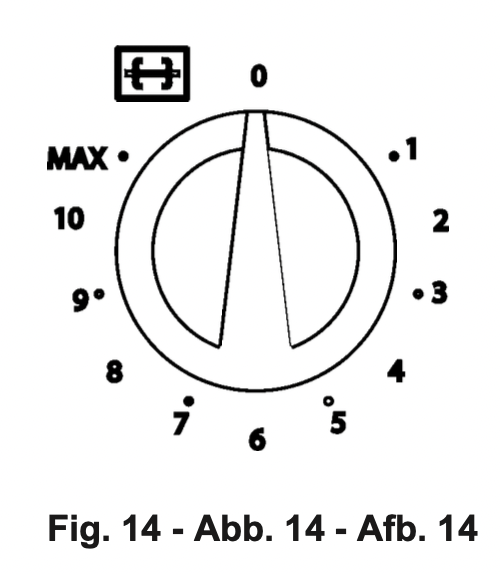
Infrared grill: equipped with an energy regulator. The heat intensity of the grill can be set from 1 to MAX using the relative control knob (Fig. 14). When the grill is in operation, the grill indicator light will be illuminated. To operate the spit roaster motor, turn the knob to the symbol  until you feel a click. Then turn the knob to desired power setting from 0 to 8.
WARNING: The grill will not operate when the oven is on.
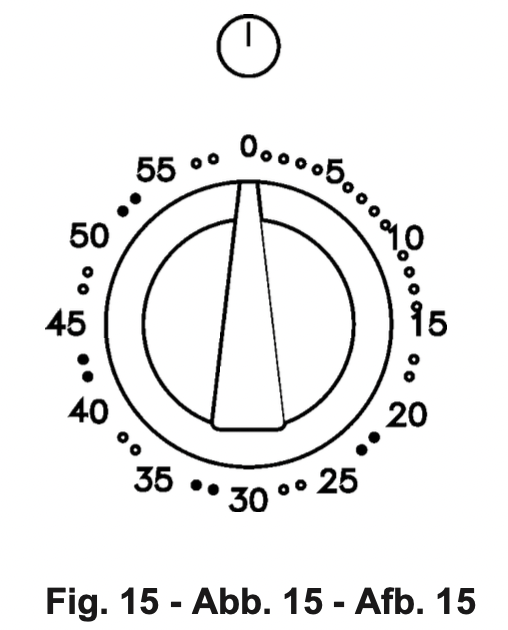
MECHANICAL MINUTE TIMER
The minute timer can be set to a maximum time of 60 minutes; it emits an alarm tone when the set time period has elapsed. The minute timer operates independently of the oven.
The timer knob (Fig.15) must first be turned clockwise to the 60 minute position and then turned anti-clockwise to the desired time setting.
When the set time has elapsed, the alarm will sound. The alarm tone will stop automatically after a certain period.
GAS OVEN WITH GAS GRILL
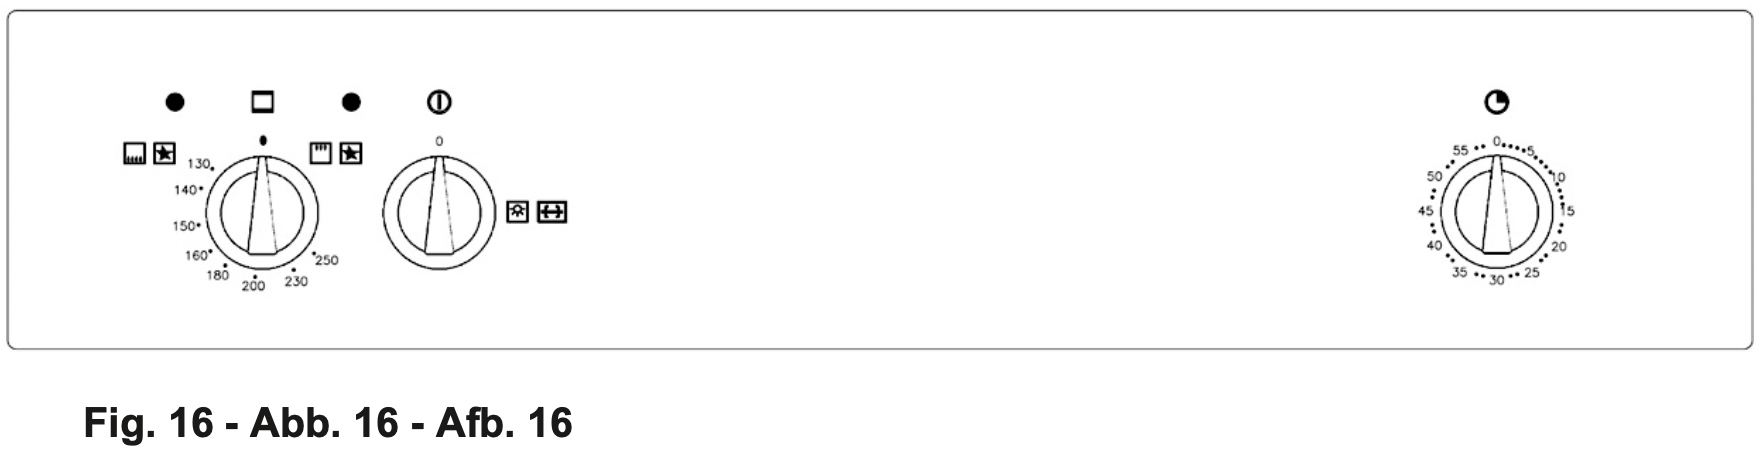
CONTROLS (Fig. 16)
- Lower burner and gas grill temperature control knob
- Oven and spit roaster control knob light
- Gas oven indicator light
- Mechanical timer
- Electrical indicator light
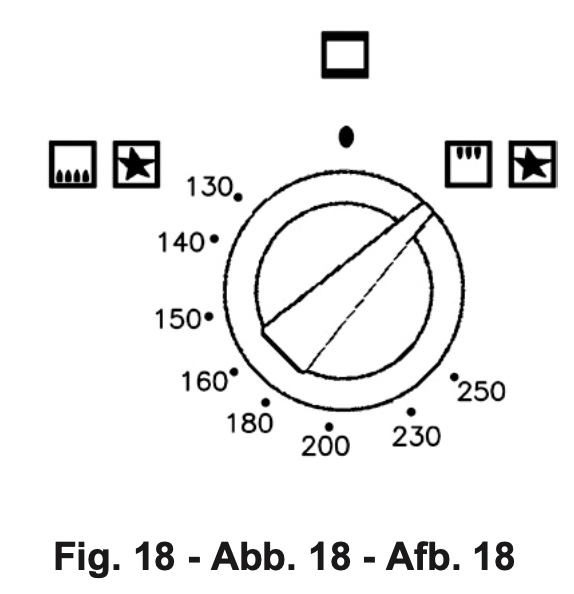
OVEN TEMPERATURE CONTROL
The temperature control knob serves to set the desired oven temperature and is equipped with a safety valve. When the oven is in operation the green light is illuminated.
To turn on the bottom burner, push in the temperature control knob and turn it anticlockwise to the desired temperature.
The minimum position corresponds to an oven temperature of 130°C. The control knob has stop in the minimum position.
The maximum position corresponds to an oven temperature of 250°C, and is obtained when the knob is turned fully anticlockwise.
Hold the knob pressed in for 5-10 seconds. The burner will be ignited electrically, and the safety valve temperature sensor will heat up thereby allowing gas to continue to flow to the burner.
GAS GRILL
The gas grill MUST only be operated with oven door slightly open and the heat shield (supplied) inserted in the slots under the control panel.
To turn on the grill, turn the knob clockwise to the position  and hold it pressed in for 5-10 seconds.
WARNING: when using the grill, accessible parts may become hot, keep children at a safe distance.
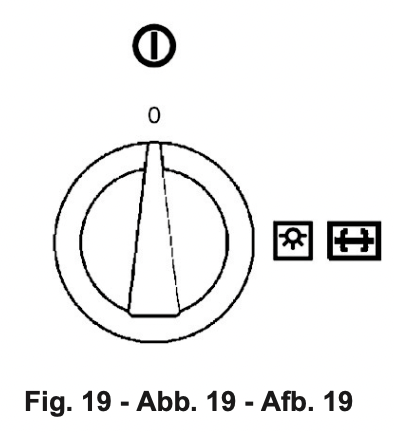
OVEN LIGHT - SPIT ROASTER
This knob is used to switch on the oven interior light and the spit roaster (on models so equipped).
VENTILATED VERSION
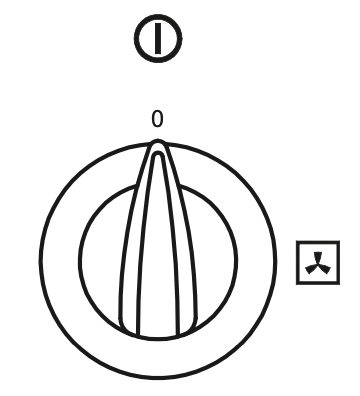
Our 60cm gas ovens, also have the various functions in the ventilated version.
By turning on the ventilator alone, cold air (room temperature) circulates inside the oven thus helping to rapidly thaw frozen foods. The ventilator function turned on together with the strong heat coming from the bottom burner makes it possible to cook foods more evenly and delicately than with the bottom burner alone. Cooking is faster than in a traditional oven. The system is suitable for cooking foods of different types (fish, meat etc) on a number of levels. Pre-heating is not needed with this function, but for cakes it is in any case preferable.

DEFROSTING 
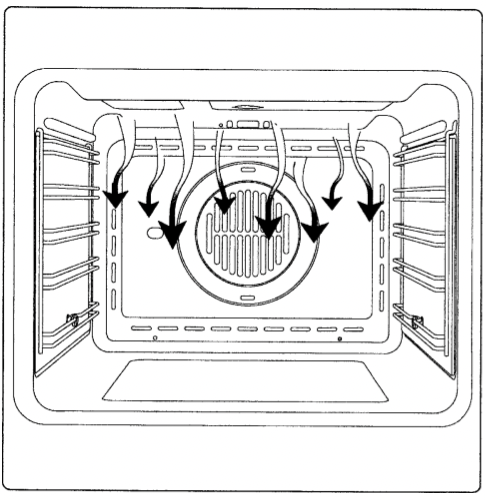
By selecting one of the fan cooking functions and setting the thermostat to zero, the fan allows cold air to circulate inside the oven. In this way frozen food can be rapidly defrosted.
GRILL COOKING 
Use the grill to grill or brown foods.
Some ovens may be equipped with an electric motor, spit and skewers for turning on the spit.
Place the shelf with the food to be cooked in the 1st or 2nd position from the top. Preheat the oven for 5 minutes. Turn the thermostat to a temperature between 1 and 8.
COOLING FAN
The fan is on top of the oven and circulates cooling air inside the cabinet, which exits from the slots under the control panel of the oven. It turns on every time you turn on the oven in all functions. If this does not happen, do not turn the oven on and call the nearest service centre.
COOKING IN THE OVEN
With this cooking method, you can operate the oven in the normal way and follow the instructions in recipe books. The food to be cooked should preferably be placed on the middle shelf of the oven.
WARNING: Prolonged use of the gas appliance produces heat and humidity in the kitchen. This may require additional ventilation such as opening a window or more effective ventilation such as by increasing the level of mechanical ventilation where present (extraction hood).
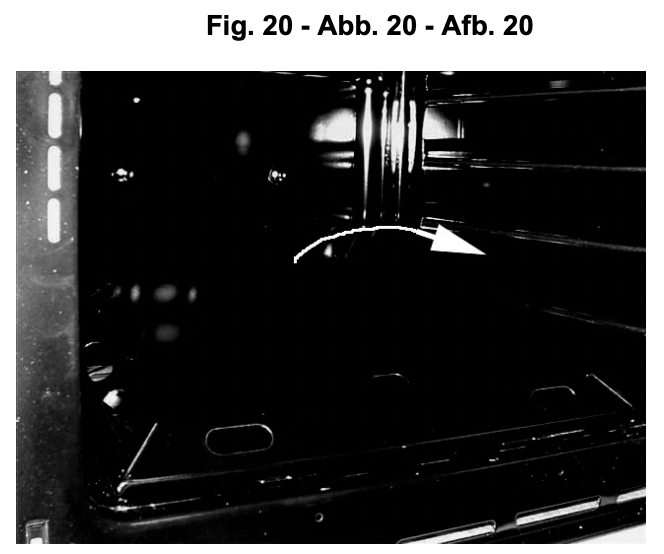
REMOVAL OF THE BURNER COVER PLATE: (see fig. 20)
The burner cover plate is secured at the front by two tabs inserted in two slots; to remove the cover plate, raise the rear of the plate so that it pivots at the front and withdraw the tabs form the slots.
REPLACING THE OVEN LIGHT
IMPORTANT:
The oven light must have these precise features:
- it must be able to resist high temperatures (up to 300°C)
- power supply: see V/Hz indicated on data plate.
- power 25W.
- E 14 connection.
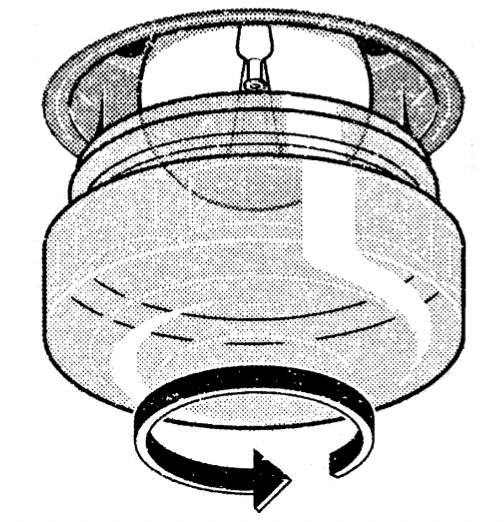
Before proceeding, disconnect the appliance from the main electricity supply.
- to prevent damage, place a tea cloth in the oven
- unscrew the glass cover of the light
- unscrew the old light bulb and replace it with the new one
- put back the glass cover and remove the tea cloth
- connect the appliance to the main electricity supply.
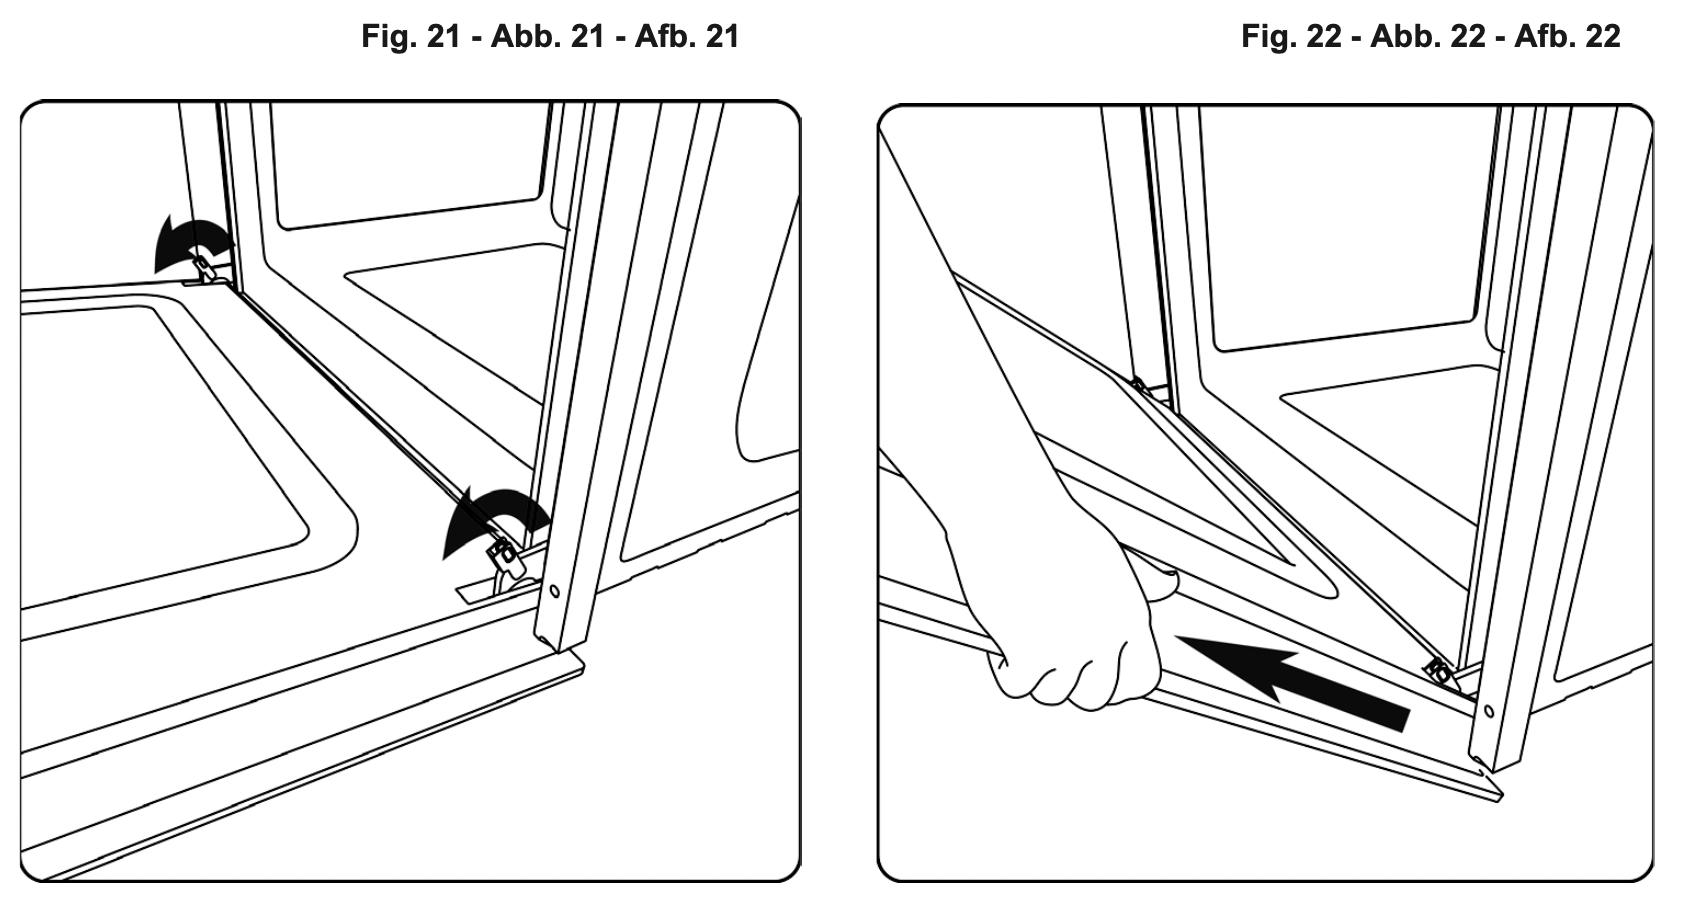
REMOVING THE OVEN DOOR
The oven door can be removed quickly and easily.
To do so, proceed as follows:
- Open the door fully.
- Lift the two levers shown in fig. 21.
- Close the door as far as the first stop (caused by the raised levers).
- Lift the door upwards and outwards to remove it from its mountings.
To replace fit the door, fit the hinges in their mountings and lower the two levers.
RESPECT FOR THE ENVIRONMENT
The documentation provided with this oven has been printed on chlorine free bleached paper or recycled paper to show respect for the environment.
The packaging has also been designed to avoid environmental impact. Packaging material is ecological and can be re-used or recycled.
By recycling the packaging, you will help save raw materials as well as reducing the bulk of domestic and industrial waste.