Loading ...
2
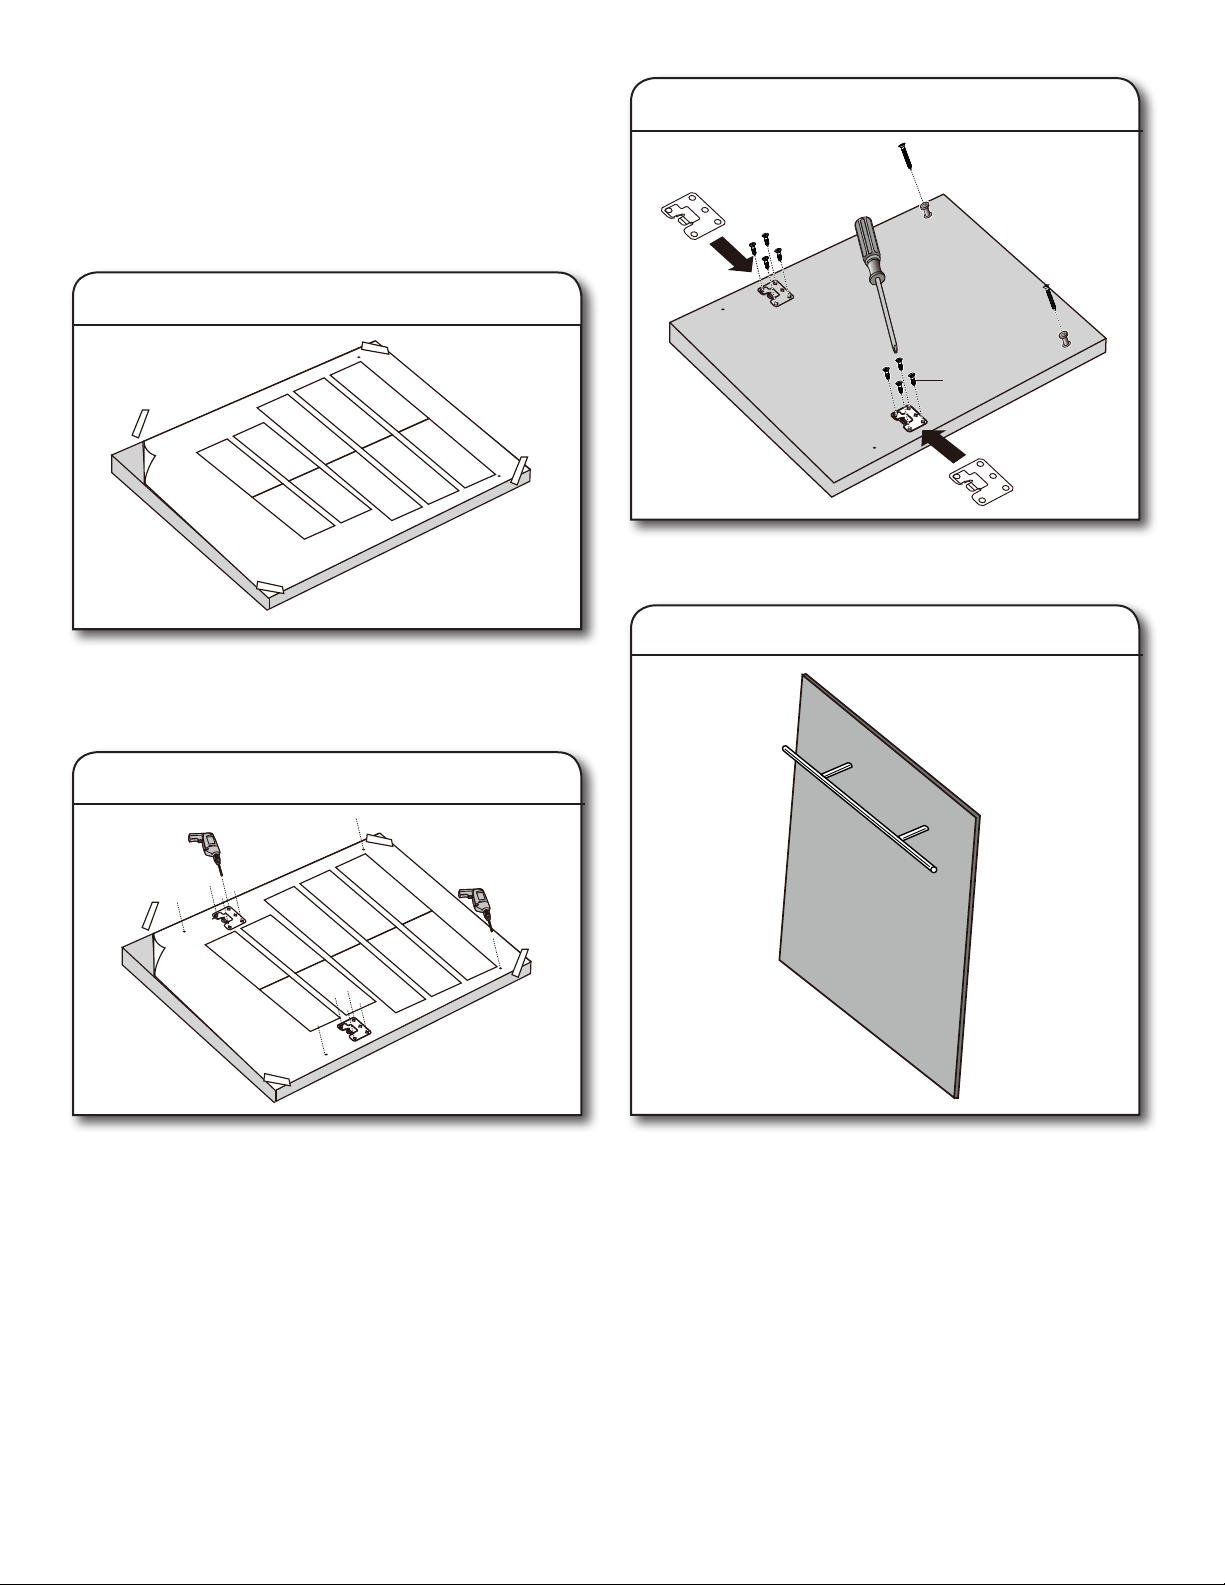
3. Install brackets and studs
Remove the template. Install brackets and studs using the
screws provided.
4. Install customer-supplied handle
IMPORTANT: Make sure to countersink screw heads on back
side of panel so that the screw heads are ush with the panel.
NOTES:
■ The handle for the custom panel is not included.
■ All mounting hardware supplied is for a 0.59" (1.5 cm) thick
wood panel. If a thinner wood panel or materials other than
wood are used, it is the customer’s responsibility to obtain the
proper length screws and adjust the pilot holes accordingly.
IMPORTANT: Use a moisture-resistant sealer on both sides and
all edges of the panel to avoid damage from moisture.
1. Attach template to wood panel
Attach the provided template to the back side of the custom
panel with tape. Make sure that the center of the template is
aligned with the center of the wooden panel and top of the
template is aligned to the top face of the wooden panel.
2. Pre-drill holes for studs and brackets
Loading ...
Loading ...
Loading ...