Loading ...
Loading ...
Loading ...
16WebCam settings / Operating the WebCam
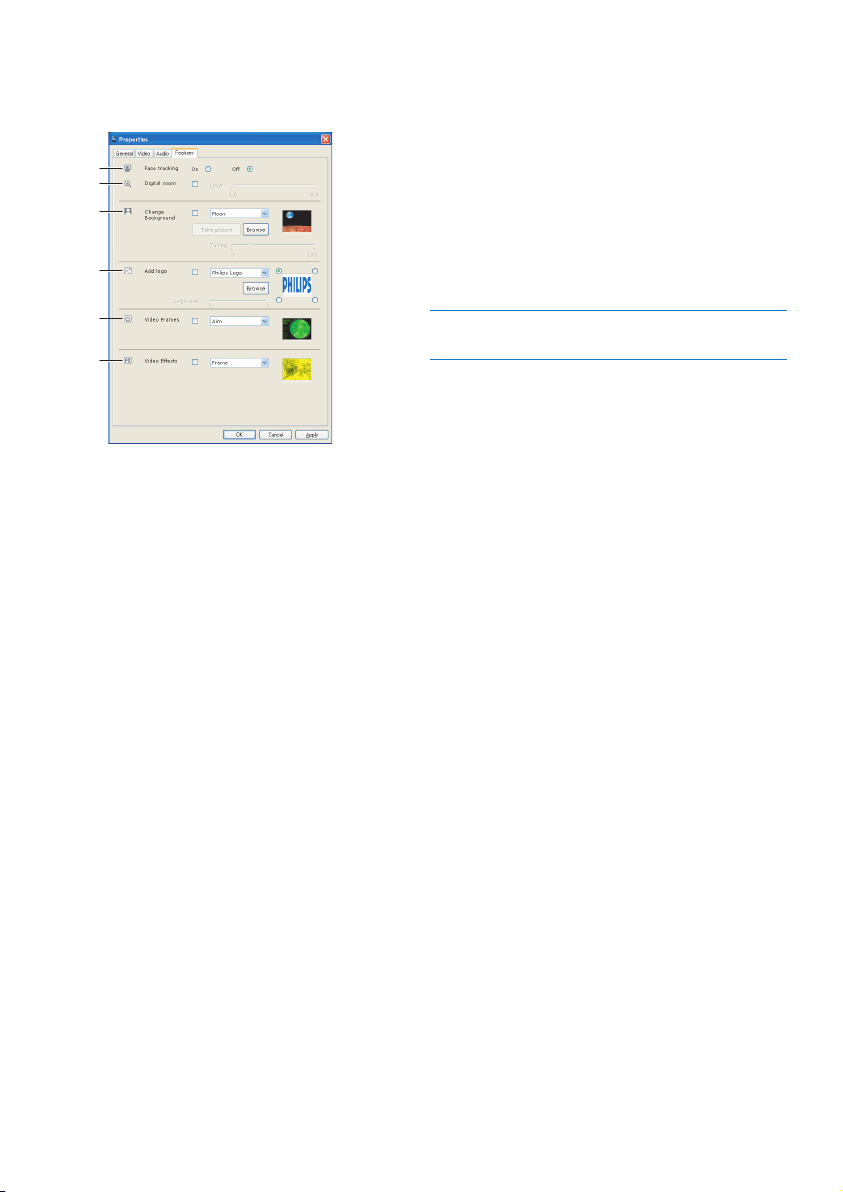
6.5.4 Features settings
• Click the Features tab.
• The ‘Features settings’ screen appears.
• You can now adjust the following features
settings:
23 Face tracking
Refer to 6.3.2 ‘Face tracking’ for an explanation
of the feature and information on how to
activate it via the Philips CamSuite control panel.
24 Digital zoom
Refer to 6.3.1 ‘Digital zoom’ for an explanation
of the feature and information on how to
activate it via the Philips CamSuite control panel.
25 Change Background
Refer to 6.2.1 ‘Change Your Background’ for an
explanation of the feature and information on
how to activate it via the Philips CamSuite
control panel.
26 Add logo
Refer to 6.2.3 ‘Fun logo’ for an explanation of
the feature and information on how to activate
it via the Philips CamSuite control panel.
23
24
25
26
27
28
27 Video Frames
Refer to 6.2.2 ‘Fun frame’ for an explanation of
the feature and information on how to activate
it via the Philips CamSuite control panel.
28 Video Effects
Refer to 6.2.4 ‘Fun effect’ for an explanation of
the feature and information on how to activate
it via the Philips CamSuite control panel.
7 Operating the WebCam
The Philips SPC2050NC WebCam works with
all instant messenging and VoIP (Voice over
Internet Protocol) applications such as Skype,
Windows
®
Live Messenger,Yahoo! Messenger,
AOL Instant Messenger and QQ.
After installing an application, make the required
WebCam settings within the application in order
to be able to properly use the WebCam via the
specific application. For this, refer to the help
function of the application.
Also refer to 6.1 ‘WebCam Companion’.
Loading ...
Loading ...
Loading ...