Loading ...
Loading ...
Loading ...
29
MANUAL INITIATED ELECTRONIC DIAGNOSTICS
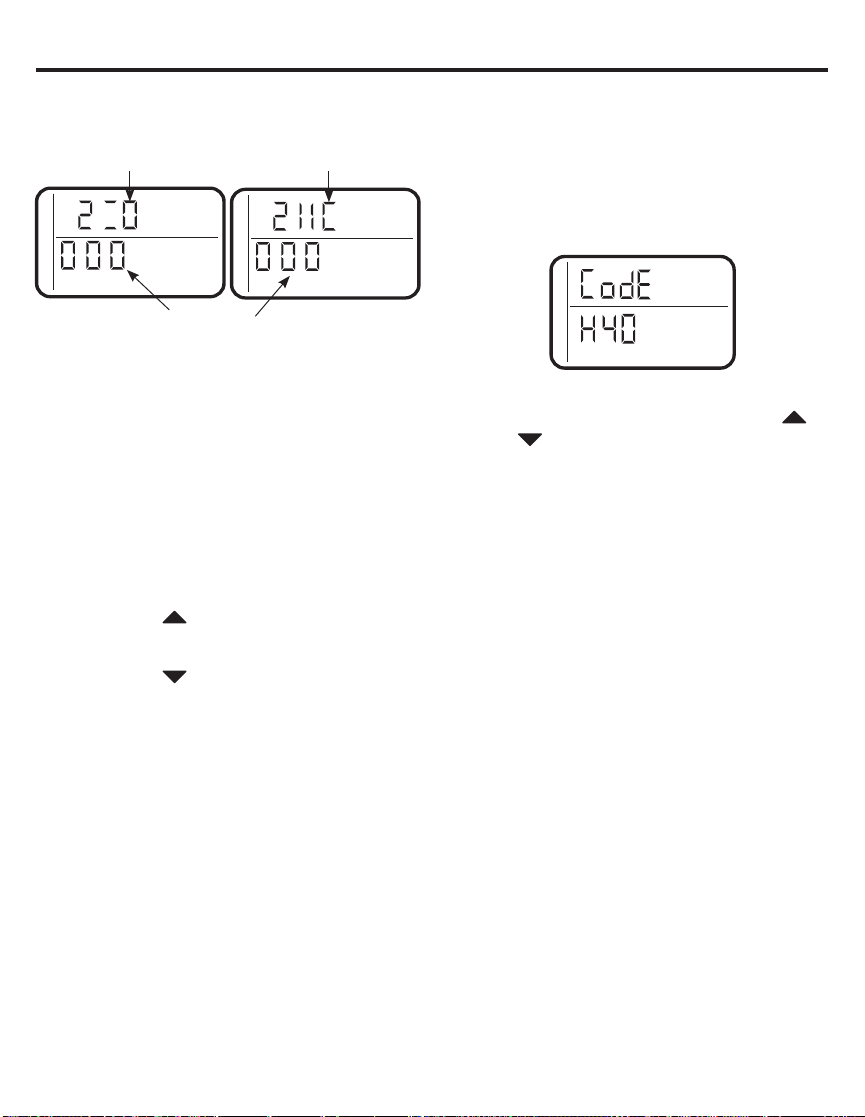
3. Symbols in the display indicate POSITION
switch operation, (see Figure 19).
4. Use RECHARGE button to manually
advance the valve into each cycle and
check correct switch operation. NOTE: Be
sure water is in contact with salt, and not
separated by a salt bridge (see Breaking a
Salt Bridge section).
5. While in this diagnostic screen, the
following information is available and may
be beneficial for various reasons. This
information is retained by the computer from
the first time electrical power is applied to
the electronic controller.
a. Press the
UP button to display the
number of days this electronic control has
had electrical power applied.
b. Press the
DOWN button to display the
number of regenerations initiated by the
electronic control since the code number
was entered.
6. Press and hold the MODE/SET button
until the mode code (H40 for GXSH40V or
H45 for GXSH45V) shows in the display
(see Figure 20). This code identifies the
softener mode. If an incorrect model code
is displayed, the softener will operate on
incorrect configurations data.
7. To change the code number, press the
UP or DOWN button until the correct
code shows.
8. To return to the present time display, press
the MODE/SET button.
9. Press the MODE/SET button to return to
the present time display. If the code was
changed, make all the timer setting.
NOTE: If the control is left in a diagnostic
display or a flashing display when
setting times or hardness, present time
automatically returns if a button is not
pressed within four minutes.
Switch is open Switch is closed
Water Meter
Figure 19
Figure 20
Advanced troubleshooting for service
Loading ...
Loading ...
Loading ...