Loading ...
Loading ...
Loading ...
6
Operation
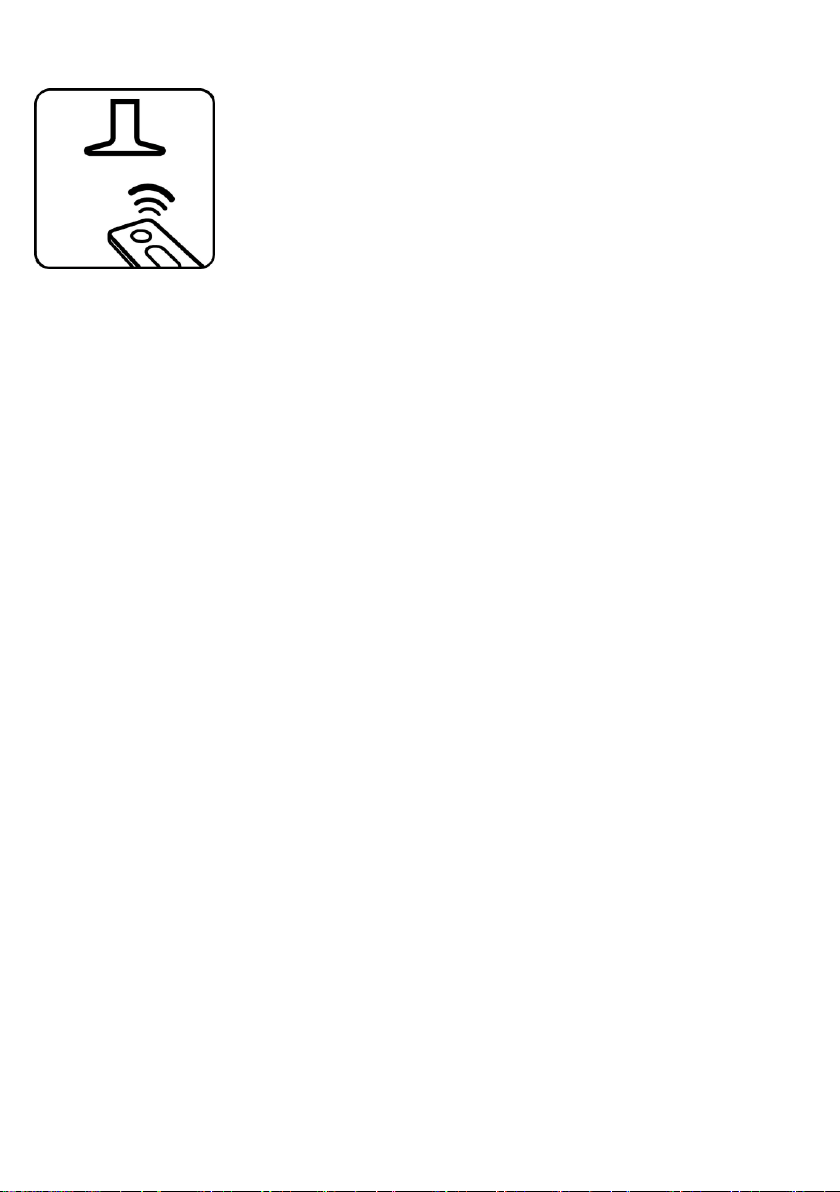
This product is designed to work with an Elica remote control,
either supplied with the product or purchased separately as an
optional.
To control the hood via remote control, the affiliation procedure
must be carried out.
CAUTION!
To begin, the hood must be disconnected and then reconnected to
the power supply and the affiliation procedure must be carried out
within the first minute of connection to the power.
Read the instructions supplied with the remote control, which
provide detailed instructions on affiliation and correct use.
Note: the Speed 4 (and the Speed 5, where applicable) if
selected, will activate for a limited period of time after which Speed
2 is automatically enabled.
Remote control connection (if applicable)
Once the remote control has been connected, this will be
displayed on the hood:
both LEDs flash.
Note: Using the remote control, delayed shut-down can be
programmed based on the aspiration speed (power) enabled at
that moment:
Speed 1 (low aspiration): 20 minutes
Speed 2 (medium aspiration): 15 minutes
Speed 3 (high aspiration): 10 minutes
Filter Saturation indicator lights
At regular intervals, the LEDs on the hood indicate the need to
carry out filter maintenance.
Note: The filter saturation signal is visible for a few seconds when
the hood is switched on; within this time, the saturation
indicator lights must be reset.
Flashing Green LED: carry out maintenance on the grease
filter.
Red flashing LED: carry out maintenance on the charcoal
filter (only for hoods operating in "Filtration Version").
Note: Run the "RESET FILTRES" command via the remote
control.
Activating/deactivating the filter saturation indicator light
Note: Run the procedure with the hood switched off. The
charcoal filter saturation indicator light is usually deactivated.
If no control is given within maximum 10 sec, the hood
automatically exits this function, at any time, and returns to
the previous state.
Press and hold the B+C keys (Simultaneously) to enter the
setup menu:
Briefly press button C to select the filter to be set up:
Grease filter:Green
Charcoal filter: Red
Briefly press button B to activate (the 2nd LED flashing) or
deactivate (2nd LED off).
Note: the LEDs light up for a limited number of seconds after
which they turn off to indicate that the indicator light has been
activated (or deactivated).
User Servicing and Maintenance Instructions
Cleaning
Clean using ONLY a cloth dampened with neutral liquid detergent.
DO NOT CLEAN WITH TOOLS OR INSTRUMENTS. Do not use
abrasive products. DO NOT USE ALCOHOL!
Panel
Fig. 3-17
The panel for perimeter suction should always be left closed and
should only be opened in case of maintenance interventions (eg
cleaning or replacing filters).
Grease filter
Fig. 3-17
Traps cooking grease particles.
This must be cleaned once a month (or when the filter saturation
indication system – if envisaged on the model in possession –
indicates this necessity) using non aggressive detergents, either
by hand or in the dishwasher, which must be set to a low
temperature and a short cycle.
When washed in a dishwasher, the grease filter may discolor
slightly, but this does not affect its filtering capacity.
To remove the grease filter, pull the spring release handle.
Replacing lamps 2x14 W LED
The hood is equipped with a lighting system based on LED
technology.
The LEDs guarantee an optimum lighting, a duration up to 10
times longer than the traditional lamps and allow to save 90%
electrical energy.
For replacement, contact the technical service.
Loading ...
Loading ...
Loading ...