Loading ...
Loading ...
Loading ...
Familiarising yourself with your appliance en
31
Setting up appliance
WARNING
Risk of fire!
Intense heat may cause the appli-
ance and tools to catch fire.
▶
Never place the appliance on or
near hot surfaces.
ATTENTION!
During operation warm exhaust air
escapes from the vent grille at the
rear. If this is blocked, it may cause
the appliance to overheat.
▶
Set up the appliance at a sufficient
distance from walls, easily dam-
aged surfaces and other appli-
ances.
1. Place the appliance on a stable,
level, clean and flat work surface.
2. Pull the power cable out to the re-
quired length.
→"Cable length", Page33
Do not insert the mains plug.
Familiarising yourself with your appliance
Familiarising yourself
with your appliance
Familiarising yourself with your appliance
Familiarise yourself with the parts of
your appliance.
Appliance
You can find an overview of the parts
of your appliance here.
→Fig.
2
1
Mixing bowl
2
Lid with integrated filling shaft
3
Release button for swivel arm
4
Swivel arm
5
Rotary switch
6
Protective cover for drive 2
7
Drive 2
8
Protective cover for drive 3
9
Drive 3
10
Vent grille
11
Main drive
12
Cord store
13
Recess for bowl
Rotary switch
The rotary switch is used to start and
stop processing and select the
speed.
Symbol Function
Stop processing.
Process ingredients at low speed.
Process ingredients at maximum
speed.
Move the drive to the parked posi-
tion.
Swivel arm
The swivel arm can be adjusted and
fixed in different positions.
If the release button is pressed, the
swivel arm can be moved to the re-
quired position.
→"Moving the swivel arm", Page33
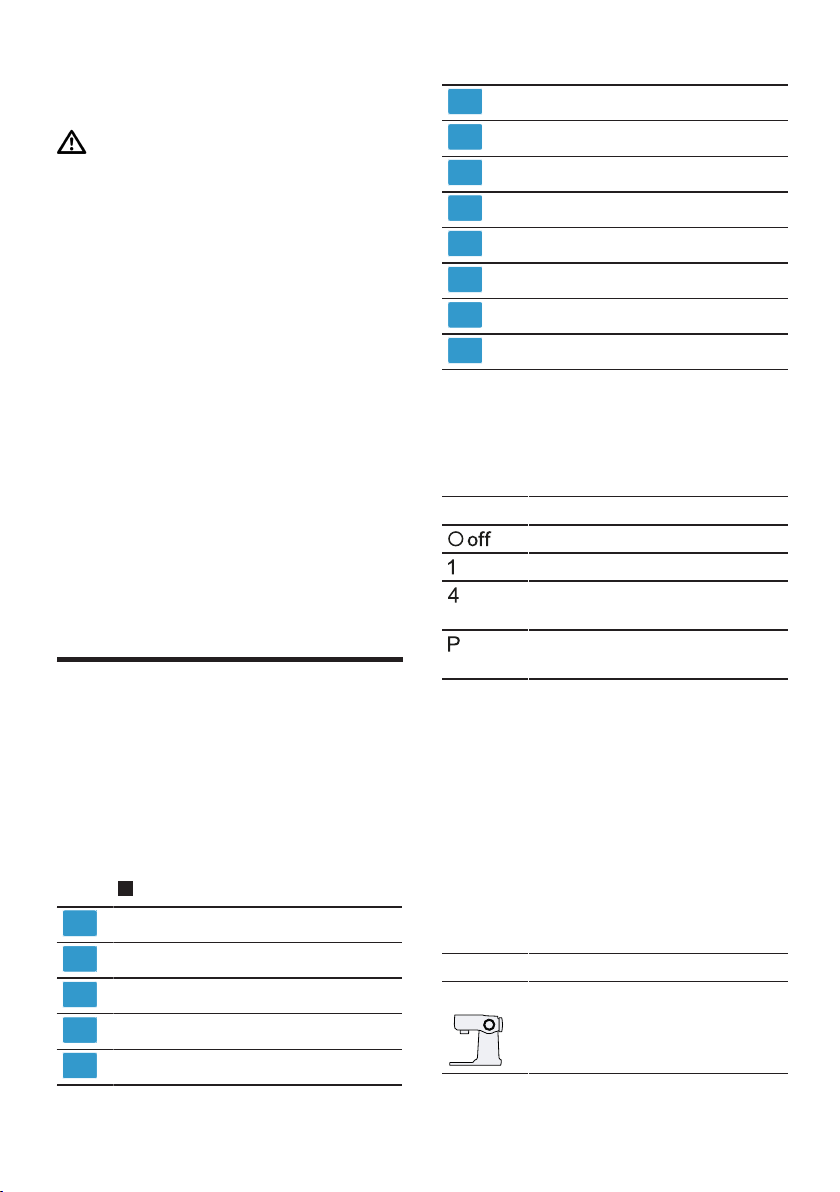
Swivel arm positions
You can find an overview of the posi-
tions of the swivel arm here.
Position Use
Position1 Swivel arm is closed.
¡ Process ingredients with tools.
¡ Use accessory on drive 2, e.g.
Continuous-feed shredder
Loading ...
Loading ...
Loading ...