Loading ...
Loading ...
Loading ...
14
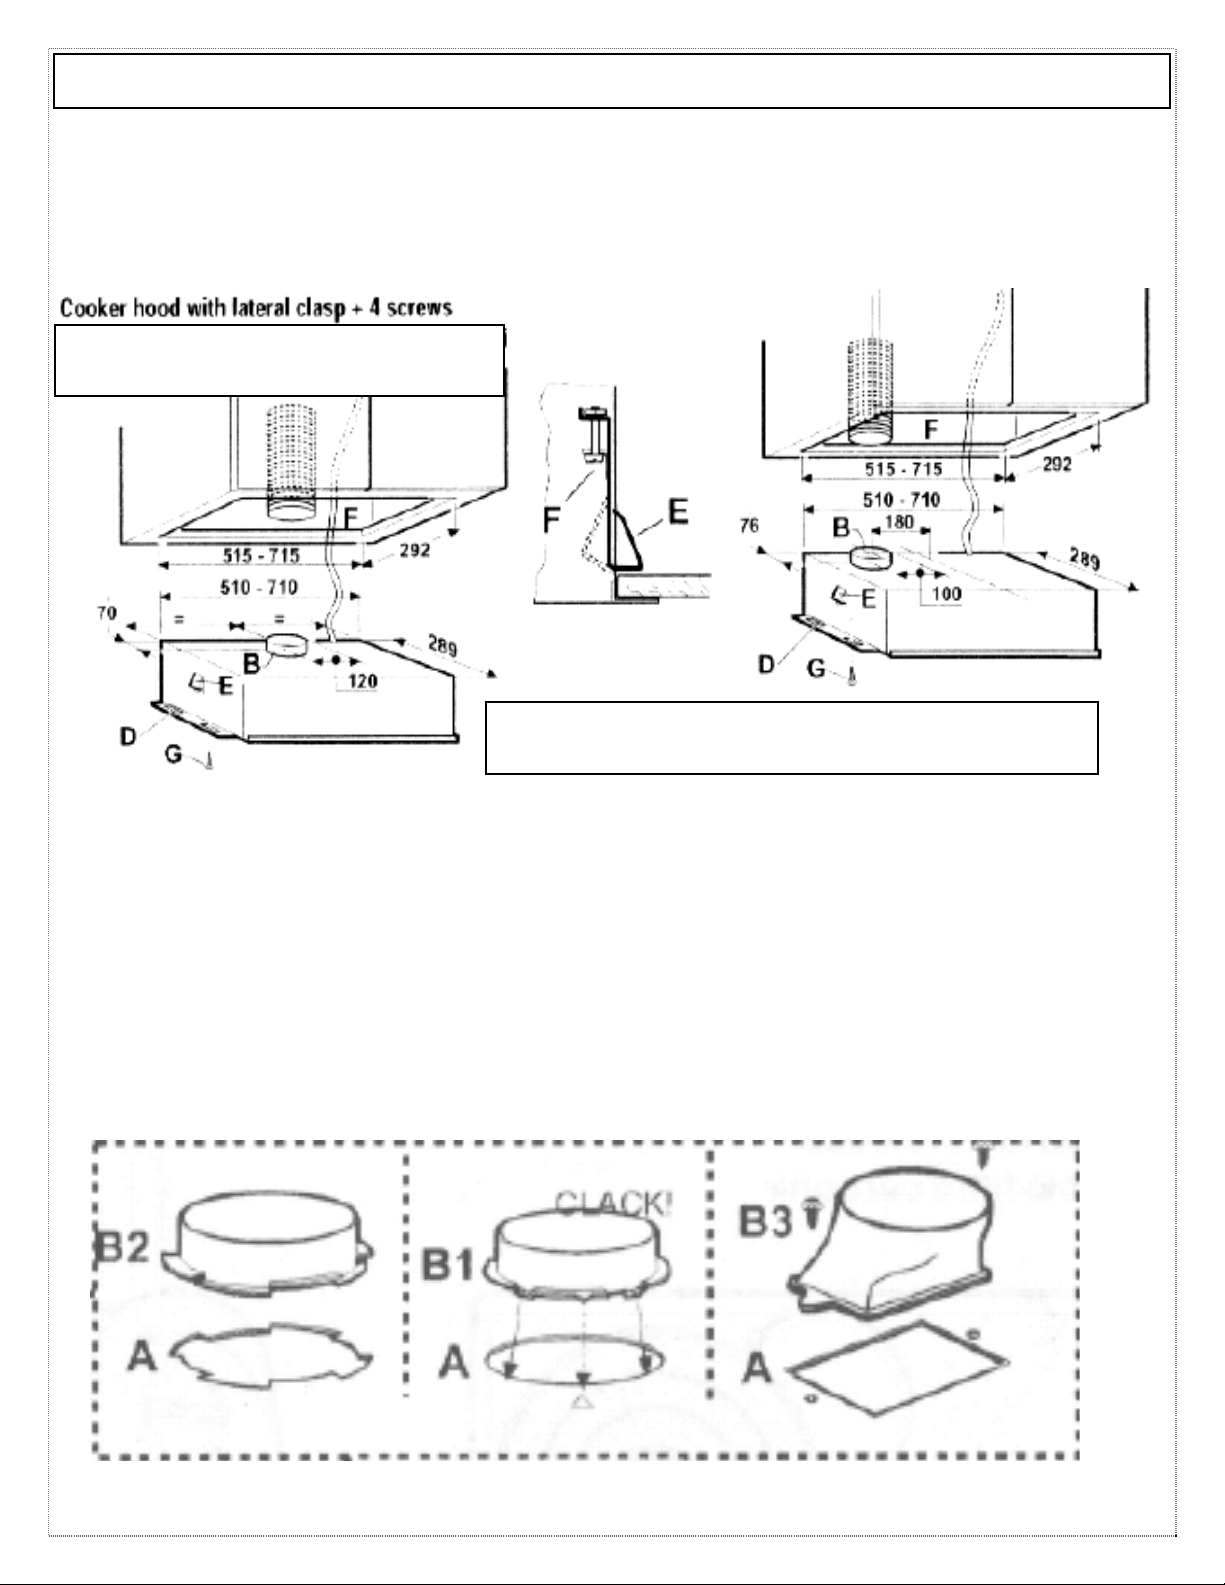
B) If you have the lateral clasp version, lock in the lateral clasps ‘E’ (as
shown in figure below) by tightening the locking screws ‘F’).
7) Finally, fix the cooker hood to the cabinet with the wood screws supplied
(‘G’ in figure above on right).
8) Remount the frame (if provided) and the suction (grease filter) grille
(‘H’)
* (E) Note on Connecting spigot for ducting to your cooker hood. Your
hood may be connected to its exhaust spigot by one of the following
methods.
Remember! Connect ducting for extraction
fan function.
INSTALLATION INSTRUCTIONS
–
installin
g
y
our Cooker Hood
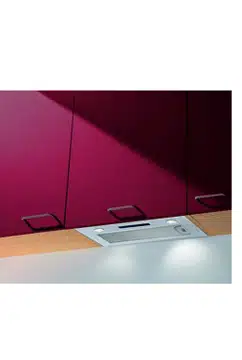
REMEMBER TO KEEP YOUR HOOD SECURE
WHILE YOU WORK IT INTO PLACE!
Loading ...
Loading ...
Loading ...