Loading ...
Loading ...
Loading ...
61
ENGLISH
Basic versionSimple version InformationAdvanced version
Setting items Setting details
GUI
(Continued)
Format : Set the video signal format to be output for the TV you are using.
• NTSC : Select NTSC output.
• PAL : Select PAL output.
“Format” can also be set by the following
procedure. However, the menu screen is not
displayed.
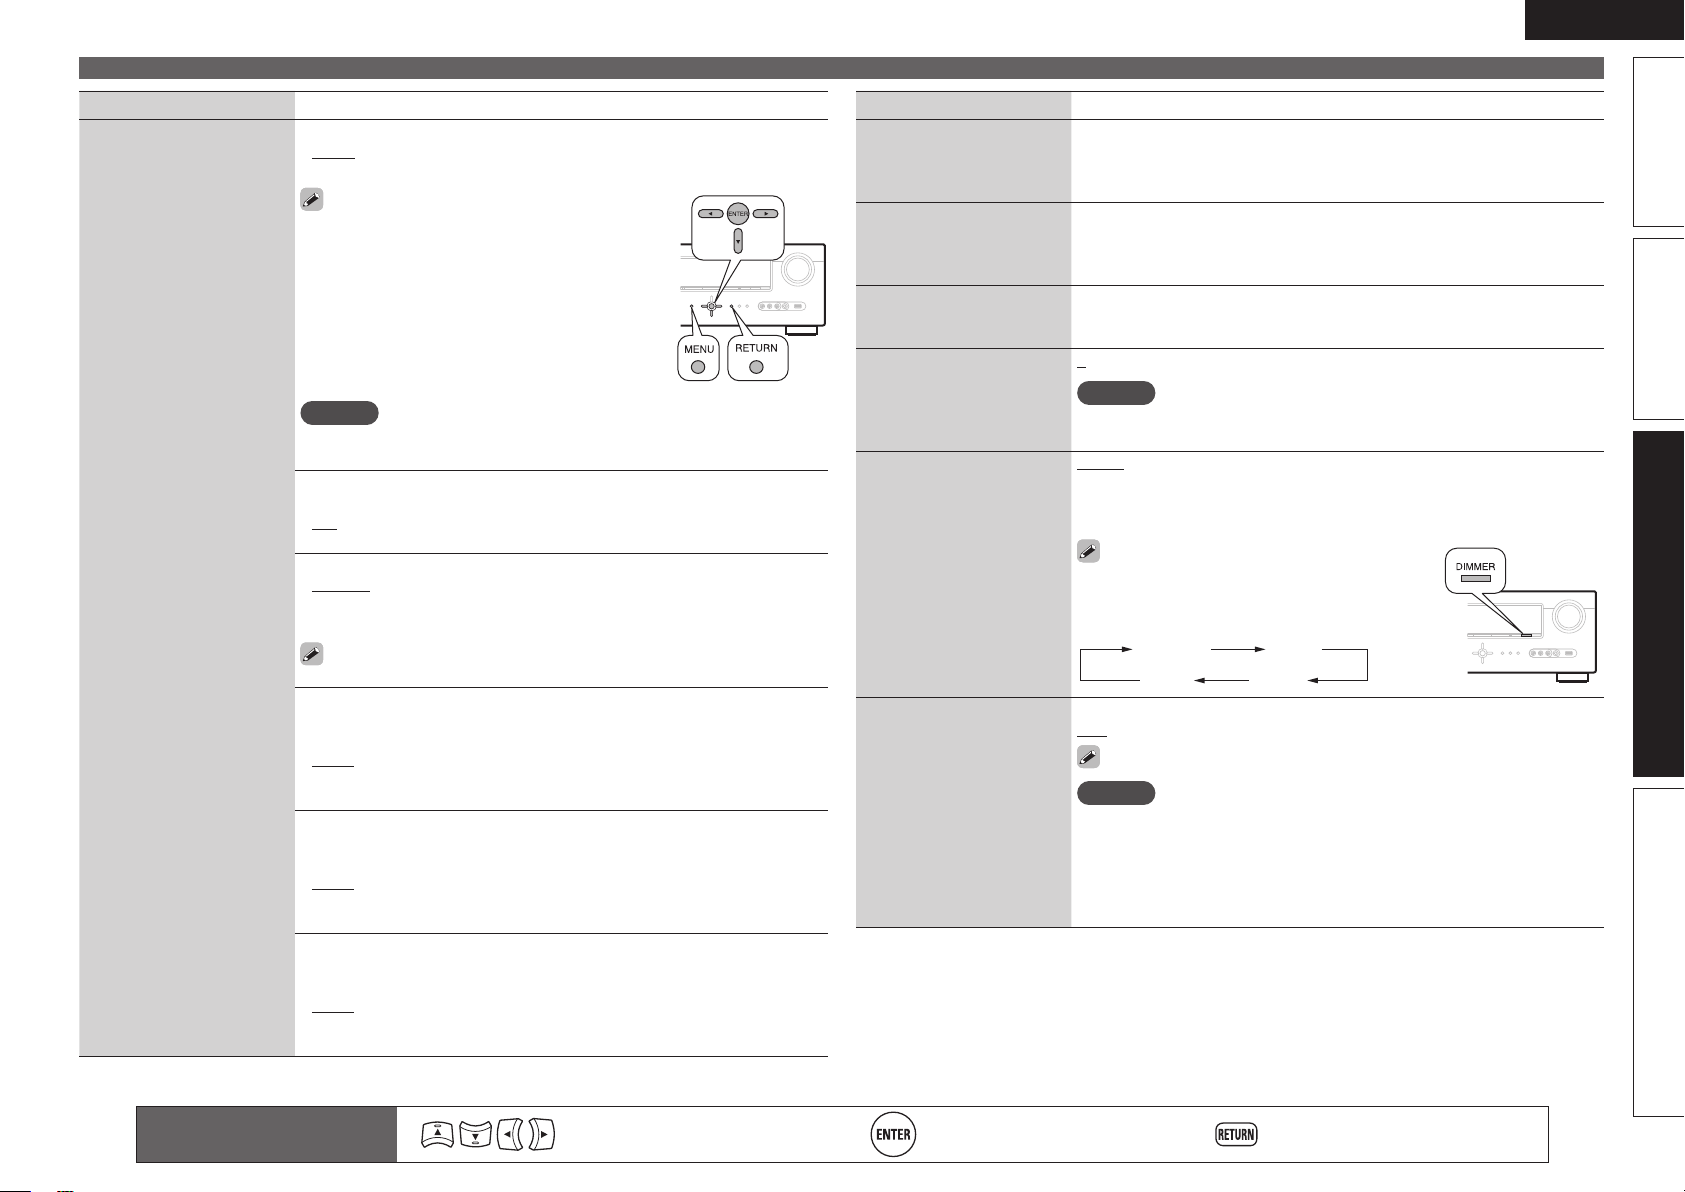
1. Press and hold the main unit’s p and i for at
least 3 seconds.
“Video Format” appears on the display.
2. Press o p and set the video signal format.
3. Press the main unit’s ENTER, MENU or RETURN
to complete the setting.
NOTE
When a format other than the video format of the connected TV is set, the
picture will not be displayed properly.
Text : Display the details of operation when switching surround mode,
input mode, etc.
• ON : Turn display on.
• OFF : Turn display off.
Master Volume : Display the master volume during adjustment.
• Bottom : Display at the bottom.
• Top : Display at the top.
• OFF : Turn display off.
When the master volume display is hard to see when superimposed
on movie subtitles, set to “Top”.
USB : Set the USB screen display time when the input source is “USB/
iPod”.
• Always : Show display continuously.
• 30sec : Show display for 30 seconds after operation.
• 10sec : Show display for 10 seconds after operation.
• OFF : Turn display off.
iPod : Set the iPod screen display time when the input source is “DOCK”
or “USB/iPod”.
• Always : Show display continuously.
• 30sec : Show display for 30 seconds after operation.
• 10sec : Show display for 10 seconds after operation.
• OFF : Turn display off.
TUNER : Set the tuner screen display time when the input source is
“TUNER”.
• Always : Show display continuously.
• 30sec : Show display for 30 seconds after operation.
• 10sec : Show display for 10 seconds after operation.
• OFF : Turn display off.
Setting items Setting details
Remote Preset Codes
Search a preset code to
register in the remote
control unit.
See “Registering preset codes” (vpage63).
Quick Select Name
Change the “Quick Select”
display title to one you
prefer.
• Up to 16 characters can be input.
• For character input, see page 43.
Zone Rename
Change the display title of
each zone to one you prefer.
• Up to 10 characters can be input.
• For character input, see page 43.
Remote ID Setup
Used when receiving
maintenance from a DENON
service engineer or custom
installer.
1 / 2 / 3 / 4
NOTE
Only use this function if so instructed by a DENON serviceperson or
installer.
Dimmer
Adjust the display
brightness of this unit.
Bright : Normal display brightness.
Dim : Reduced display brightness.
Dark : Very low display brightness.
OFF : Turns the display off.
Buttons on the main unit can be used for
operations.
Each time DIMMER is pressed, the setting is
changed as shown below.
Bright Dim
DarkOFF
Setup Lock
Protect settings from
inadvertent change.
ON : Turn protection on.
OFF : Turn protection off.
When canceling the setting, set “Setup Lock” to “OFF”.
NOTE
When “Setup Lock” is set to “ON”, the settings listed below can no
longer be changed. Also, “SETUP LOCKED!” is displayed if you attempt
to operate related settings.
· Menu operations · Channel Level
· RESTORER · MultEQ
®
· Dynamic Volume™ · Dynamic EQ
®
Remote control operation
buttons
Move the cursor
(Up/Down/Left/Right)
Confirm the setting Return to previous menu
Manual Setup
Loading ...
Loading ...
Loading ...